+ Harness your inner groove and your outer authenticity with drummer, producer, and artist The Pocket Queen. Check out her course on Soundfly.
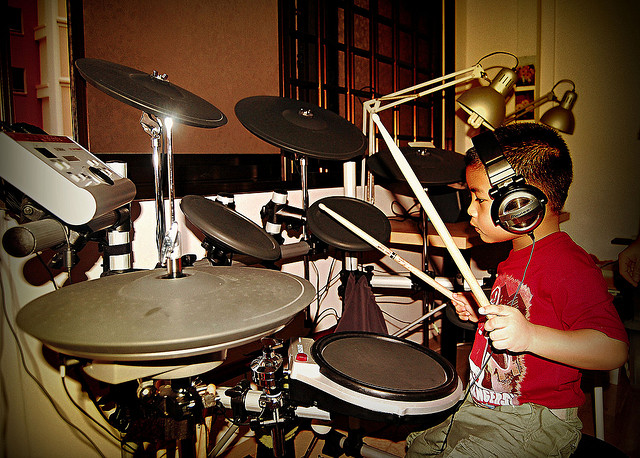
Becoming comfortable with playing electronic percussion is a vital skill for the modern drummer, especially when playing contemporary, digital-heavy genres such as trap, neo-soul, and pop-rock.
Contemporary music production has a tendency to involve a combination of very specific drum sounds and completely electronic sounds that cannot be easily emulated by acoustic drums, and as a result, electronic percussion is used to fill the void between producer and drummer in live situations. Plus, when percussionists perform on electronic drum pads live, it gives these electronic sounds a much more human feel than simply pressing play on a quantized digital rhythm track.
Although at first it may seem daunting to add electronics into your performance setup, the best way to think about electronic percussion is that you are simply adding of a new set of colors to your palette. In this article, I’m going to introduce some concepts that are not usually covered in electronic percussion pad manuals and that might, hopefully, help you to enter into electronic drumming with some confidence.
Commonly Used Sounds
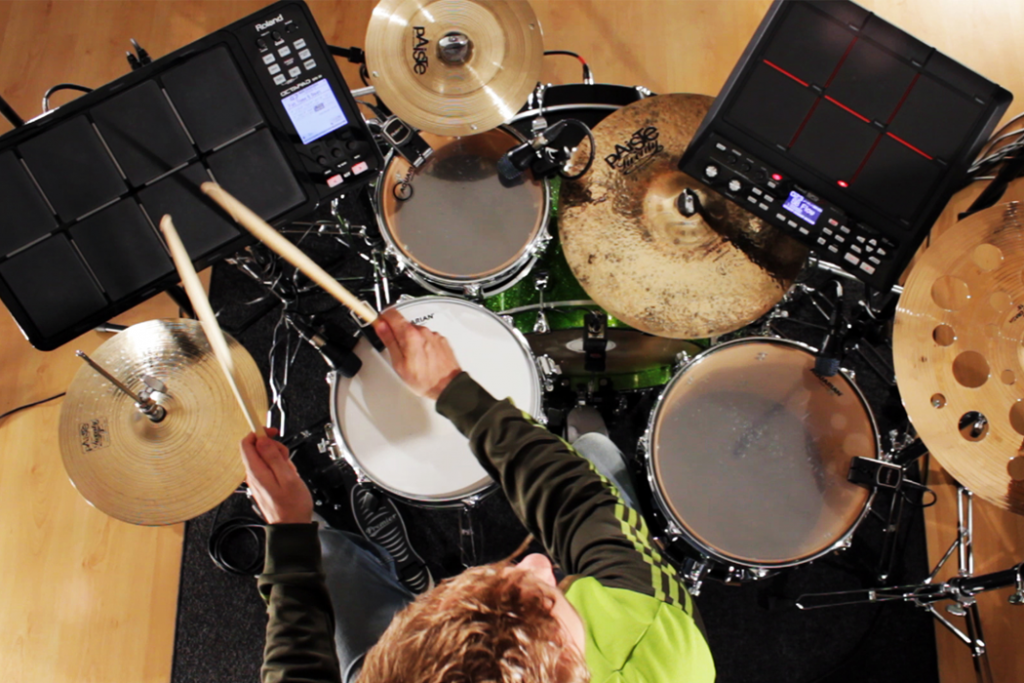
The easiest way to introduce electronic percussion into your setup is using a percussion pad such as the Roland SPD-SX. The two most common starting points for playing the pad with your acoustic kit are 1) using it as backbeat replacement, or 2) layering the pad sound with your acoustic snare drum using sounds such as a fingersnap, clap, or a range of electronic snare drum sounds.
Another easy way of incorporating electronic percussion into your setup is to replace pieces of auxiliary percussion that may be too bulky to carry around to gigs, but are important to the music, such as cowbells, timpani, mallet percussion, toms, and gongs.
A less common, or I should say, less noticed, method for seamlessly blending electronic percussion into your music is to create transition sounds that help glue sections together in a performance. This works incredibly well when you need something more subtle than drum fill, such as wind chimes, rain sticks, reverse cymbals, cymbal swells, and white noise risers. A lot of those are usually made on synthesizers, but load those sounds to the pad as samples, and they’re ready to go!
I’m purposefully not mentioning the classic programmable drum machines, although they are tons of fun to use and work with and provide a huge range of sounds, because we recently ran a history of the Roland 606, 707, 808, and 909 series, but don’t be afraid to mess around with those, too!
+ Learn production, composition, songwriting, theory, arranging, mixing, and more; whenever you want and wherever you are. Subscribe for full access!

Placement of Sounds
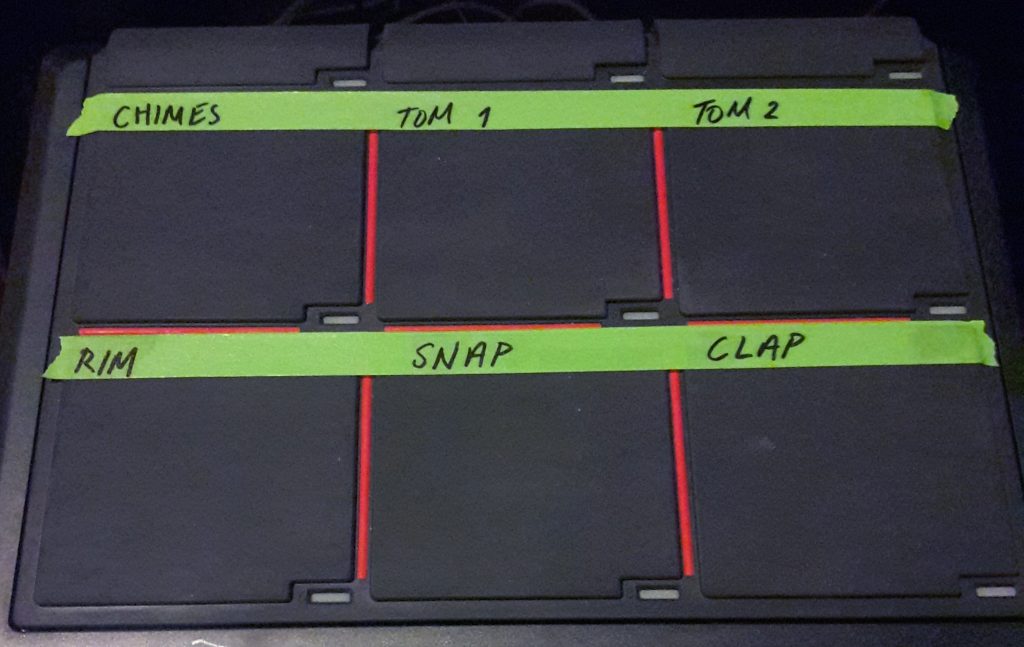
A good rule of thumb when using a percussion pad is to place the sounds that you use most often closer to you. For example, claps and snaps should be positioned nearest to you, whereas transitional sounds like wind chimes or rain sticks should be positioned a little further away. The next obstacle will most likely be memorizing where you placed each sound, so using a bit of tape to label where everything is will help you develop some familiarity with your new setup.
You’ll develop your own systems as you get more familiar, but feel free to experiment. You’re a musician, so you’re probably used to coming up with mnemonics and memory tricks, anyway!
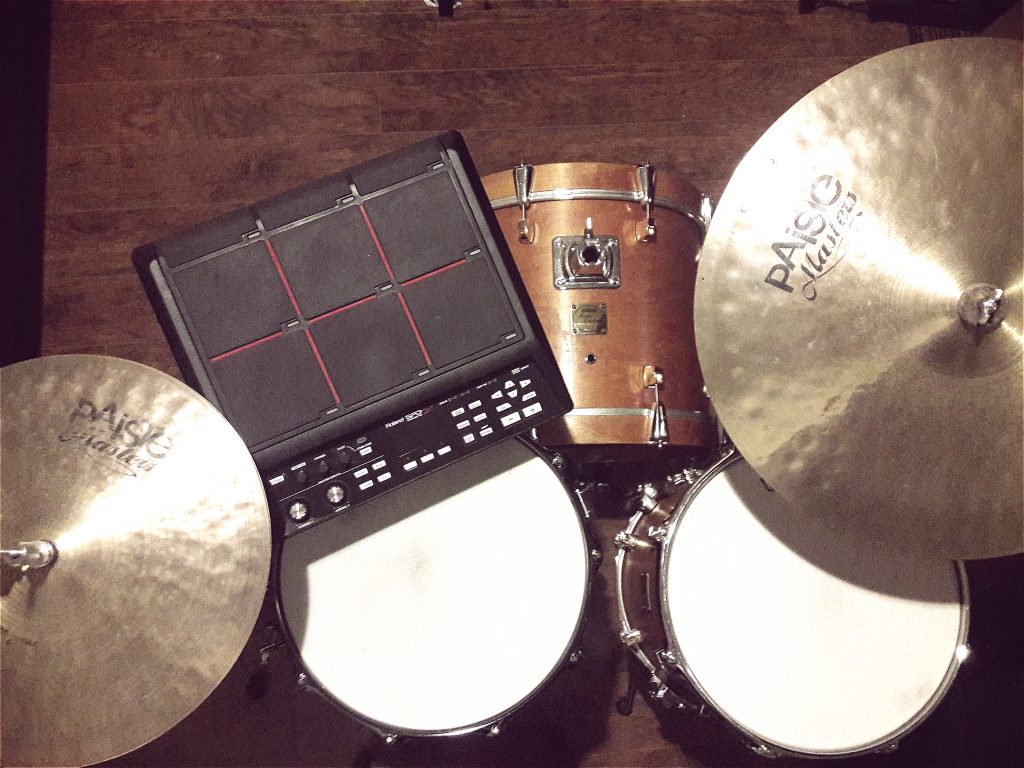
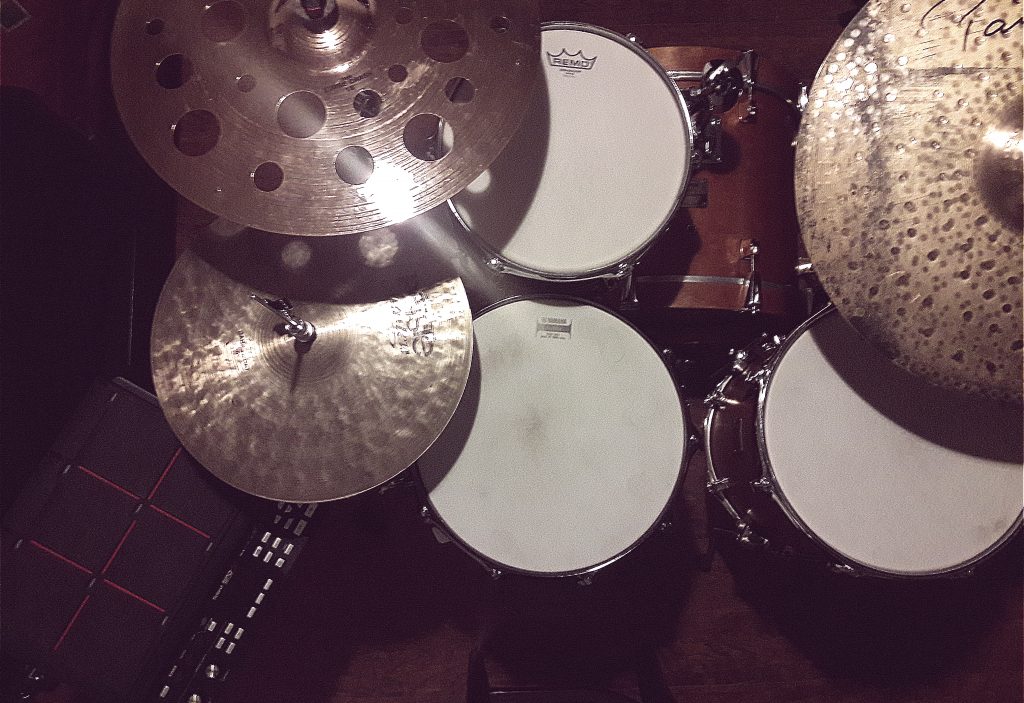
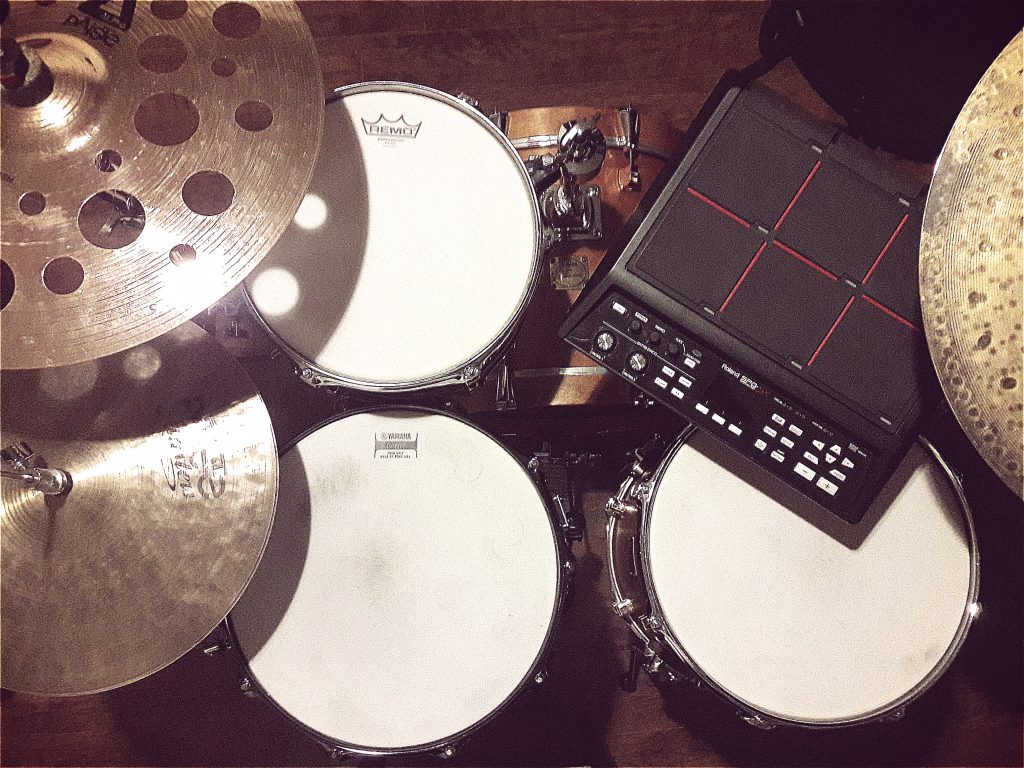
In addition to placing the sounds in a comfortable manner around the percussion pad, your placement of the pad itself makes a huge difference in your ability to perform fluidly. Some of the common positions for percussion pads include to the left of the hi hat, on the left side of the bass drum (where the first tom is usually placed) or to right of the bass drum, just in front of the floor tom.
Sampling
As you get comfortable using stock sounds on your percussion pad, eventually you’ll want to add your own sounds. Sampling is extracting a sound clip from an original audio source and placing it onto your pad digitally via your DAW so it can be triggered with an easy tap of the pad. By using samples, you can take loops or one-shots (short samples) that you’ve created from scratch, or that are part of a song recording, and using them in a live setting. Some examples of samples that are used in live settings include vocals, percussion loops, ambient synth pads, and full backing tracks.
Disclaimer: To avoid a copyright infringement lawsuit, make sure you have permission from the copyright owner before to use anything that you’ve sampled.
Additional Sounds
If you’re looking for some solid sounds and loops to get started with, check out these websites for a variety of both free and paid loops and one-shots:
Do you have free drum samples that you love? Share them in the comments below!
Keep on Grooving…
Continue your learning with hundreds of lessons on songwriting, mixing, recording and production, composing, beat making, and more on Soundfly, with artist-led courses by Kimbra, Com Truise, Jlin, Kiefer, RJD2, and our new The Pocket Queen: Moving at Your Own Tempo.