
This is the sixth lesson in our multi-part course series, How to Make Your First Beat in Ableton Live. To follow along from the beginning, click here, or check out our Mainstage course, Beat Making in Ableton Live, for a more in-depth mentor-assisted experience!
Adding Other Elements
Let’s hop back to that kick-and-snare loop from earlier. What if we wanted to add a hi-hat to the beat? In order to record the new performance into the existing MIDI Clip, we need to do what’s known as overdubbing. Check out the video below to find out how!
Quick Recap
One extra tip we should mention: Start by making sure you’ve adjusted the loop to encompass the portion of the beat to which you want to add the new part. In the example below, I just have a one-bar kick-and-snare pattern.

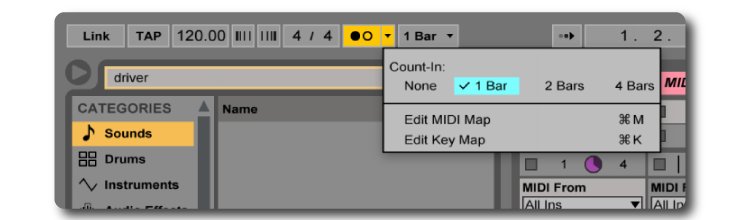
Turn on the click, and make sure you still have a one-bar count in. Remember, you can access the count-in settings by clicking the little drop-down button on the right side of the click button. It’s always a bit easier to record this way.
Click on the MIDI Clip that contains your kick and snare part in Session View, then click the Session Record Button.
Now, when you hit the small play arrow on the left side of the clip, it will turn red, and you’ll hear four beats of count in. You can now record your hi-hat part into the same clip!
Give it a try. Overdub a hi-hat part onto your existing beat.