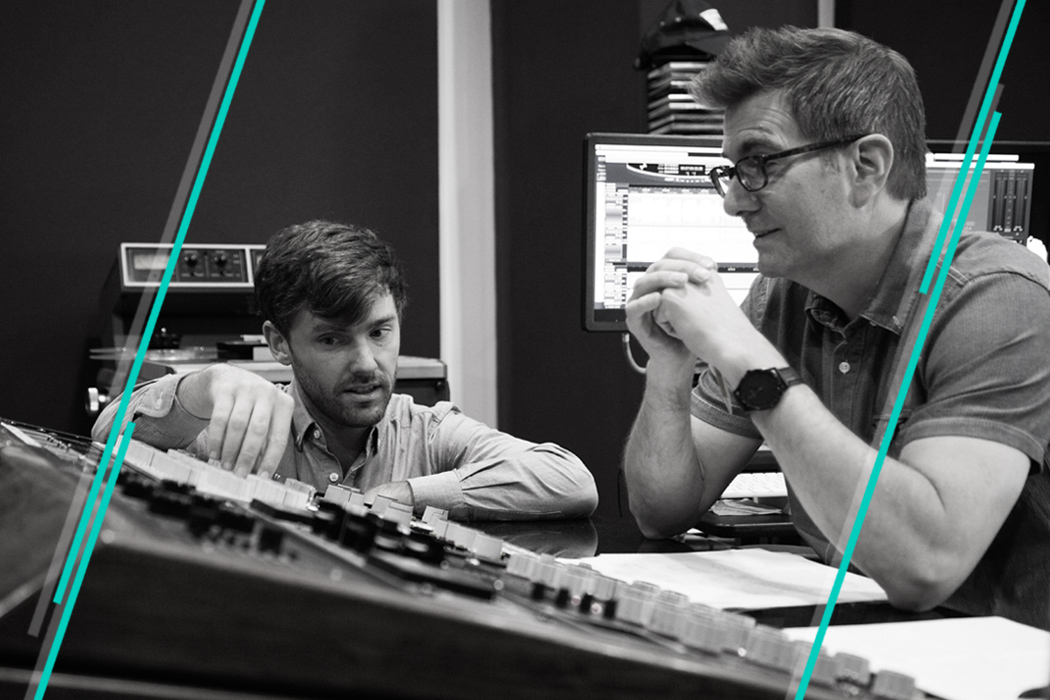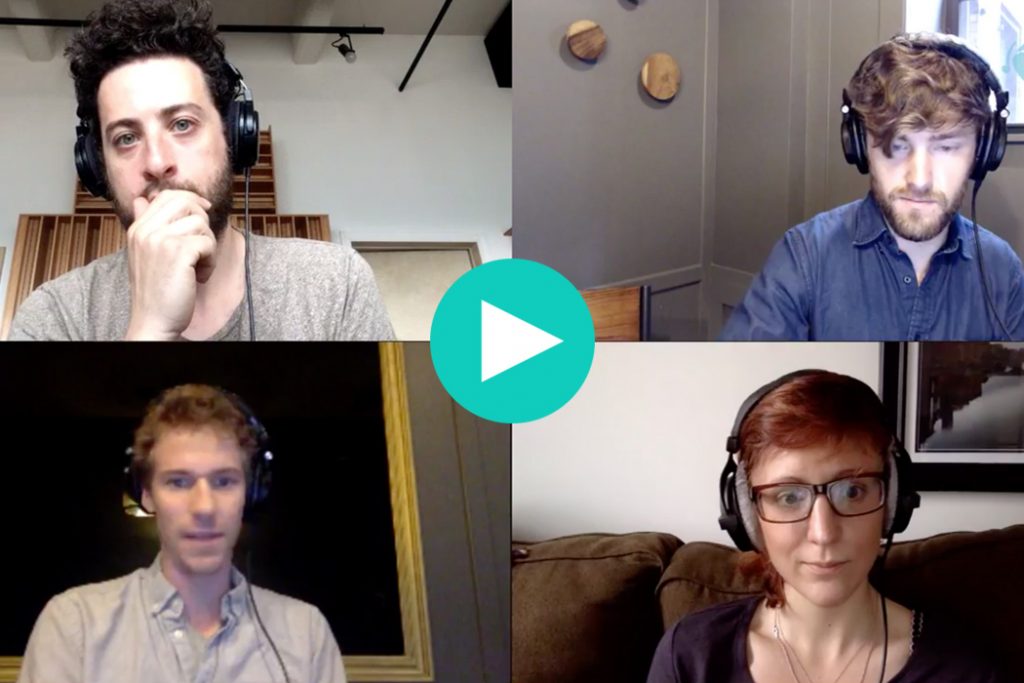
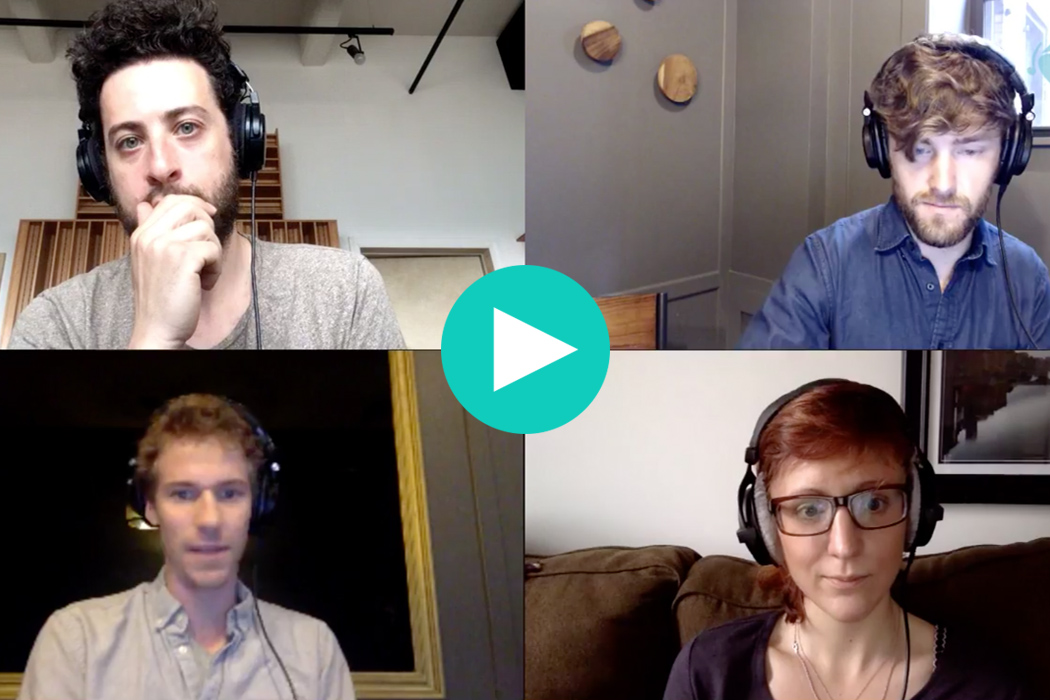
Two weeks ago, Soundfly CEO and founder, Ian Temple, and I went live on Facebook with two of our favorite audio engineers working today — music mixer and producer for the hitmakers, Jake Aron, and acclaimed post-mixer and sound designer, Kate Bilinski — to talk about Ear Training for Audio Engineers. (Watch the full Office Hours session here.)
When we think of “training our ears,” many of us who identify primarily as musicians think of learning how to recognize intervals, chord qualities, and other harmonic signifiers — but what about specific frequency ranges? How about different types of compression, or their levels of implementation?
We sat down with these two great talents to discuss their humble beginnings as mixing engineers, how they learned to do certain things by ear or by feel, and some basic strategies for get around in the wide world of audio. Here are seven important takeaways from that conversation.
And if you came here in search of helpful techniques for developing your skills in mixing, you’re in luck. We offer two levels of online mixing courses which each come with six weeks of personal mentorship, Faders Up I: Modern Mix Techniques and Faders Up II: Advanced Mix Techniques.
1. Learn to EQ by sweeping with peaks.
Both Kate and Jake recounted examples of learning to hear frequency ranges by using the “peak” or “bell” curves on parametric equalizers to sweep through a range of frequencies until an offending frequency caught their attention. They both recommended using “real-world” content, like the particularly resonant and dynamic sound of the human voice, as opposed to MIDI notes, to learn the sound of different frequency ranges. That process looks something like this:
Create a steep-curved bell with a significant positive (upward) gain.
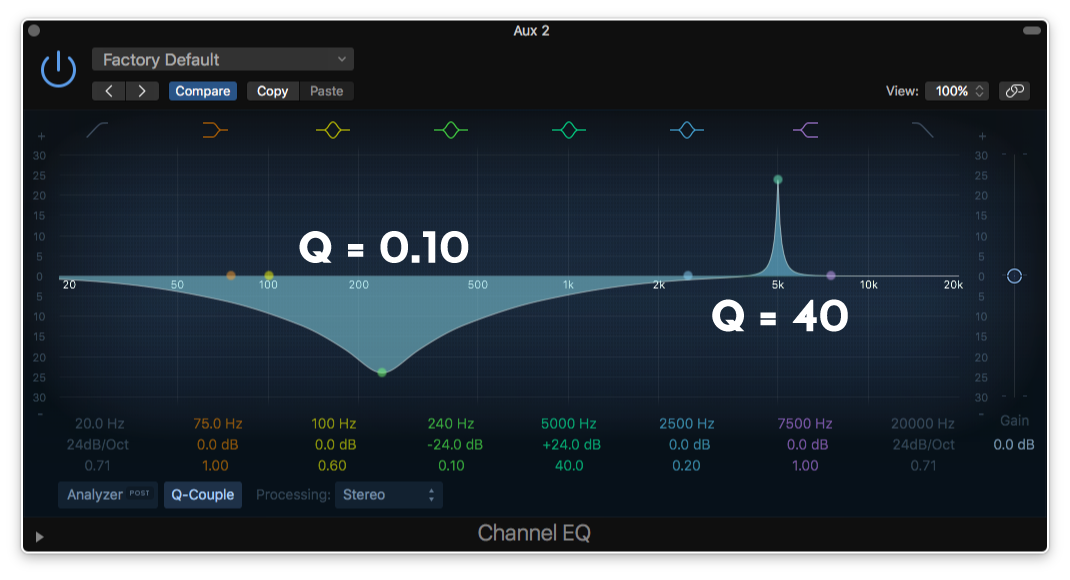
Sweep the frequency of the bell up and down the equalizer’s range (moving left and right) until an offending peak emerges, or until you locate a bothersome frequency you already know you want to remove. Use your equalizer’s built-in analyzer to get to know different frequency ranges, but don’t fall into the habit of relying on it! That’s what your ears are for.
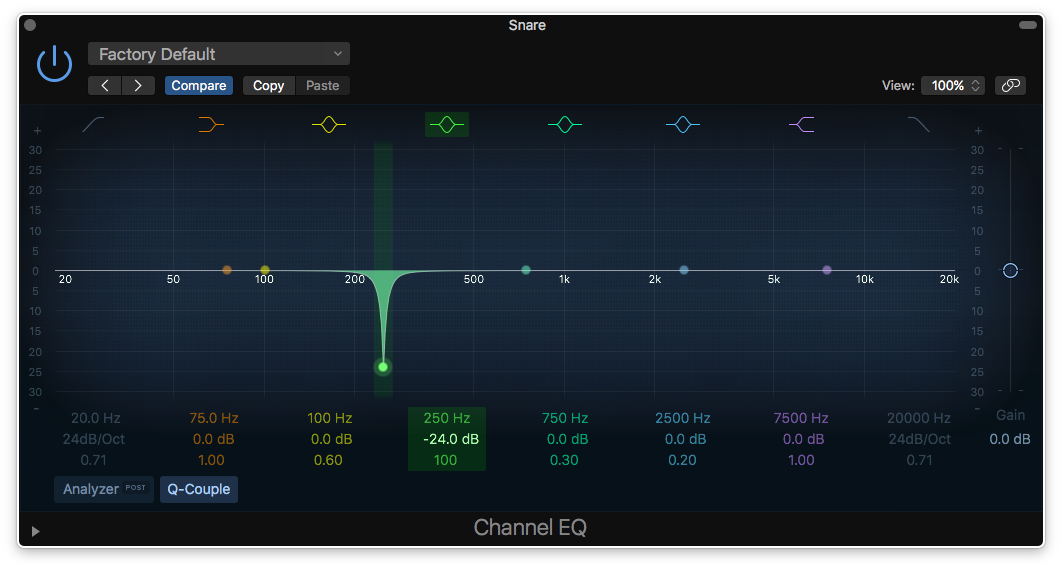
Then pull down the gain until the frequency no longer offends!
That’s a surefire way to locate problem frequencies, and also to get to know the sonic characters of certain frequency ranges across the spectrum of human hearing (20Hz–20kHz).
2. Singers always have a natural resonant frequency in their mouths.
Jake highlighted that it’s very common for a singer to have a consistent “problem” frequency that their mouth creates through its natural resonance. This has to do with the interior shape of our mouth and throat, and how our tongue and vocal cords interact in that space, and it’s different for everyone. For one singer, Jake found that frequency to be around 2.1kHz, so he knows to dip that frequency every time he mixes that vocalist’s tracks. Others tend to have problem areas between 700–900Hz.
If you find a similar frequency in your own voice, or the voice of someone you work with regularly, consider creating a present EQ template for them. That way you won’t have to start from scratch every time.
3. Frequency analyzers are great for precision, not great for broad boosts and cuts.
One viewer asked, “How much do you rely on the numbers in the graph [of the spectrum analyzer] in the DAW, versus using your ears now, [compared with] when you were first starting out?”
Jake’s responded by admitting that he uses the graph more now, simply because it’s a time saver (and that he didn’t have that luxury back in the day). When you hear something that sounds off, you can briefly scan the general frequency range of the audio signal, identify spikes that look suspicious, and cut those frequencies with precision. Done. Next.
But then Jake eloquently conveyed that, “what I’m concerned with, mostly, is just making the vocals sound cool.” When it comes to the bigger picture, it’s more about trying to push and pull frequency areas to achieve an interesting sound that fits the mix and resonates with the listener, than it is about trying to treat vocals the same way for the sake of correctness.
4. In post-production, the dialogue is always right.
Another viewer asked: “How does Kate balance the music and dialogue in podcasts and films?” Kate replied that the dialogue simply always needs to be clear and intelligible.
With podcasts and film, you’re in service to the dialogue more than anything else. Kate recommended making some room for the dialogue by giving the music a big scoop, somewhere between 1–2kHz, all the way up to 4kHz or so. That’s the range of frequencies most closely linked to the intelligibility of the human voice — the sibilance and the brighter aspects of speech — so some extra space is required there. While she recommends using a multi-band compressor to isolate this range of frequencies and side-chaining it directly to the dialogue, the blunter, simpler option of a basic cut is equally as effective, if less subtle.

5. “Removing is your friend… but don’t go too far, either.”
Cutting loads of frequencies out of various instruments that “seem” overbearing can feel like the right approach, at first, but when you un-solo your instrument and play it along with everything else, you might find that you’ve cut the life out of it, and eliminated the very thing that made that instrument or sound unique in the first place.
As Jake expands: “Once things sound pretty okay on their own, you should listen with everything in and blend from there.”
It’s also about balancing through compression and volume automation, as well as EQ. Sometimes a little bit of compression can handle a slight problem area, rather than cutting out a heavy frequency that’s only loud for a moment, which can cut some of the life out of the sound.
6. The best way to hear compression… is to listen to compression.
Kate and Jake agreed whole-heartedly on this point. The best way to comprehend the sound and feeling of different levels of compression is to set an audible amount of compression, and then hit the “bypass” button on and off until you can truly hear the difference between the compressed and uncompressed signals.
Jake’s take: “It takes a lot of… doing it wrong!” He uses two approaches when it comes to compression. There’s compression for controlling dynamic range, which can be very subtle and difficult to hear right away, and then there’s compression for the sake of aesthetics. This second kind of compression tends to be used to greater extremes, and is often so heavy-handed that it is applied “in parallel,” or on a second channel that duplicates the original signal, so that some of the original, uncompressed signal can shine through.
The best way to figure out what works, as Jake says in the session, is “to go way more extreme to learn it, and then dial it back.” Then try, and try again.
7. Everything is a volume knob.
Direct from the mouth of Jake: “EQ is a volume knob for frequencies, and a compressor is kind of a volume knob that just moves. You don’t necessarily want to just always turn things down [with volume alone]. So, a multi-band compressor is almost like a variable-volume equalizer that just keeps things moving and staying consistent.”
Ultimately, all of these tools control how much sonic content is apparent at any given moment in time. While both compressors and EQs can help us shape the timbre of our sound, they are ultimately doing so by controlling the volumes of elements of that sound.
There were countless other valuable tips and tidbits throughout this informative Office Hours session — far too many to accurately recount here without a full transcription of the conversation. So, I encourage you to view the original conversation here.
Learn more about using modern era mixing techniques (like EQ, Compression, Level and Pan Setting, Digital Signal Processing, FX Sends, and more) from some of today’s leading sound engineers, and learn alongside a professional Mentor invested in helping you reach your goals!
Preview our Faders Up course series, Modern Mix Techniques and Advanced Mix Techniques, for free today, or feel free to let us know what you’re working on and we’ll find a Mentor suited to help you reach your goals!