+ Learning to record and mix at home? Soundfly’s online courses on mixing, producing, and beat making can help! Preview them all for free and subscribe for full access.
The more you learn about producing and mixing, the more you realize you don’t know. Or is that just me?
Either way, gain staging is an essential element you should be incorporating into your music recording process. It might seem mystical — but it’s actually pretty simple once you get to know it. So let’s do just that.
What Is Gain Staging?
Gain staging is simply setting the volume of your tracks so they’re loud enough to be heard, but not too loud that they distort. Basically, you want to make sure the volumes of your channels are balanced with each other when they come in (input) and in the master output.

However, gain staging can happen both while you’re recording and after you record. I’ll talk about that in a second.
But first, why is gain staging so important?
Gain Staging Is a Game Changer
You need to use gain staging throughout the recording and mixing process. It’s not just about getting a decent signal on your audio input, and we’ll talk about why it’s crucial to getting your song sounding “radio ready.”
If you record an instrument too quietly, it’s going to have a lot of extra noise when you try to turn it up during mixing — but if you record your instrument at levels that are too high, it will start to distort. This is also known as clipping or “getting a fuzzy sound.” And when an instrument clips at the source, it’s very difficult to remove it.
On the other hand, you might be recording a single instrument at a loud, but decent level, individually, and then later after you’ve added other instruments find that the totality of the tracks goes over your loudness peak. That’s why it’s important to monitor gain both on the way in and the way out.
If you don’t gain stage at all, your mix might end up muddy and quieter than you want it.
Ultimately, you never want your master output to reach 0 dB, because you’ll end up with no head room for finalizing the mix and mastering it. It’s recommended that you should for a master volume of -3 dB, or ideally -6 dB, so that the mastering engineer can accomplish all the changes they’d like to make to your track.
Grammy-nominated mastering engineer Joe Lambert talks about this very issue in this video, courtesy of Soundfly’s Faders Up: Modern Mix Techniques course.
How to Use Gain Staging
You can use gain staging at the recording stage and at the mixing stage. Here’s how to do both.
Gain staging when recording:
The quality of your song begins at the source. When you record an instrument, it has to be at the right volume on your audio interface — not too much headroom, but not peaking or in the orange.
You want the volume on your preamp to be right around -18 dBFS at its loudest point. In your DAW, the channel will have a meter next to it. That measures the loudness in dBFS (or decibels relative to full scale). At the very least, you definitely don’t want your preamp to be going into the red while recording.

Gain staging when mixing:
You also need to use gain staging when you mix. You’ll want to do this after adding EQ, compression, and other time-based effects, and after doing an initial volume balancing pass among the tracks.
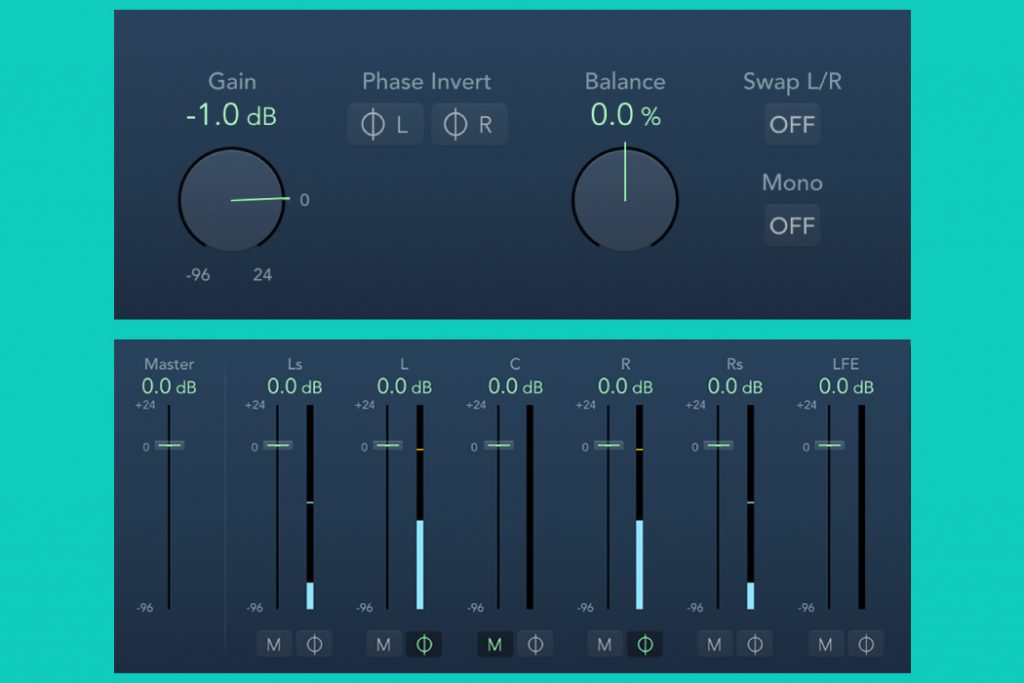
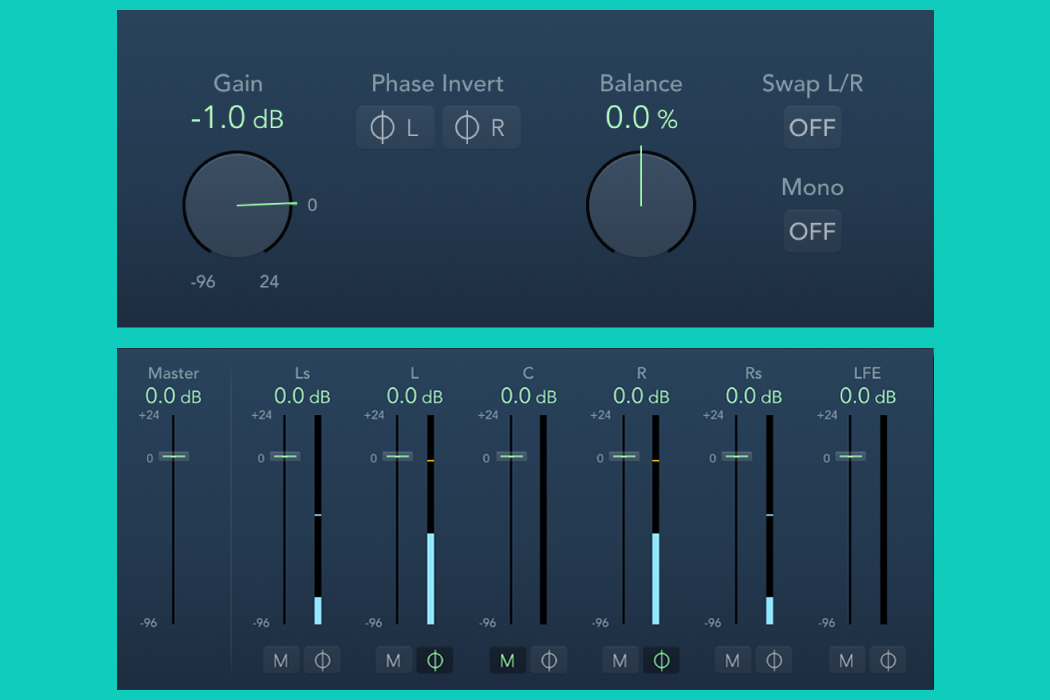
Effects chains and plugins can change the loudness of an instrument, so gain staging afterward will ensure the most balanced volume throughout the song. Add a gain or trim plugin at the bottom of your plugin chain. A gain plugin can make volume automation easier and can also give you more volume control than the volume fader allows.
Next, add a VU meter (volume unit meter) on your mix bus (the master channel). Set it to -18 dBFS, meaning -18 equal 0 dBFS.
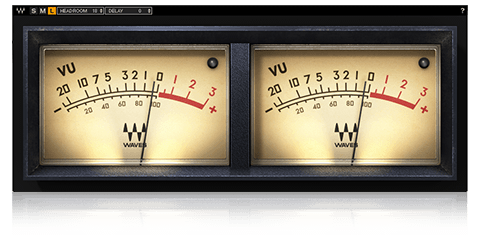
Then, go through each track one at a time (in solo), listening to the loudest part of the track. Look for anything that frequently goes above or below 0 dB on the VU meter. Adjust the volume fader until the VU meter shows it hovering right around 0 dB. Once again, stay out of the red zone.
If you’re using busses, you’ll need to repeat this process on each bus channel after you’ve gone through every individual track.
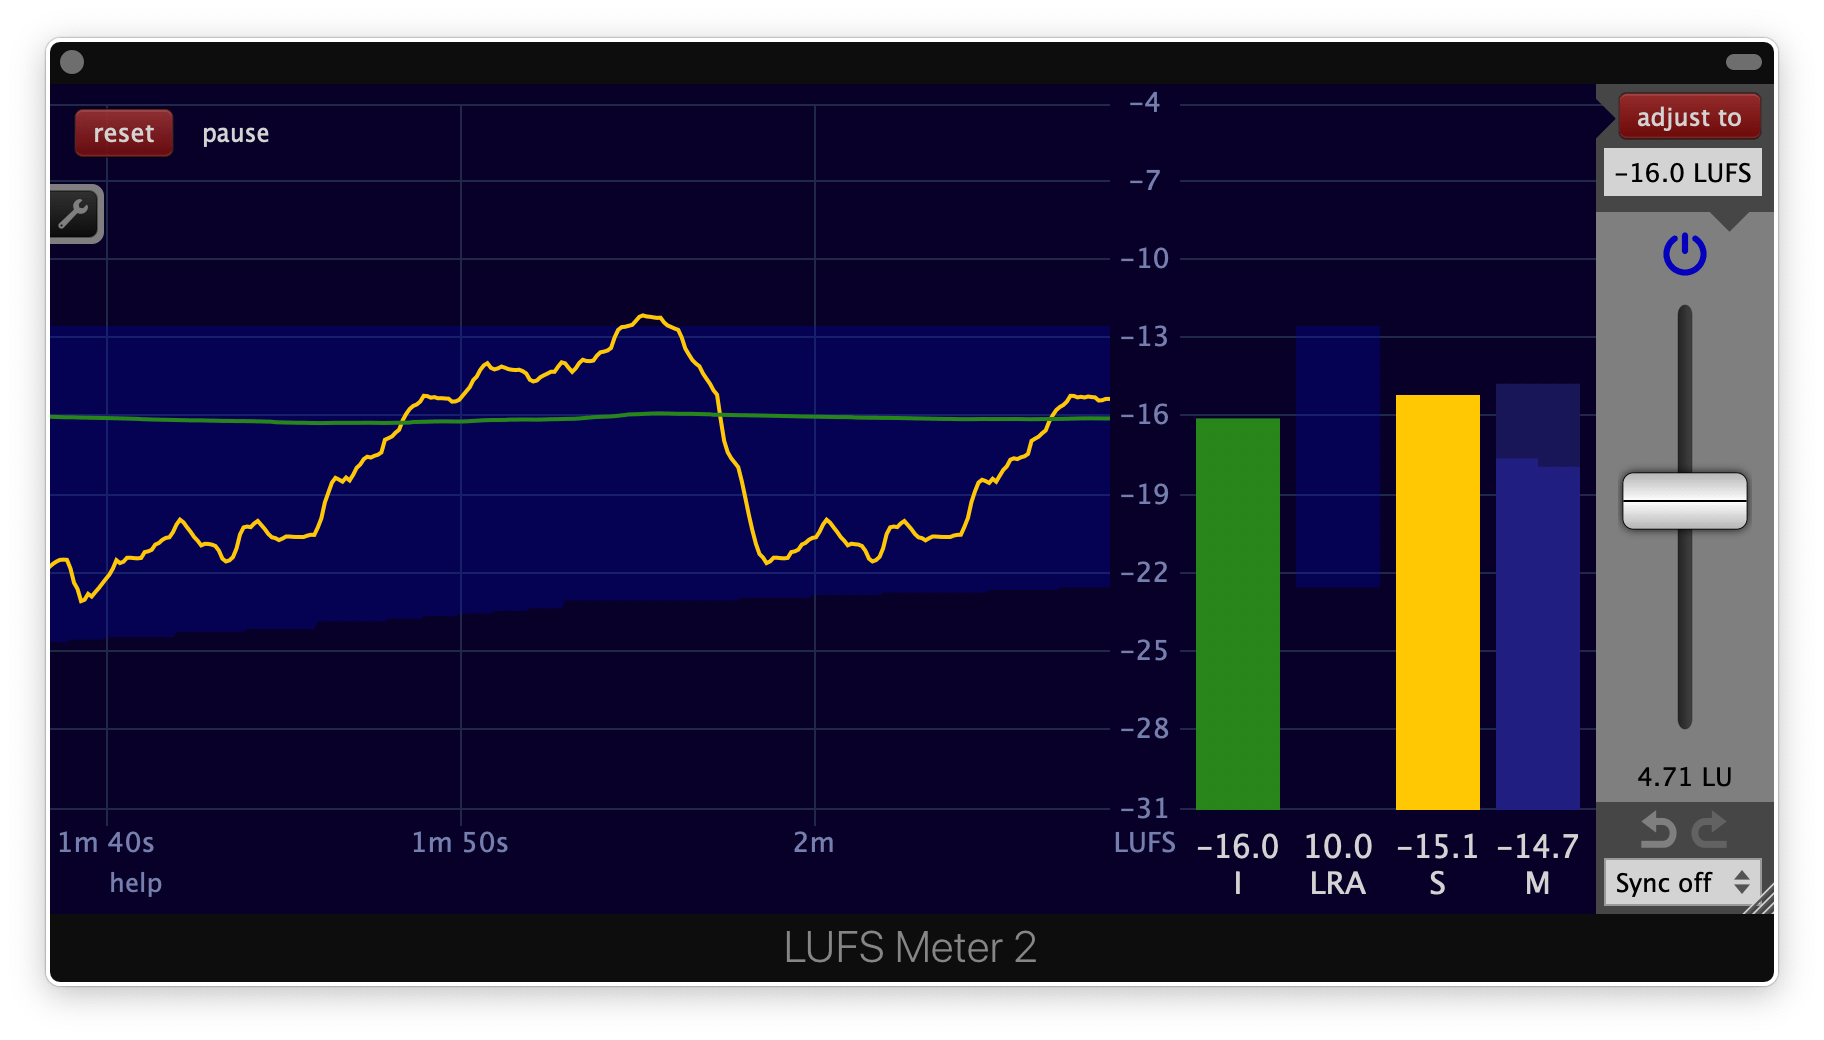
Later on in your mix, you may want to consider adding a LUFS meter (loudness units relative to full scale). VU meters are great for getting initial volume balance, a LUFS meter on the other hand, is a very accurate way of showing the perceived loudness of the audio.
One more way to use gain staging is with volume automation. If you’ve got a soloist, lead guitar, or lead vocal in your track that always needs to be clearly audible no matter what else is going on in the production at different points, volume automation ensures that it won’t get lost when the rest of the song gets louder or fuller.
If you want your vocals to stay present in the mix, you may have to turn up the quiet parts with volume automation. Vocals often naturally get a bit quieter during verses and when lower notes are sung. You can automate entire sections or even single syllables with added gain. Just play around to see what results you end up with. Try it out!
Don’t stop here!
Continue learning about mixing, beat making, vocal recording, and DIY audio production, with Soundfly’s in-depth online courses, including Faders Up: Modern Mix Techniques, Pop Vocal Production, and Making Music in Logic Pro X. Subscribe for unlimited access here.