

+ This is an excerpt from Soundfly’s Modern Pop Vocal Production course. To access the rest of this lesson, plus hundreds of instructional videos and tutorials on production, songwriting, composing, beat making, mixing and more, subscribe here.
It’s always a good idea to roughly mix your vocals in your vocal production session, in order to get used to how things sound.
Most mixing engineers will agree that the first step of each mix, regardless of whether you’re working with vocals or not, should be mixing via volume faders and panning knobs.
Why Is This So Important?
Even in genres and styles that require tons of processing, the golden rule is still, “less is more.” When you roughly mix your vocals without applying fancy effects, you’ll have a pretty good idea about the potential of your recorded material.
We often hear the phrase, “we’ll just fix it in the mix.” The better things sound before mixing, the easier your mix will go and it will sound so much better.
Before continuing, mute all the reverbs, delays, and any other effects you might have experimented with throughout this course. Let’s look at how to take your first shot at mixing your vocals using nothing but your virtual mixing board.
Thinking in Stereo
Stereo imaging refers to the left to right placement of each instrument and voice in your mix. For instance, in most cases, you’ll notice that background vocal layers are placed left and right, which people achieve through a feature called panning.
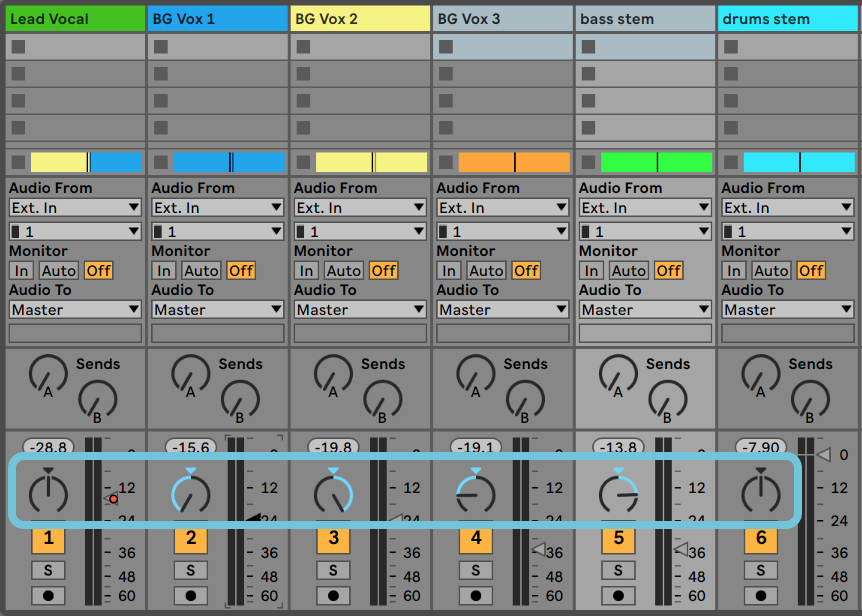
Pretty much every DAW has a panning knob on each channel, right above the main volume fader. In the case of Live, it’s actually to the left of the main volume fader.
While mixing background vocal layers, it’s common practice to create a parallel relationship, in terms of stereo imagery, between each original background vocal layer and its double when it comes to panning and leveling.
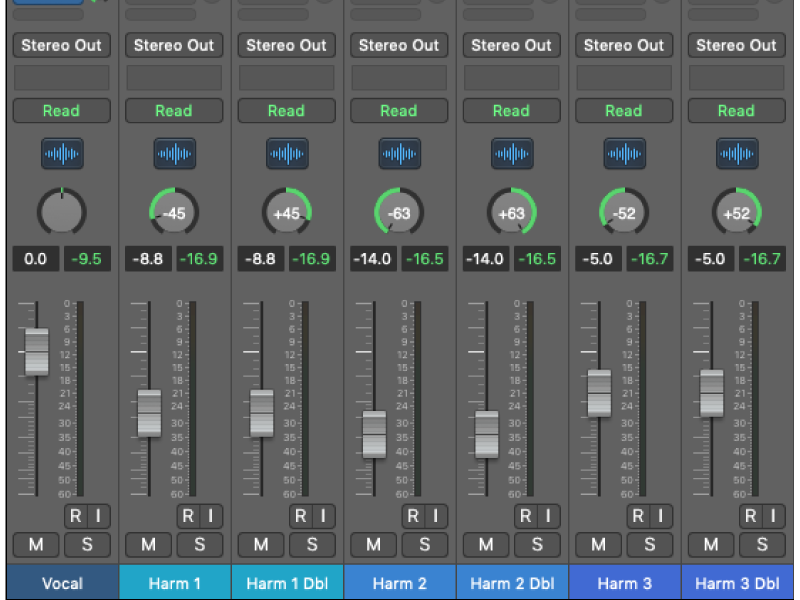
For example, if you have a vocal harmony layer and its double, tightly attached to the lead vocal, you might want to pan the harmony layer heavily but not fully left (-45 in Logic Pro X) and its double heavily but not fully right (+45) and keep them balanced at the same volume.
As you spread your harmonies out like this, you will really start to hear any leveling differences between each harmony layer and their respective doubles.
Don’t panic! This is why those leveling strategies for background vocals are so important. Panning emphasizes these volume differences, so make any adjustments as you need to via clip gain or Melodyne’s amplitude tool.
Visualizing Your Mix
When it comes to levels and panning, there are no rules: you should follow your instincts and make decisions according to your taste. However, it can help to think of how you want to “frame” your lead vocal with all those awesome background layers you’ve created.
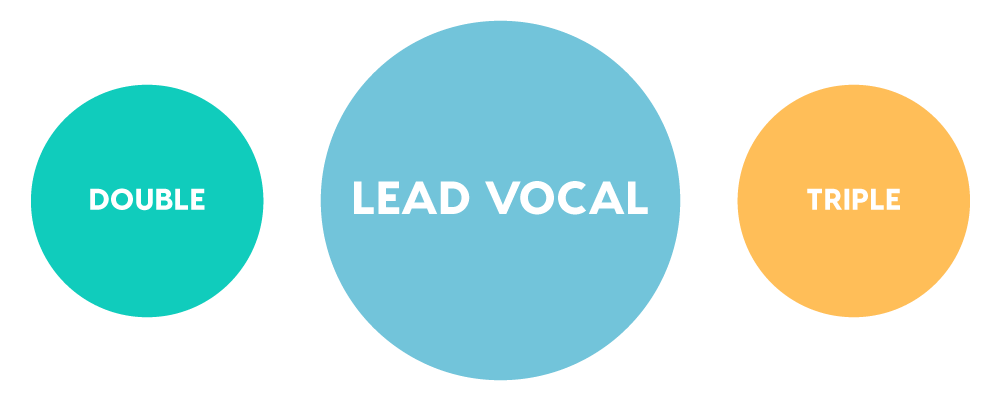
For instance, say you have double and triple layers for your lead vocal performance. Try panning the lead vocal double all the way to the left, and the lead vocal triple all the way to the right.
Then, you probably don’t want them to be as loud or as big as the lead vocal, right? For each harmony or unison you add, try dropping their level down a bit, so they feel more supportive than focal.
If you do this, the first thing you’ll notice is how panning alone improves the blend immensely. It also increases the presence and enhances the tone of the lead vocal, which is the point of these unison layers in the first place!
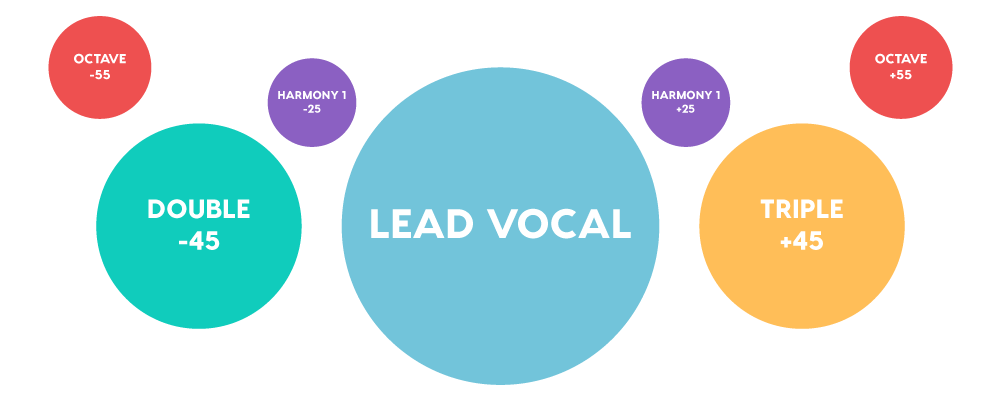
After you pan any of your lead vocal doubles and triples, start adding any octave background vocal layers, using a similar parallel strategy. For example, if you panned your background vocal harmony layers -45 left and +45 right per our suggestion, try panning your octave layers a bit wider — say, -55 left and +55 right.
As you blend in additional layers, take this strategy one step further and aim to fill in the gaps in the stereo spectrum. This is a big part of achieving that pop vocal “wall of sound!”
As you experiment with the placement of each layer, make adjustments that you think work best for your record. In the end, this strategy will at least help you begin to make some decisions about the positioning and loudness of each layer so it can best support your lead vocal performance.
“Love Yourself”
We’ll leave you with a song by Justin Bieber that is a good example of how far you can take your vocal blend by simply layering, leveling, and panning: “Love Yourself.”
As you’re listening, we advise you to visualize the placement of the background vocal layers in the pre-chorus and chorus sections of the song for some inspiration. As the song develops, notice how the panning gets a little wider in each successive section.
The change is subtle, but it plays a role in keeping the simplicity of the guitar and vocal arrangement engaging.

Let’s give this a quick shot.
- Pick at least two different layers of background vocals in your session to try this with.
- Create a parallel relationship between one of the background parts and its double.
- Then, create a parallel relationship between another layer and its double to enhance the stereo image.
- Review the levels of those newly panned vocals. Try rebalancing them as needed to create a blend that appeals to you.
Hard stop!
Continue learning about mixing songs, home audio production, electronic music recording, beat making, and so much more, with Soundfly’s in-depth online courses, including Modern Pop Vocal Production. Subscribe for unlimited access here.


