+ Learn from Grammy-winning pop artist Kimbra how to harness the full creative potential of your voice in song. Check out her course.
Most people agree that there is a definite art to capturing solid recordings. Sometimes it’s learned through hours of trial and error, sometimes through gut instinct, and some great recordings just happen purely by happy accident. However, there is still a science to how sound is produced and captured, and knowing even a little of this science can help set you on the path towards better recording results.
Some questions I often get are:
Why should it matter how close you are to your microphone when recording vocals? And, as long as it’s picking up sound at a sufficient volume level, isn’t that good enough?
Well, not really.
It may be fine to plunk a mic down in the general vicinity for some instruments or for picking up ambient sounds or recordings where quality isn’t a factor. If you want a quality vocal recording, and one that you can further develop with editing, processing, and mixing, it really does make a difference if you’re too close or too far from the mic — and here’s why.
But first, for all you singer-songwriter-producers out there, Soundfly just launched a brand new course with Kimbra, in which she herself demystifies her variety of vocal techniques and the creative inspirations behind her most beloved songs. Go check out this in-depth and awe-inspiring new course, Kimbra: Vocal Creativity, Arranging, and Production, exclusively on Soundfly.
What happens if you’re too close to your mic?
While there certainly will not be any issues with capturing enough sound when you’re very close to your microphone, there are often unwanted side effects that may make you want to take a small step back and simply turn the input gain up a little more instead.
First and foremost among our concerns if we’re singing very close to the microphone are plosives. Plosives are the sounds within language phonetics that include a sudden outward push of air, or a sudden stop of the air flow within our speech. In English, this includes the sounds typically associated with the letters: b, c (hard), d, g (hard), h, k, p, q(u), and t.
Microphones are susceptible to the pops and clicks produced by these sounds. Sounds that push lots of air are especially problematic for microphones to handle.
Try holding your hand right in front of your mouth and speak these letters: “b,” “h,” and “p.” You’ll likely feel the expulsion of air from your mouth onto your hand as you say each letter. Have you ever tried recording with a microphone outside on a windy day? If so, you’re familiar with the nightmare of noise you have to deal with when you have whooshing air impacting your mic.
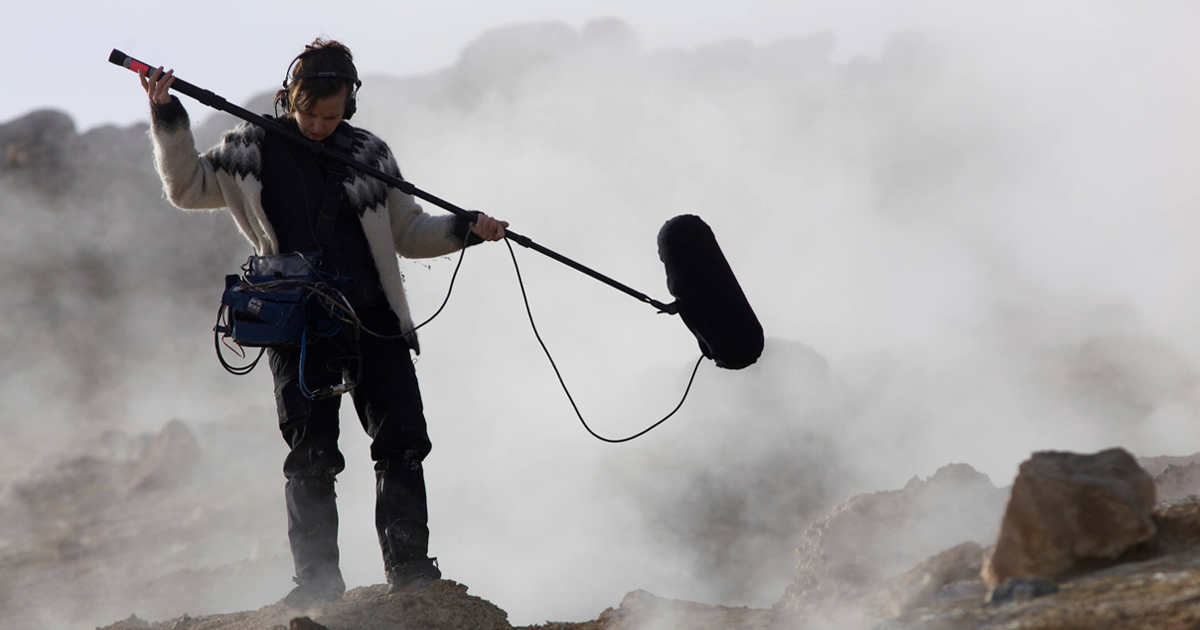
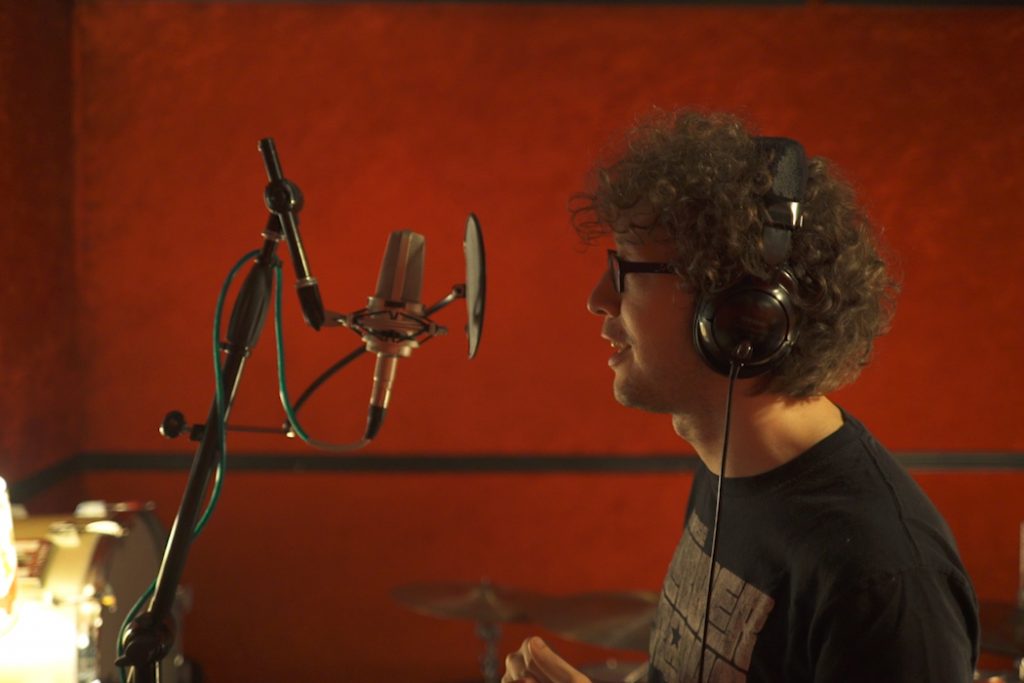
People who record outdoors in windy conditions use large foam and fabric windscreen covers for their microphones in order to filter out that rush of air. You can do something similar, but less extreme, when recording vocals, and use a simple pop screen filter. But, to be effective, this screen needs to sit at least 1 inches away from the face of the mic to give room for the impeded air to dissipate off to the sides and away from the mic. Using a pop screen filter is standard professional practice in vocal recording, and inherently requires you to stay at least far enough away from the mic to leave space for the screen and 1-2 inches of air between it and the mic.
The popping sounds of plosives carry a strong low frequency component with them, so it’s also a good idea to use a high-pass filter at about 80Hz when mixing (some microphones have a button that will do this for you). This maintains nearly all of the tonal quality of the human voice, while eliminating most of the low frequencies associated with the popping sounds from plosives, and any other sudden breaths, whooshing air sounds, or accidental thumps captured in your vocal recordings.
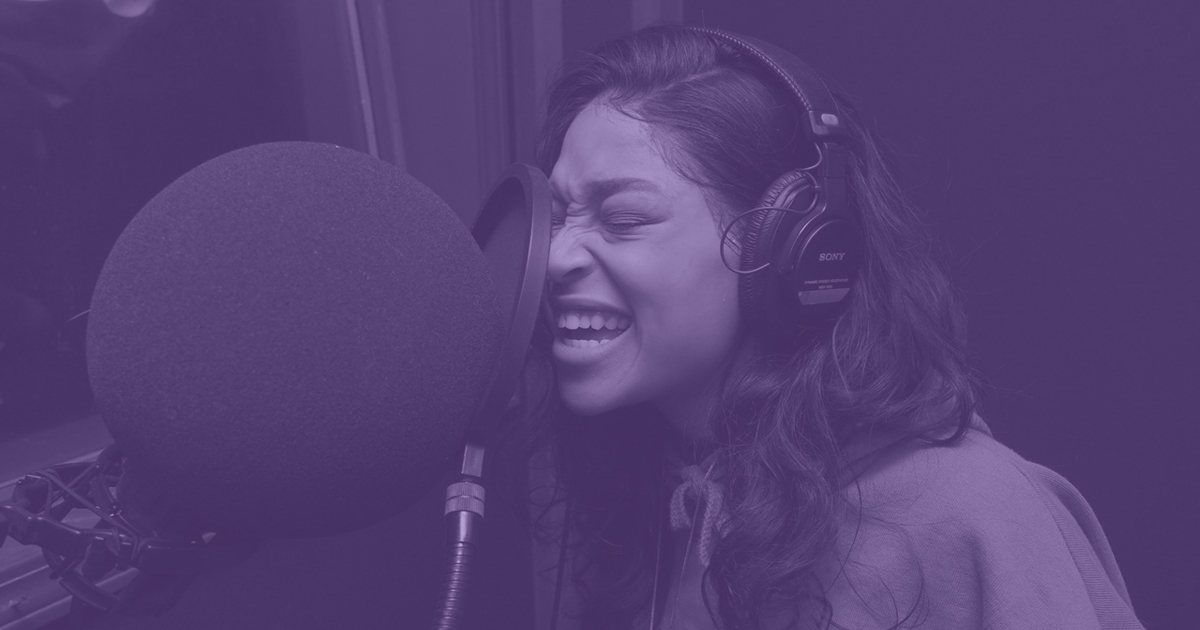
Along with plosives, another major issue with being too close to your mic are sibilants. Sibilants are phonetic sounds that require air to be pushed out in a hissing way, such as in the letters s, sh, and z. As we are forcing air out towards the mic there are inherent issues during recording when singing these sounds. In addition, sibilant sounds typically carry a strong high frequency component. This is what makes the hiss sounds feel so piercing to our ears. Standing slightly further away from the microphone can help dissipate the amount of sibilant sound power that is picked up, thereby creating a cleaner, clearer sounding vocal recording.
You may also wish to utilize a de-esser on the vocals within your mix, which helps duck out the high frequency component of sibilant sounds whenever they become excessive.
While there are some helpful solutions for controlling the unwanted side effects of standing too close to the mic during vocal recording, such as using a pop screen, high-pass filter, and de-esser, you might think the easiest solution would be to simply stand a long ways back from the mic and turn up the input gain more in order to fully avoid these proximity issues.
However, there are also unwanted problems related to standing too far away from the mic too.
+ Learn production, composition, songwriting, theory, arranging, mixing, and more — whenever you want and wherever you are. Subscribe for unlimited access!
What happens if you stand too far away?
When you stand far away from your microphone, in order to capture sufficient vocal power you will need to turn up the input gain. But, when you do this you are also increasing the input level of all the other ambient sounds captured from within your recording spaces.
This means you’re picking up very low-level noise sounds within your room that you didn’t even notice previously; and now they’re competing with the other elements of your recording. These ambient sounds will also include the reflections of your own vocals echoing off the walls and other surfaces of the room, which can add to your direct vocal sound and lead to a hollow or muddled vocal sound in your recordings.
The issues with standing far away from the mic can be mitigated to some degree by covering all walls and surfaces of the recording space with acoustically absorbent material and by removing all electronics, fans, and any other sources of noise. You can construct sound resistant walls against noises originating from outside the recording room too. But, of course, some latent noise issues are easily dealt with by simply standing closer to your mic and turning your gain down accordingly.
So, how far is “too far” and how close is “too close?”
Now that we understand the issues with both standing too close to your mic and standing too far, the final question we should ask is how far is too far and how close is too close?
Ultimately it’s a matter of making the best compromise between proximity and distance that optimizes our recording quality while minimizing the degree of unwanted negative side effects.
As a general rule, you should use a pop screen placed 1 to 2 inches in front of your microphone, as this is a quick and inexpensive way to reduce plosives in the sound, no matter where you stand. And, if you refrain from standing more than the length of your feet away from the mic you can keep the input gain low enough to avoid amplifying ambient room noise captured in the sound.
So therefore, the sweet spot we’re probably looking at is anywhere from about 2 to about 12 inches away from the microphone. In other words, closer than 2 inches is too close and farther than a foot away is probably too far, unless of course you’re recording ASMR or screaming at the top of your lungs.
When making your final decision, you obviously need to consider whether you’re singing a soft, gentle melody, or belting out to the balcony seats of your studio space. There are other considerations that can help you determine your best placement within this range on a case-by-case basis as well but the best way to know for sure is to do a few tests yourself.
To sum it all up…
Your best position will be somewhere between 2 and 12 inches from the face of your microphone. You should also place a pop screen filter about 1 to 2 inches from the mic and apply additional measures in your recording space and mix, as needed, based on your choice of distance.
Don’t stop here!
Continue learning with hundreds of lessons on songwriting, mixing, recording and production, composing, beat making, and more on Soundfly, with artist-led courses by Ryan Lott, Com Truise, Jlin, Kiefer, RJD2, and Kimbra: Vocal Creativity, Arranging, & Production.