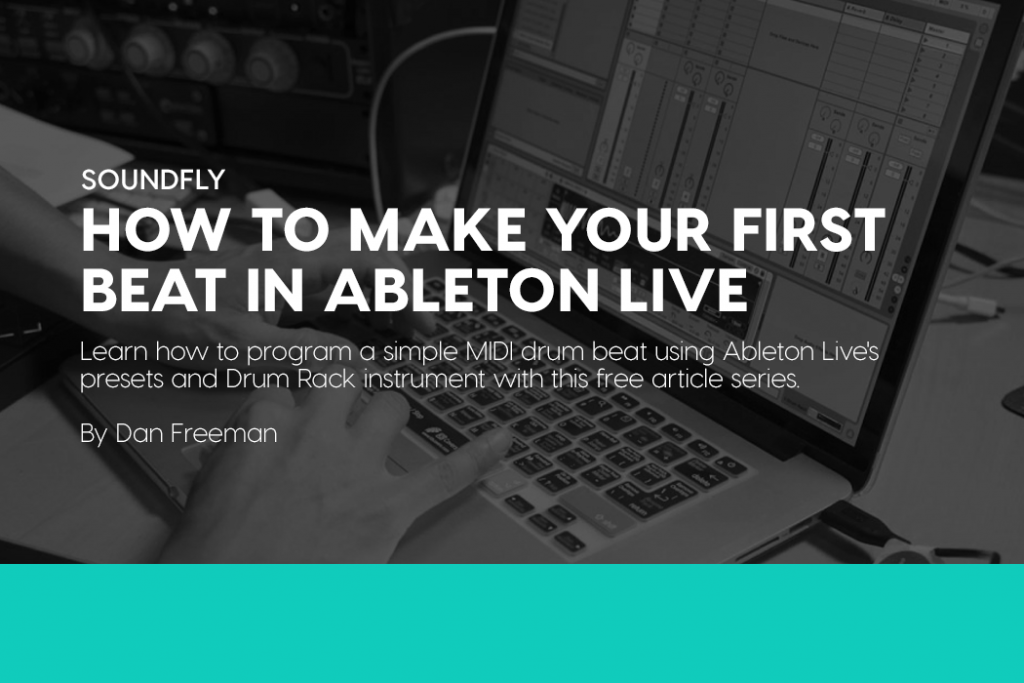
Hello there! We’re trying something new here.
For one entire calendar week, we’re pausing our regular schedule of irrefutably awesome, can’t-live-without-them, like-nothing-else-out-there articles on Flypaper in order to bring you a week-long, free course on how to make a beat in Ableton Live using the Drum Rack!
At the bottom of each article, you’ll be able to skip ahead to the next lesson or go back to the previous one. And if you get really lost, you can use this link to view all of the lessons à la carte. Good luck on your beat-making adventure!
Welcome to the Course!
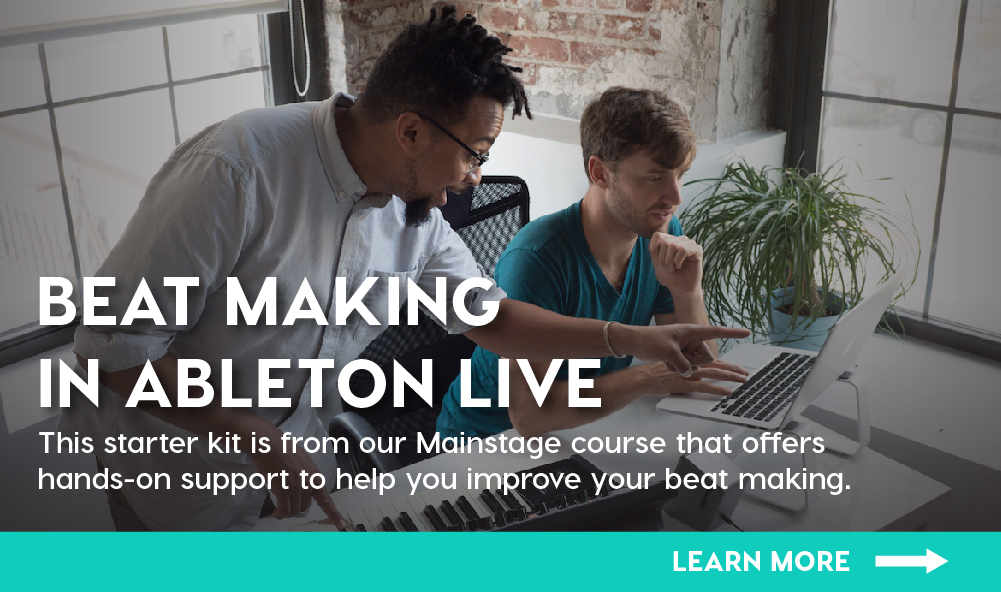
As we mentioned above, this free micro-course is a snippet of our more in-depth Mainstage course Beat Making in Ableton Live. But if you’re just starting out, this should get you ready to craft some great beats. By the end, you’ll know how to:
- Load preset Drum Rack instruments
- Record MIDI
- Do some basic editing
- Overdub MIDI into existing Clips
- Make a simple, shareable beat
What You’ll Need
For this course, you’ll need a computer with a copy of Ableton Live, or you can follow along in your DAW of choice. If you’d like to give Live a shot, you can download the fully functional 30-day demo here.
We’d also recommend a MIDI controller of your choice. A MIDI controller is anything that speaks to your computer via MIDI data — basically, digital music information. My controller of choice is Ableton’s Push, but there are tons of keyboards out there at all price ranges you can use as well.
If you don’t have a controller, don’t worry. You’ll soon learn how to make incredible beats using just your mouse and keyboard! Apparently, clicking and drawing is Skrillex’s preferred method of beat making, so you’ll be in good company.

Take a moment to introduce yourself in the comments below. Let us know a bit about your Ableton background and what artists, genres, and cultures inspire your music.