+ Learning to record and mix music? Explore Soundfly’s acclaimed online courses on mixing, production, and songcraft — click to subscribe.
If you’re producing an ensemble of strings, whether digital, instrumental, or a combination of both, you may run into issues where either the note performances or the phasing are off, creating discrepancies in your lush, continuous sound.
Here are some tips to help you mix your way out of that potential mess, in a lesson taken directly from Soundfly’s Faders Up: Advanced Mix Techniques course. *Note that this lesson is applicable in most DAWs.
Time Correcting Staccato Passages
Articulations with fast attacks are relatively easy and can likely be corrected using time correction methods we used for drums. Try using monophonic algorithms with Flex Time (in Logic Pro), Warping (in Ableton Live), or Elastic Audio (in Pro Tools) to help tighten things up.

Unlike drums however, we’re dealing with one mic, and one source, that’s been recorded and layered multiple times to make it sound like a section — there’s no bleed to worry about here.
Because of this, we want to use flex time on the individual tracks, instead of on the group as a whole.

This way, we can tighten up each performance as much as we want and maintain the “group” sound. Keep in mind, that some of that looseness can help “sell” the sound of a real orchestra. Listen carefully, and determine whether you even need to time correct anything at all.
Time Correcting Legato Passages
Legato, or articulations with slower attacks, don’t typically have a visible transient that helps us visually or automatically identify the start of each note. Time correction algorithms may not do much for us here.

For this, we want to turn off the grid.
In Logic Pro, we can turn the snap function off, or set snap to samples since that’s the smallest unit we can use to adjust audio timing. You can shut off the grid in Ableton Live by right-clicking on the timeline and setting the grid to “None.” In Pro Tools, you can do this by simply switching to “Slip” mode.

Sometimes it will be as easy as looking for the louder portions of the waveform and sliding the region around until it sounds best.
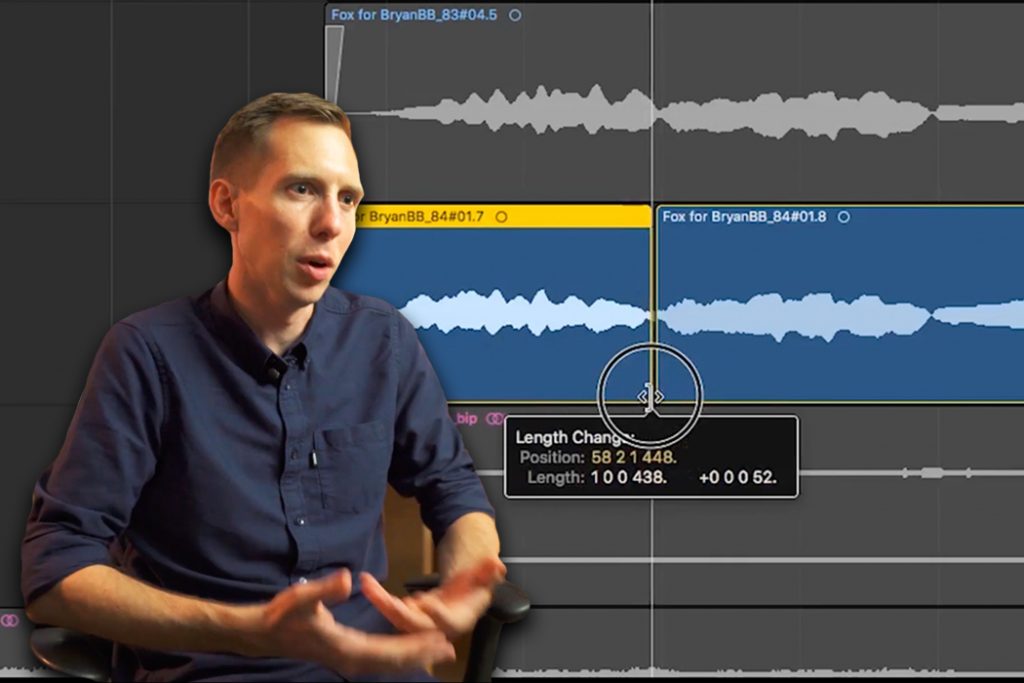
If you wind up needing to separate individual notes, that’s where crossfades become super important.
For instance, here, we need to separate this note and adjust the start to be earlier. The next note has to stay about where it is. If we drag out the right handle of the first note, the second note enters too early.

We have to drag the left handle of the second note backward until the sustained portion of our first note begins overlapping with the other region. Now we can add a crossfade to the end of our first region and take a listen.
Hopefully, a lot of this will be completed for you when you get your mix, but sometimes you might have to clean things up to get the best sounding mix.
About Brian Losch

Brian is a Grammy Award-winning recording engineer living in Brooklyn, NY. Production credits include artists such as Yo-Yo Ma, Chris Thile, Jason Moran, and many others. He also does recording and post-production work for film and television and has worked on releases for the American Boychoir, ESPN Films, Discovery Channel, as well as broadcasts for the Metropolitan Opera HD, San Francisco Ballet, and the New York Philharmonic.
Ready to Learn More About Mixing?
Head over to Faders Up: Advanced Mix Techniques now to get hundreds more lessons on mixing and engineering. With Soundfly’s all-access subscription, you’ll be able to go through every course on the site at your own pace.


