+ This exclusive video lesson is presented courtesy of Ryan Lott’s course, Designing Sample-Based Instruments. Sign up to inject a new dose of creativity into your music with custom-built virtual instruments.
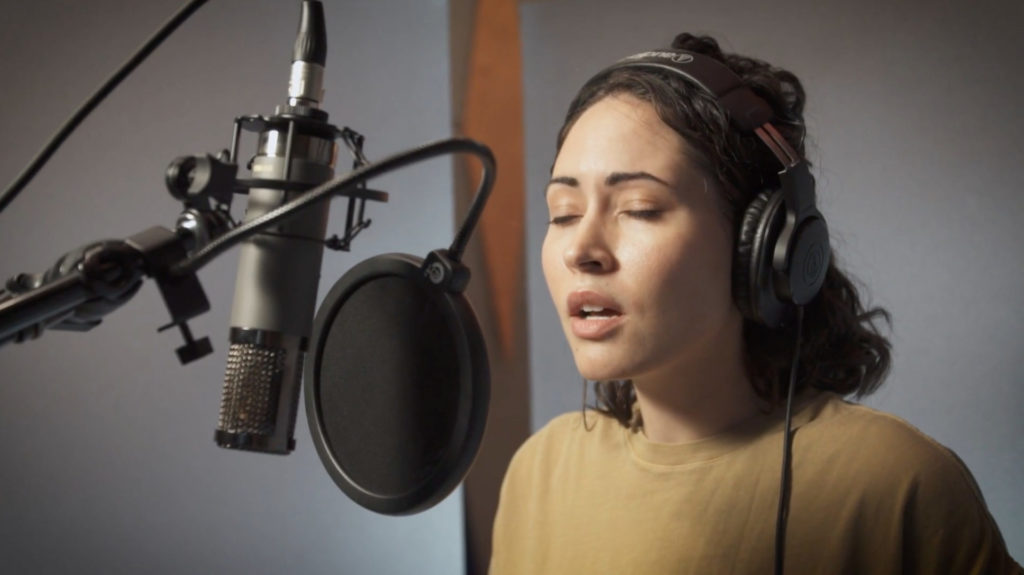
Joined by his frequent collaborator, Hanna Benn, an incredibly skilled composer and vocalist, Ryan Lott explores how he typically approaches treating vocals as sample fodder for building a new digital instrument. He constructs a new, creative, playable synth set using Hanna’s voice as a source of inspiration.
In this newly released video from Ryan Lott: Designing Sample-Based Instruments, Ryan explores the various possibilities when working with such samples, opting to try out a type of breathy “lunge” from some of Hanna’s takes in the booth.
As he messes around with the captured sounds to find a jumping off point, we see Ryan try out various techniques and sonic effects which impart new colors and feels to the audio information locked within.
The result is something akin to what we heard in the Main Title Theme to Season 2 of The White Lotus, by Cristobal Tapia De Veer, with pitched and sampled voice notes being played and manipulated in an emotive, score-friendly collage. In fact, using voice samples is a great way to inject humanity and flexibility into any film or media scoring project!
First Approaches
You’ll notice that Ryan doesn’t necessarily listen back to the entire recording before jumping into a new instrument. Instead, he heard a specific sound toward the end of the recording session that he liked and decided to start playing with it immediately. He remembered roughly where it was, bounced an audio file from the recording, and then pulled it into Kontakt.
You’ll also notice that he’s using a fairly large audio file in his sampler here so that he has more flexibility within Kontakt to trim it, adjust it, try out different waveforms, etc.
Once his audio file is in Kontakt, Ryan then auditions the sound, noting the organ-like quality of the sample and the artifacts it contains.
Artifacts: Accidental and typically unwanted noises that have been unintentionally included when capturing or manipulating audio (like electronic hums, buzzes, etc.)
Ryan creates a loop within the sample in order to focus on a specific part of the sample that has the most contour. Once again, the fact that he has a longer sample here gives him more flexibility in finding the loop he wants. When he loops the specific part he wants as a single note, it has a rhythm to it that could form the basis of a song.
From there, we see him adding a crossfade to the loop. In the process, he experiments with a few different loop points and crossfades to see how it changes the texture of the loop.

When he plays a chord with the sample, the loop point is made less obvious as the duration of the notes differs and overlaps. And as he adds more notes to the chord, the rhythmic contour becomes more messy, complicating the simple rhythm of a single note on its own in interesting ways.
Other Creative Parameters
Let’s go over some of the other tools and adjustments Ryan mentions in this video.
Setting Loop Count
In Kontakt, you have the option of establishing the number of times you want a portion of audio to be looped before continuing on to the rest of the sampled area.
Adjusting Playback Direction
You could choose to have the selected audio play in reverse, as we saw in an earlier lesson. Should you do that, playback would start at the place where you’ve set the end point and move backward from there.
Using Multiple Performances
Including parts of multiple performances can also have an interesting effect, especially when combined with other design tools and techniques.
Additional Tweaks
Ryan shows us a few other parameters he might play with now to get the sort of instrument he wants:
- He adjusts the ADSR, adding a few milliseconds of attack and experimenting with a couple different settings on the release.
- He slaps a big reverb on the sound, using his Capitol Chambers from UAD.
- Finally, he tunes the instrument, making sure that a C on the keyboard actually maps to a C in the audio.
Notice that there’s a lot of exploration here as he tries different things and auditions different creative possibilities with this specific sample.

Turn one of your vocal samples into a playable instrument, and experiment with the Wave Editor to adjust it.
Pick an interesting vocal sample, preferably one with a little bit of contour, and load it up into your sampler. Then, spend a little time making some quick adjustments until you’re pretty happy with what you have. Once you have a playable instrument, spend a little time experimenting with the ideas from this lesson to program it in different ways.
Bonus: Come up with a fun loop based on the instrument that could form the starting place for a new song.
Don’t stop here!
Continue learning with hundreds of lessons on songwriting, mixing, recording and production, composing, beat making, and more on Soundfly, with artist-led courses by Kimbra, Com Truise, Jlin, Kiefer, and the new Ryan Lott: Designing Sample-Based Instruments.