+ Learning to record and mix your vocals at home? Check out Soundfly’s popular online music production courses today! Subscribe for unlimited access here.
When I first started mixing, I made all of these mistakes. It took me years to learn these lessons. So I’m sharing them with you so you can make radio-ready mixes much faster! These mistakes can spell disaster for your mix.
If you want clear, professional-sounding reverb, make sure you’re avoiding these problems.
The following screenshots were taken in Logic Pro. To learn the ins and outs of this DAW, as well as tips and strategies for tightening your workflow and expanding your production and mixing skills, check out our online course, Intro to Making Music in Logic Pro X.
Mistake #1: Not EQing the Reverb
It’s no secret that EQ is an incredible tool for making your instruments pop in a mix. But a lot of mixers don’t realize that EQing the reverb can be super helpful, too.
Think of EQ as a puzzle. By shaping the frequency content of different sounds, you’re putting these little pieces together to make a clear picture overall. And reverb is no exception; you need to make sure the reverb fits.
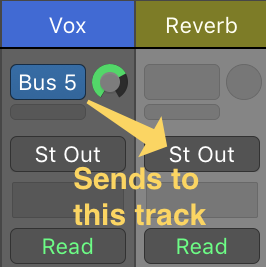
To EQ your reverb, you’ll need to make sure you’re using a reverb bus. Create a send on the instrument(s) you want to add reverb to, and set the output to an empty bus. Then, add an EQ and a reverb to that bus track.
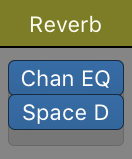
The reverb needs to be on a separate bus. If you place the reverb directly on the instrument’s channel, you won’t be able to EQ the reverb by itself.
Cleaning Up the Reverb with EQ
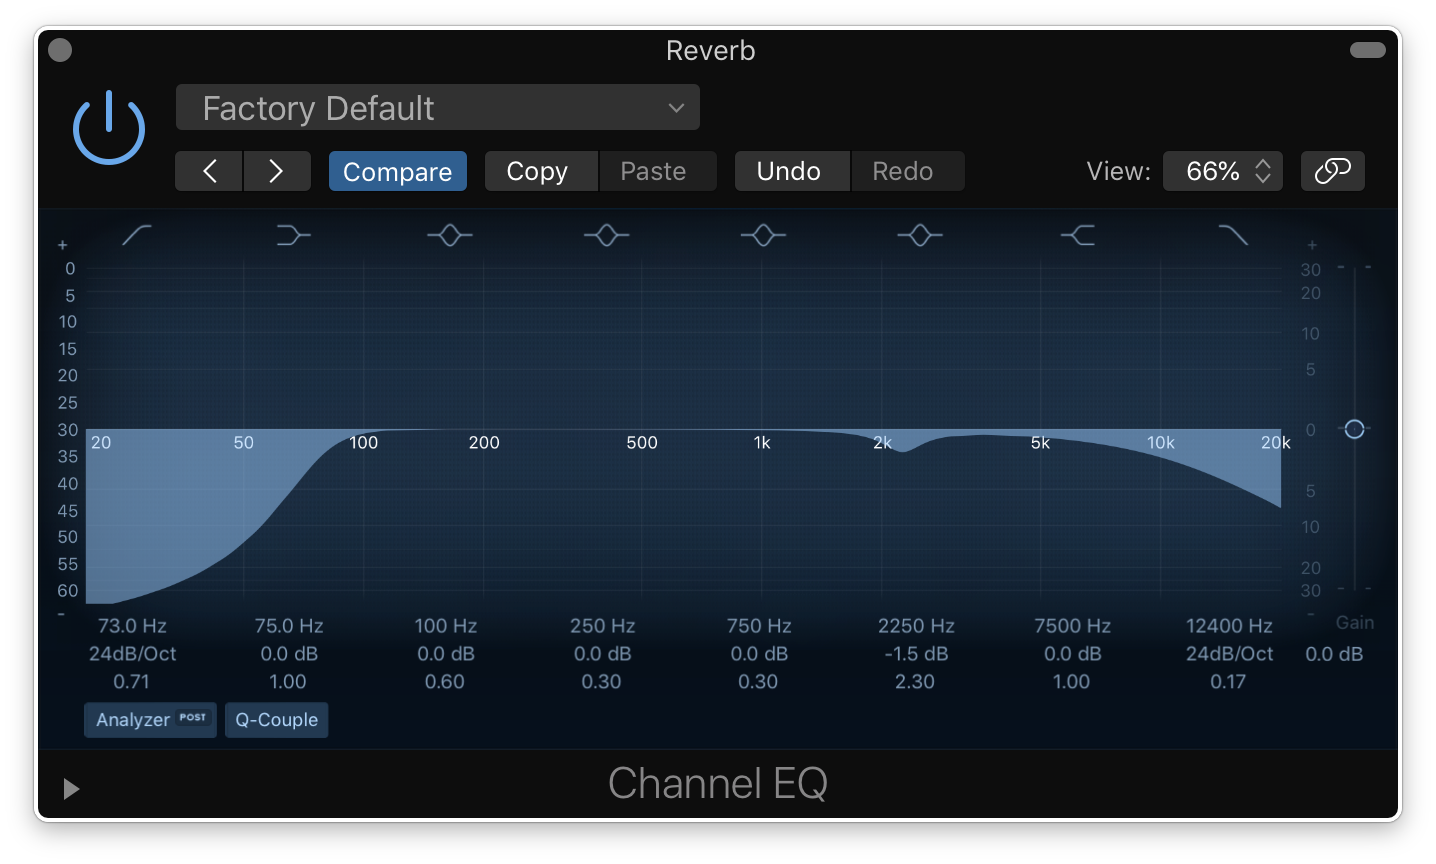
Once you’ve got your reverb bus set up, it’s time to do some cleanup work. Try rolling off the low end content up to 100 Hz and cutting off some of the high end.
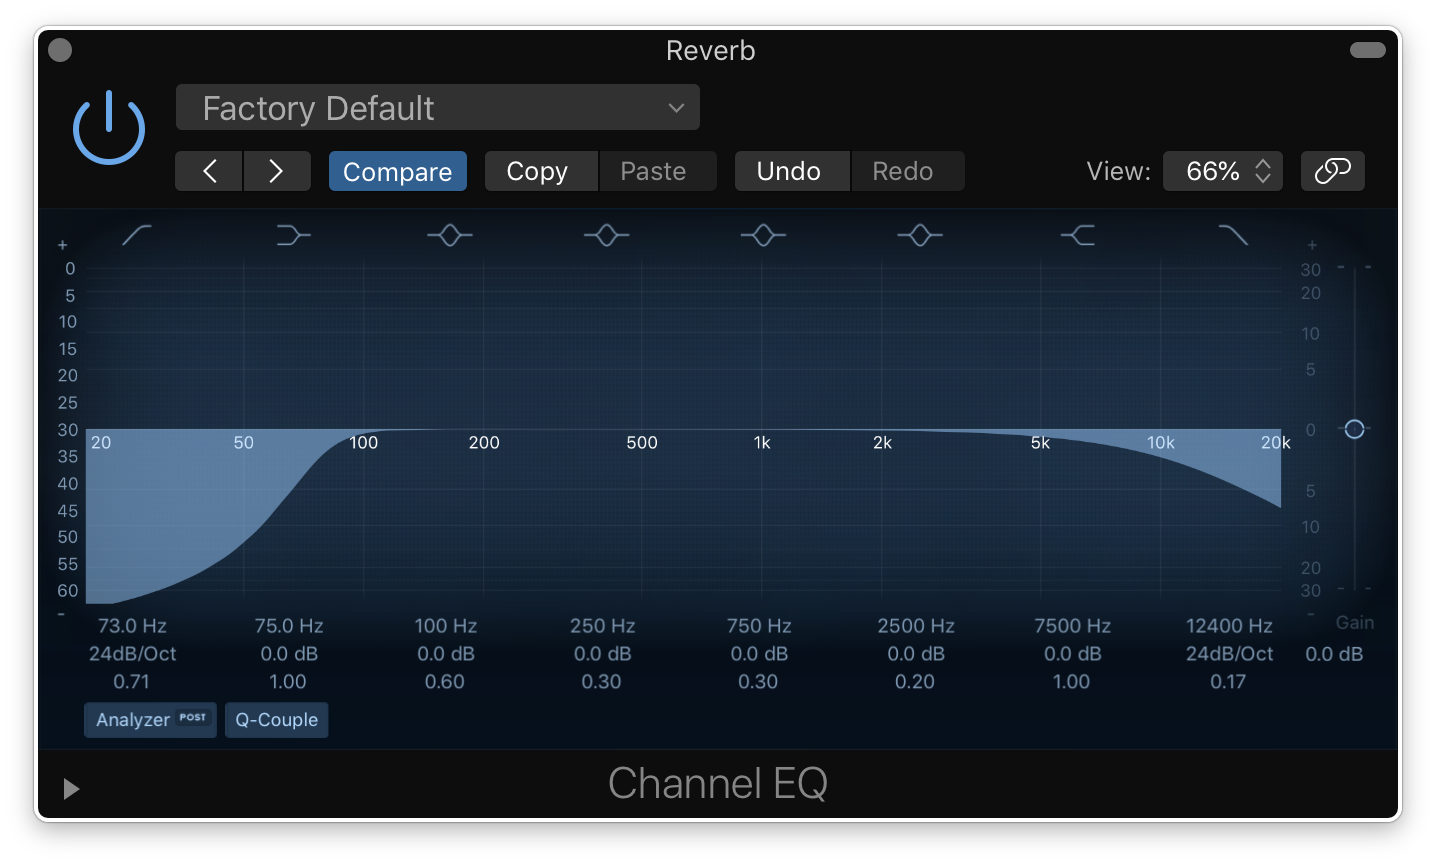
This is often a good idea because low end in a reverb tends to clutter up the mix. Plus, really high frequencies can sound piercing in the reverb. Sometimes, it can also help to cut a little bit around 2 to 4 kHz. If your reverb is covering up your vocals, try cutting here.
This isn’t a hard and fast rule. Not every reverb needs these kinds of cuts. But you should try this out on your mixes and see if it helps. Aside from cleanup work, you can also use EQ to shape the tone of your reverb.
Shaping Reverb Tone
Often, I get to the end of the static mix and realize the instruments’ levels sound good, but the overall tone is off. Maybe the drums aren’t bright enough, or the guitars need to sound moodier.
EQing the instrument itself can be helpful, but a lot of time spent shaping the reverb can be just as effective. By changing the tone of the reverb, you can change the tone of the entire mix.
When shaping the reverb’s tone, you may find that the tone of every instrument sending to the reverb changes too. Add a reverb bus to some instruments in one of your mixes. Grab the high shelf filter and see how the song changes when you turn it up or down.
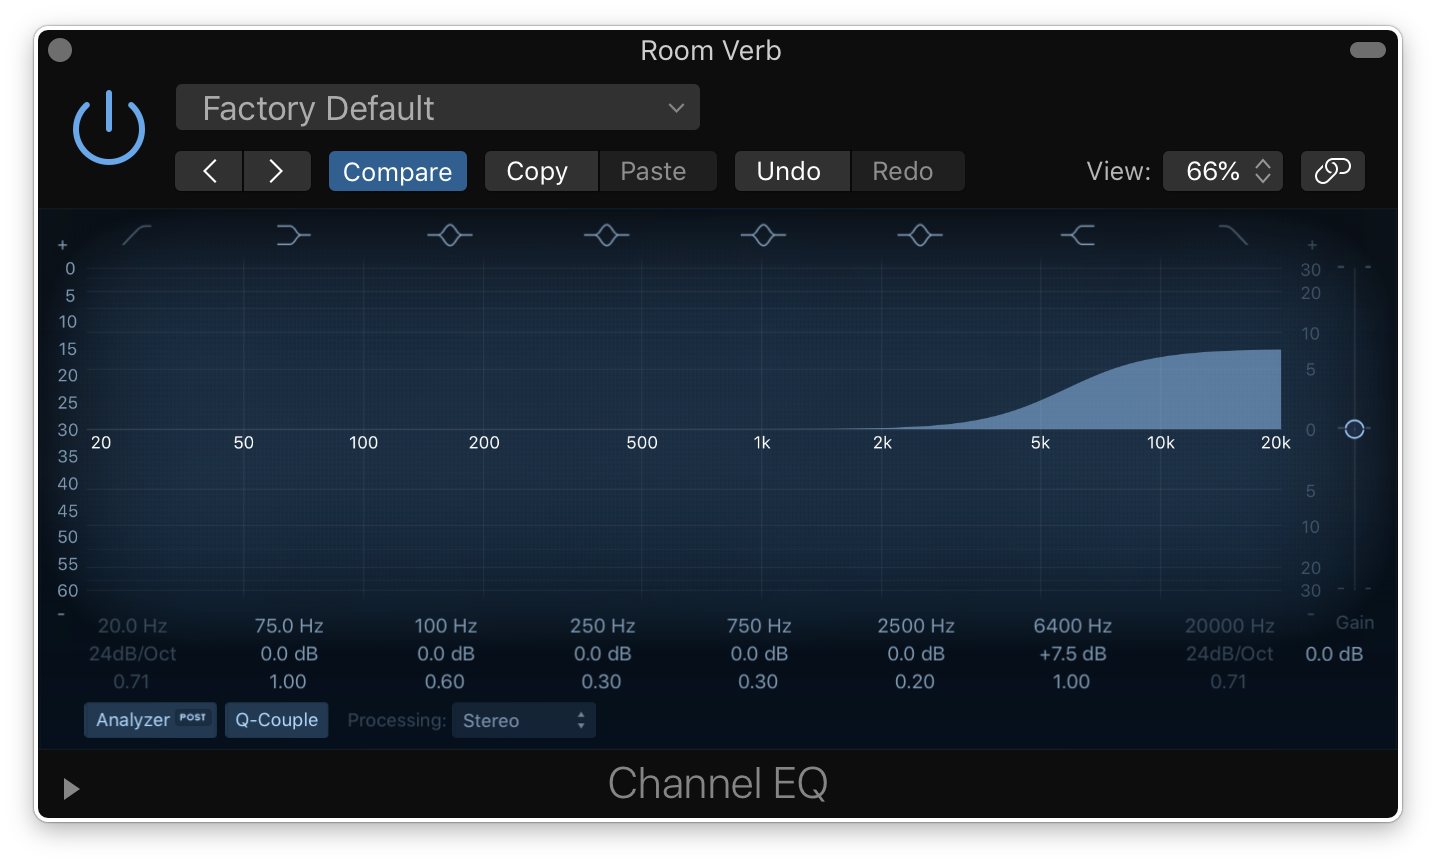
By turning up the reverb’s high end, you’ll find that the instruments sound brighter. Turn it down and everything should sound a lot darker and moodier.

So don’t think of how you want the reverb to sound when EQing it. Instead, think about how you want the mix to sound. If you want your mix to sound brighter, you can send your instruments to a reverb that adds some high end.

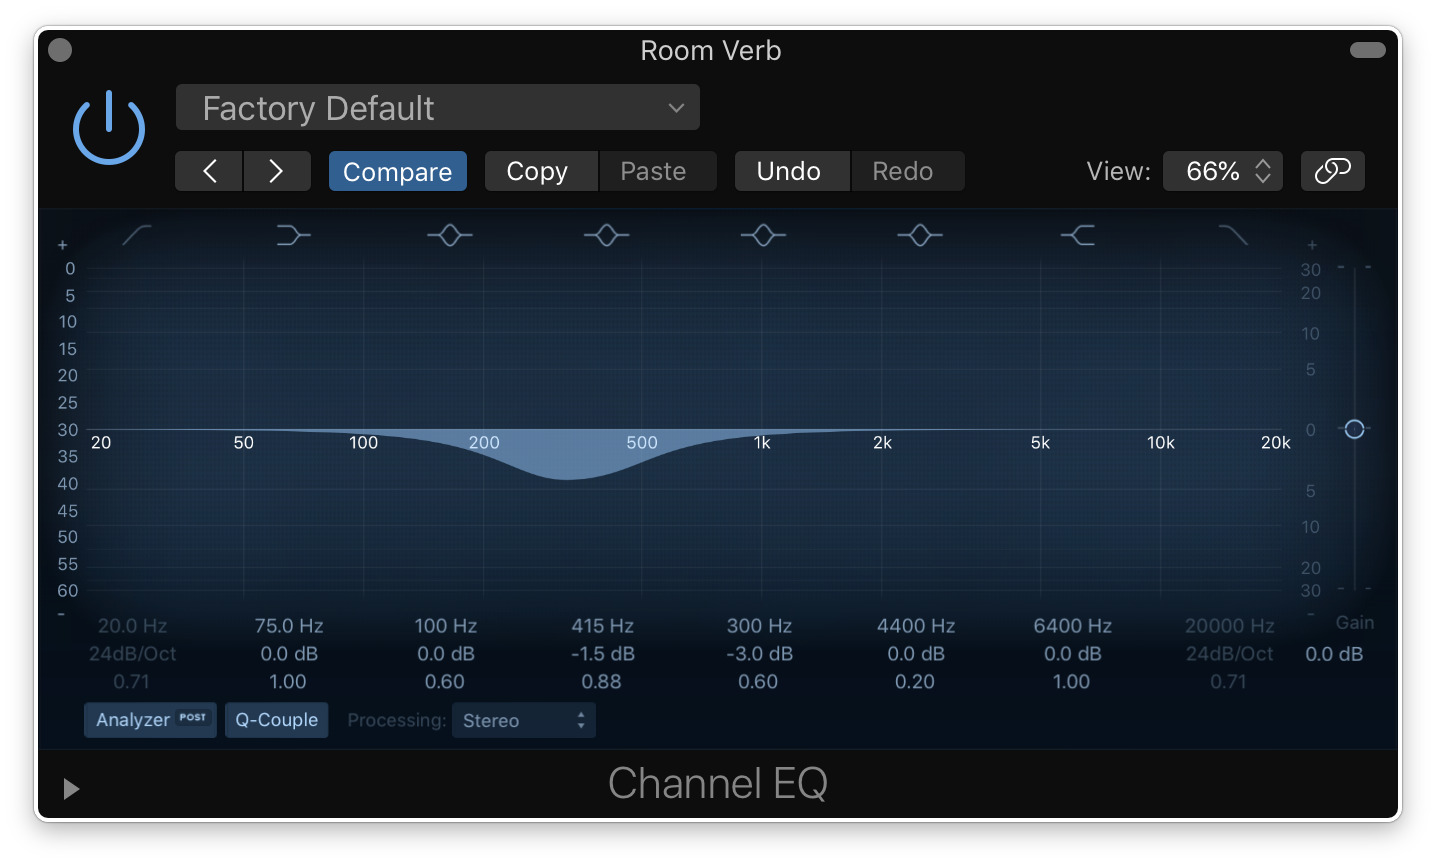
Or maybe the low mids sound cluttered. Try turning those frequencies down in the reverb.
There are tons of options. I really recommend spending some time experimenting with the different tones you can create.
Mistake #2: Only Using Long Decay Times
For years, I would always set the decay time on my reverbs to two to four seconds. I thought it sounded super lush and cool. But these long decay times were actually making my mixes sound messy.
And it makes sense if you think about it! Long decay times make notes last longer, so they end up combining notes together. It’s really easy to make a song clash this way. Using a shorter decay time is a great way to add more reverb without making the mix sound messy.
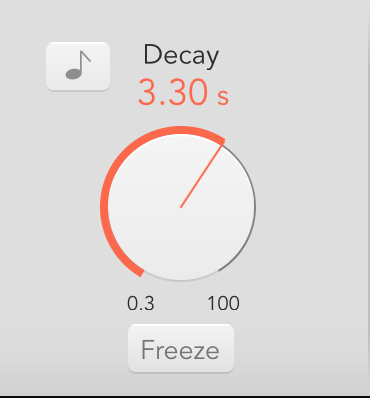
Generally speaking, I don’t go above two seconds for decay time. I usually go between 0.5 and 1.5 seconds.
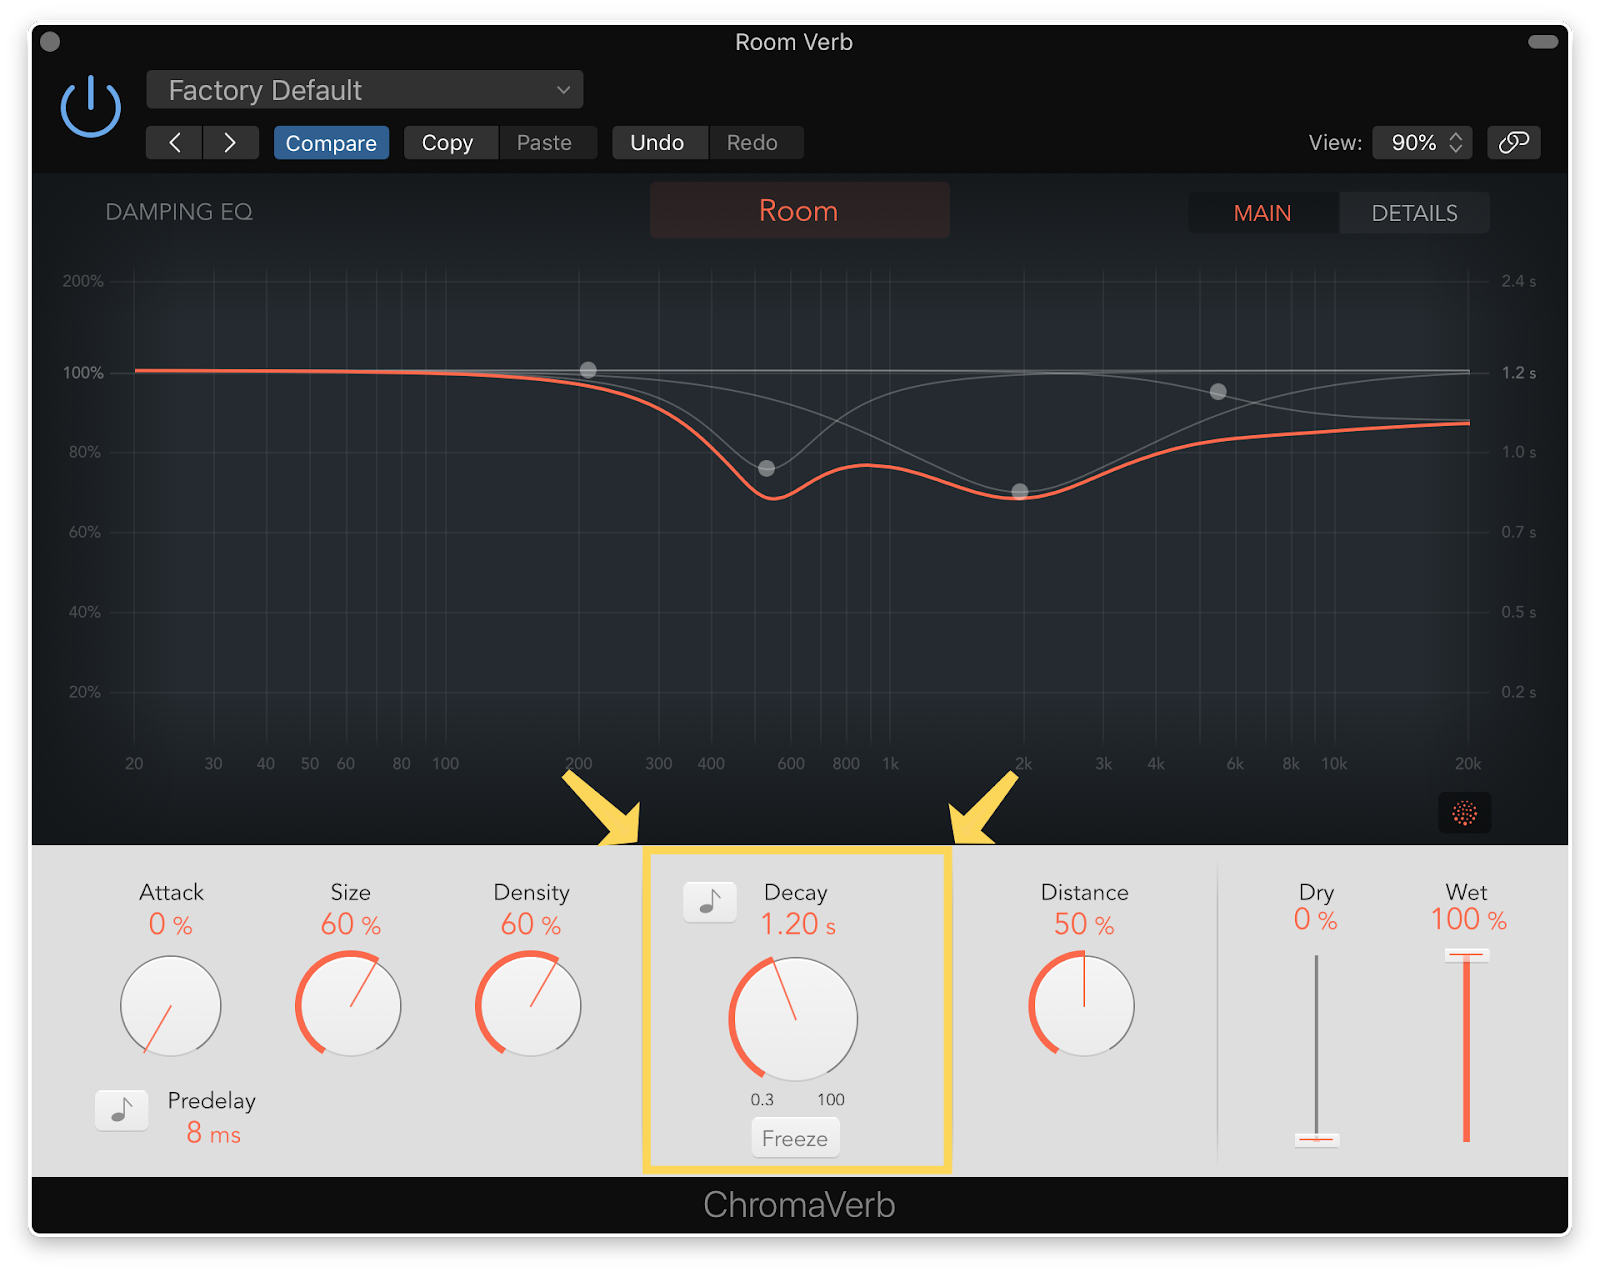
A good way to start tuning your decay time is to make sure the reverb dies out between the snare hits. Solo the snare and turn the decay down until it disappears between hits. Oftentimes, I’ll make the decay even shorter. But you’ll usually want the reverb to fade away before the next snare hit in the song, at the latest.
If you’re using reverb to create atmospheric effects and need a long decay time for that, go for it! But if you’re just trying to subtly create depth, keep it short.

Mistake #3: Using Too Much Reverb
A really easy way to tell a professional mix from one made by an amateur is when there’s too much reverb. So when you’re just starting out, it can be tempting to make it really noticeable. But it’ll end up sounding like you’re trying to hide a subpar mix under a lot of effects. That might not be your intention. But the listener will still come away feeling like your mix doesn’t stack up to one from the pros.
To make sure your reverb is set at the right volume, start with the fader on your reverb channel all the way down.
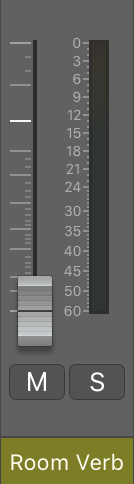
Then, gradually turn it up. Once you first start hearing it in the mix, stop.
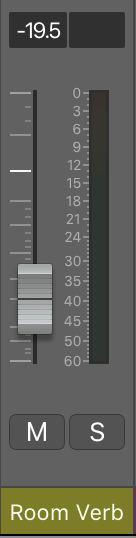
Once you start hearing it, back off it a touch for safety. Often, the best place for an effect like reverb is right before it starts to be heard. When you’re using reverb to create depth in a mix, you’ll want to feel it more than you actually hear it. When you mute the reverb channel, the mix will sound empty. Almost like the song has deflated a little.
But when you turn it back on, it shouldn’t be super noticeable.
You can also use a reference track and compare the reverb in your mix to it. If your mix has way more reverb than the reference, you’ll probably want to turn it down. Once again, you don’t have to worry about this as much when you’re creatively using reverb to make something atmospheric (like for an ambient piece or a cinematic drone).
Mistake #4: Only Using One Plugin
Generally, I’m an advocate of focusing on one plugin for whatever you need. Instead of having 10 EQs to choose from, I think it’s better to have one go-to EQ that you know like the back of your hand. But when it comes to reverb, it’s good to have multiple options.
Different reverbs sound extremely different from one another.
If you’re only using one reverb plugin, you’re probably missing tones that better suit your mix. They don’t need to be super fancy, expensive plugins, just two to four options for you to choose from. I’m not saying you need to be using three different reverbs in each mix. I often find that one reverb plugin will work in any given mix.
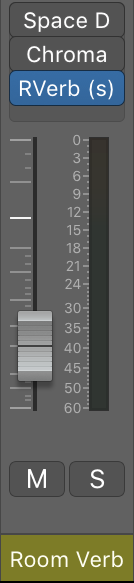
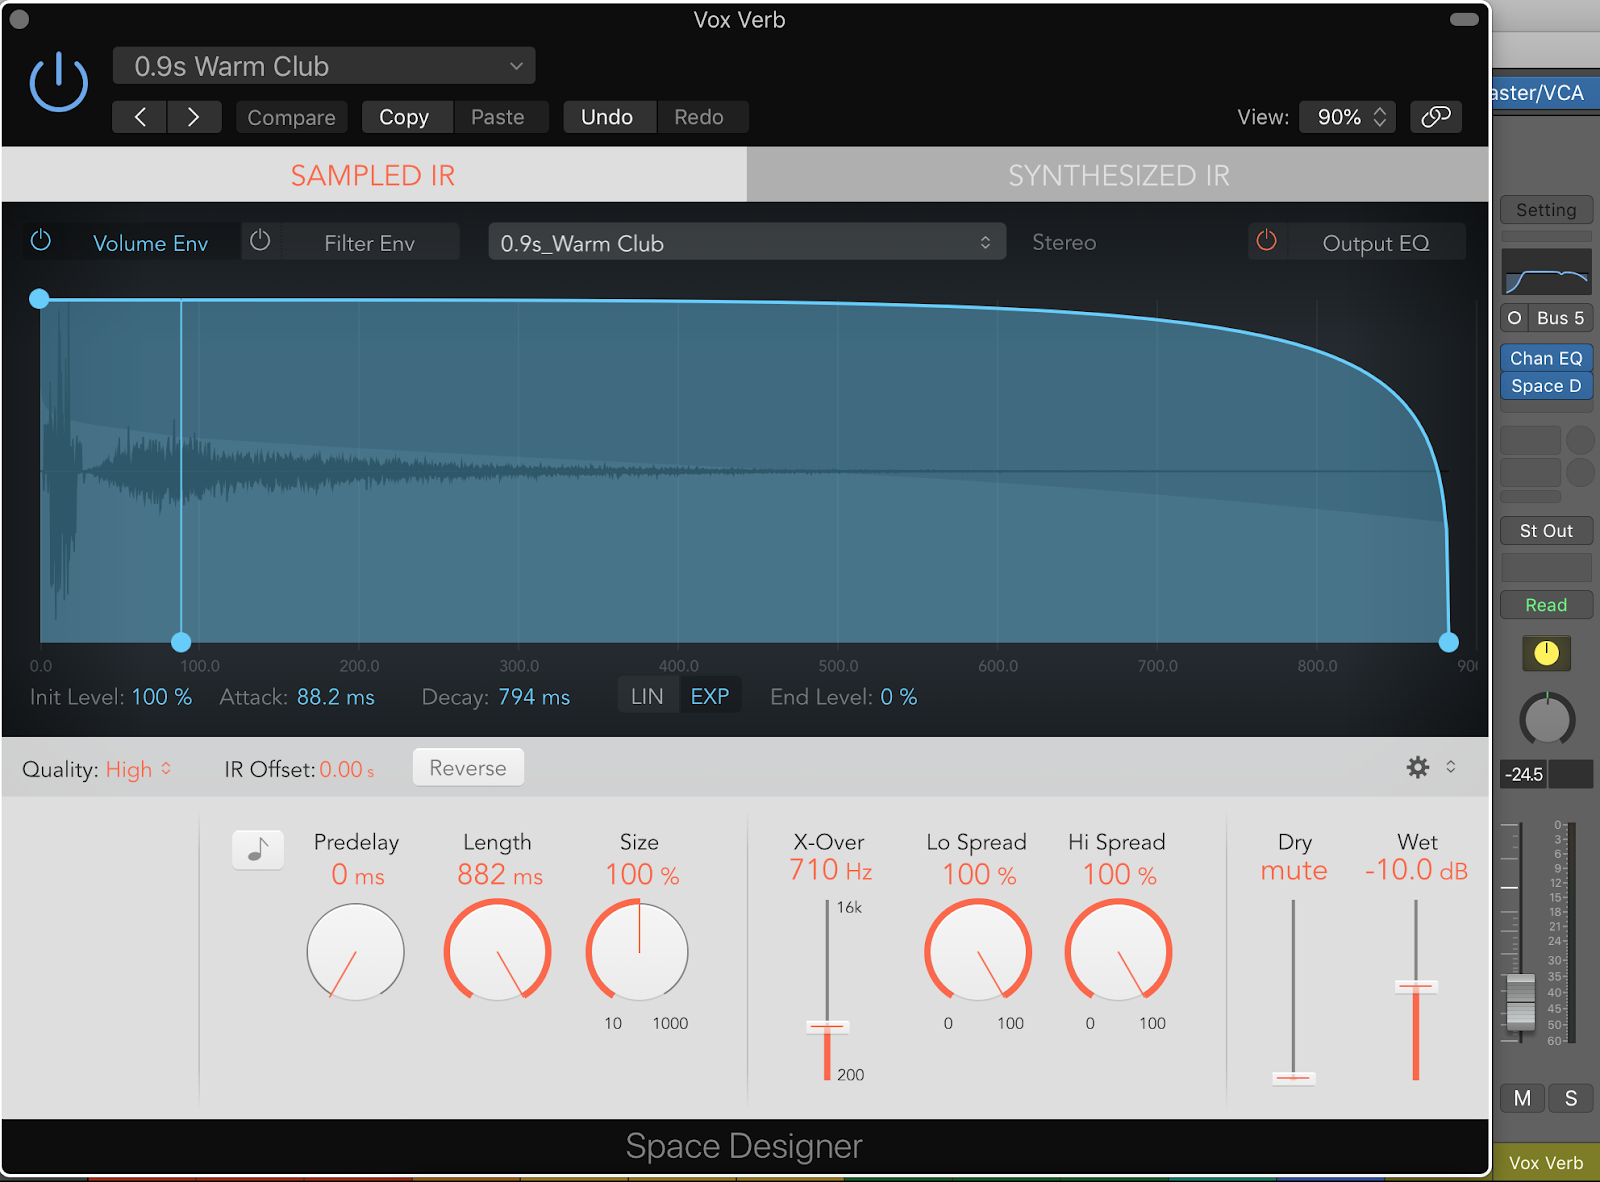
Logic’s ChromaVerb might be perfect for one mix. But when I start my next track, I might find that Logic’s Space Designer is better.
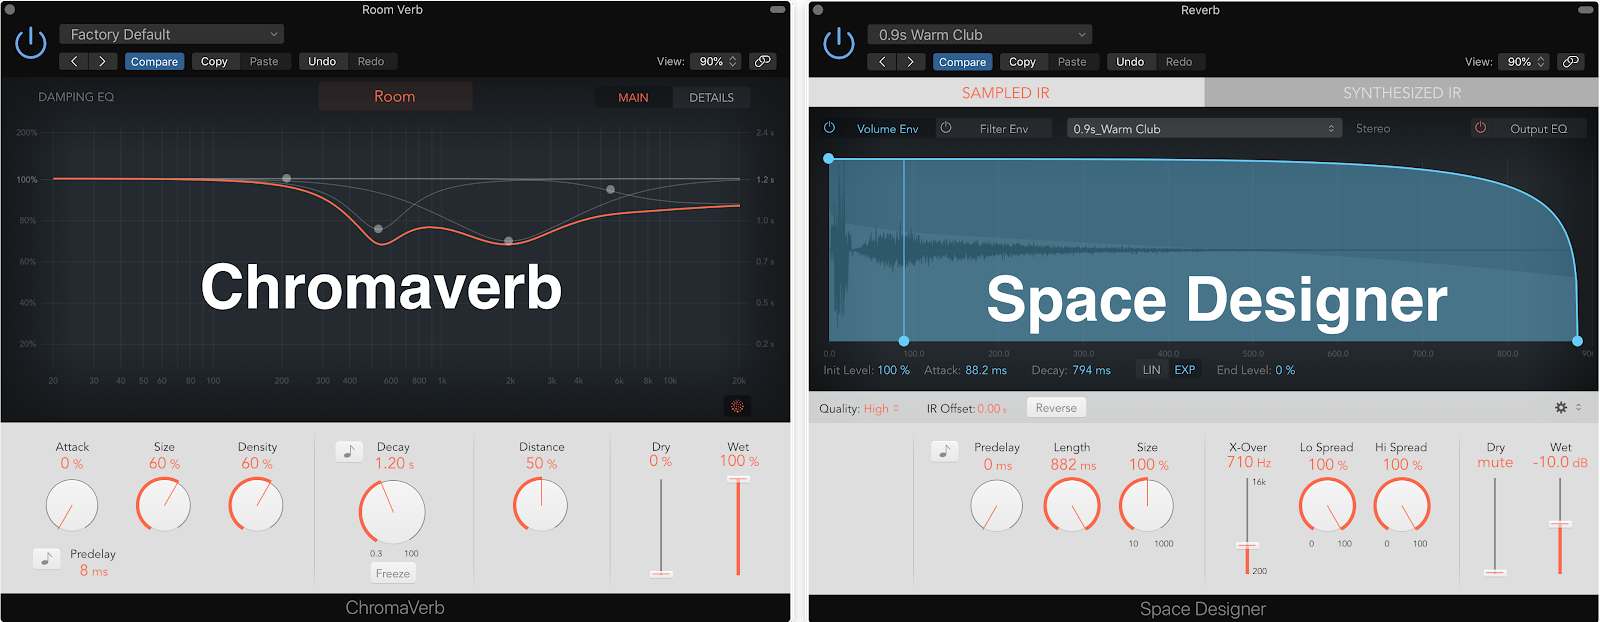
So I recommend trying a few different reverb options and seeing which one sounds better for your mix.
Once you’ve got a general mix balance set up, throw a few different reverb plugins on your reverb bus. Change the settings so the different reverbs sound generally similar. Obviously, they won’t sound identical. They’re different plugins, after all! But you want them to have a similar pre-delay and space.
After that, compare how the different plugins sound in the mix and see which one sounds best. Make sure you’re bypassing the other reverb plugins when trying out each plugin’s sound. Do this for each mix you work on to make sure you’re finding the best reverb tone for the occasion.
Mistake #5: Not Putting Reverb on the Vocal
This is something I see all the time from amateur mixers. Since the vocal is supposed to be front and center, people often think they shouldn’t put any reverb on them.
Vocals with no reverb on them sound like they’re in a totally different space from the rest of the mix. Most, if not all, of the other instruments will have reverb on them, so completely dry vocals sound out of place. You still need to be careful about not going overboard. Too much reverb on the vocals is definitely a problem too.
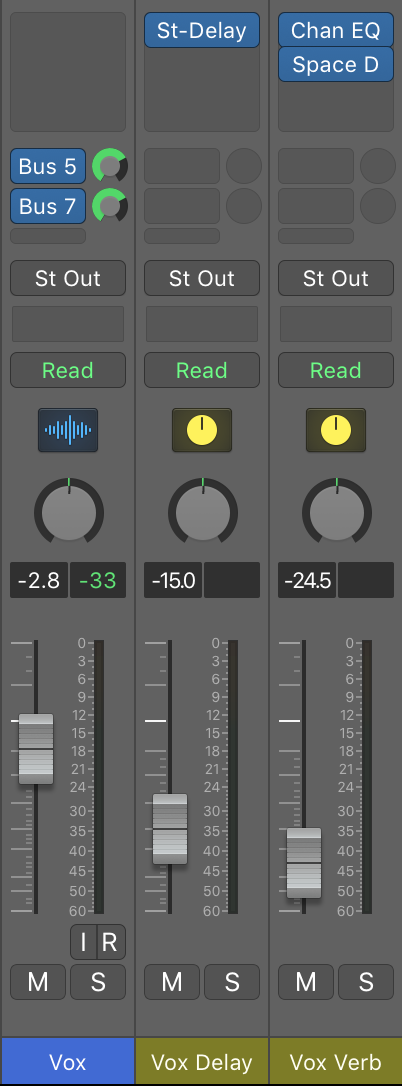
In my opinion, a good vocal space usually comes from a mix of delay and reverb. So you’ll definitely want reverb on there, but also try using delay. By using a slapback stereo delay, you can add some space to the vocal without pushing it back in the mix.
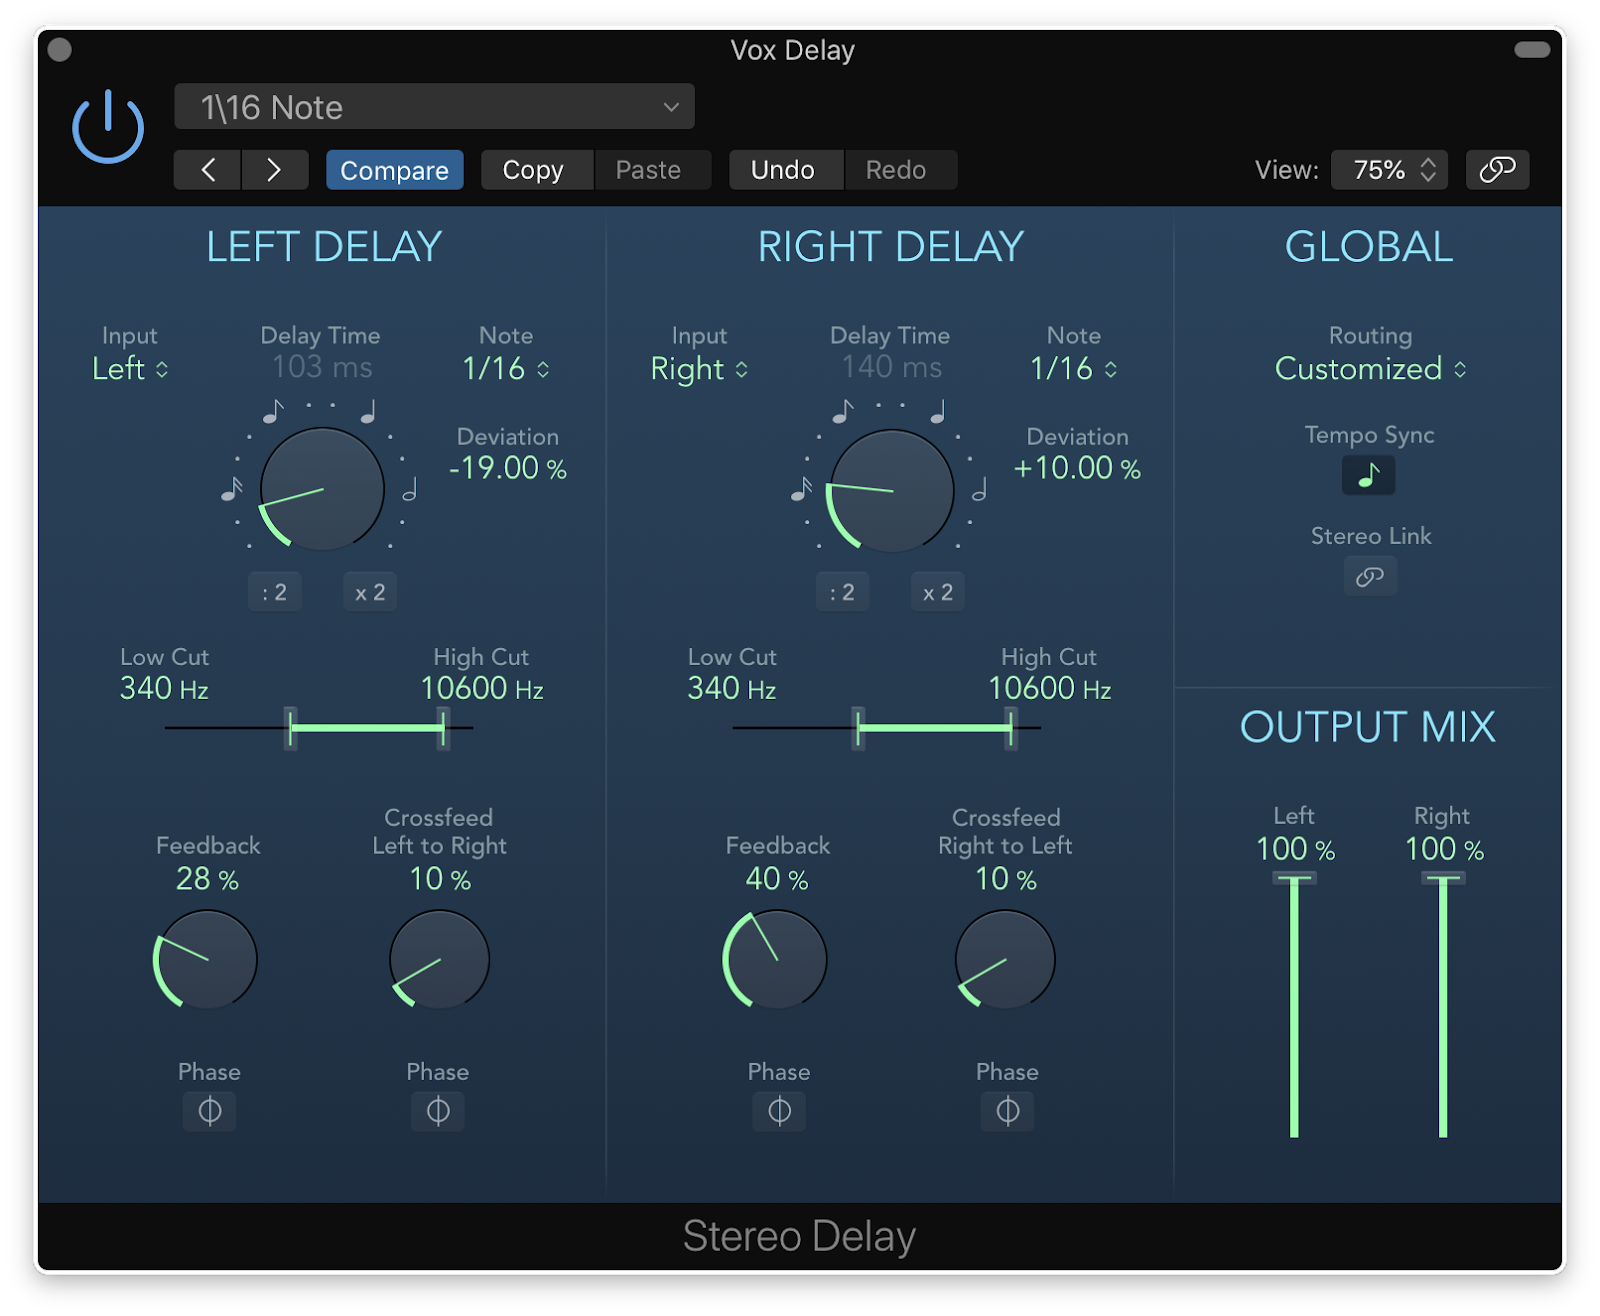
I usually set up a nice stereo delay and add in just a little bit of reverb underneath. That way it still feels like it’s in the same space as the rest of the mix.
Mistake #6: Complicated Reverb Set-Ups
It’s easy to think every step of mixing has to be difficult. All the fancy terms, plugins, and techniques make it seem like there must be some secret sauce the pros use. But there’s no secret sauce. And often the simplest answer is the best one — that’s why my approach is to keep it simple.
For example, some people advocate using three different room reverbs. But I think it’s too complicated. I just use one room reverb for my instruments and one for the lead vocals. I’ll send a lot of my instruments to the room reverb, especially things like guitars, snares, and background vocals.
If it’s got mid and high frequencies, it goes to the room reverb.
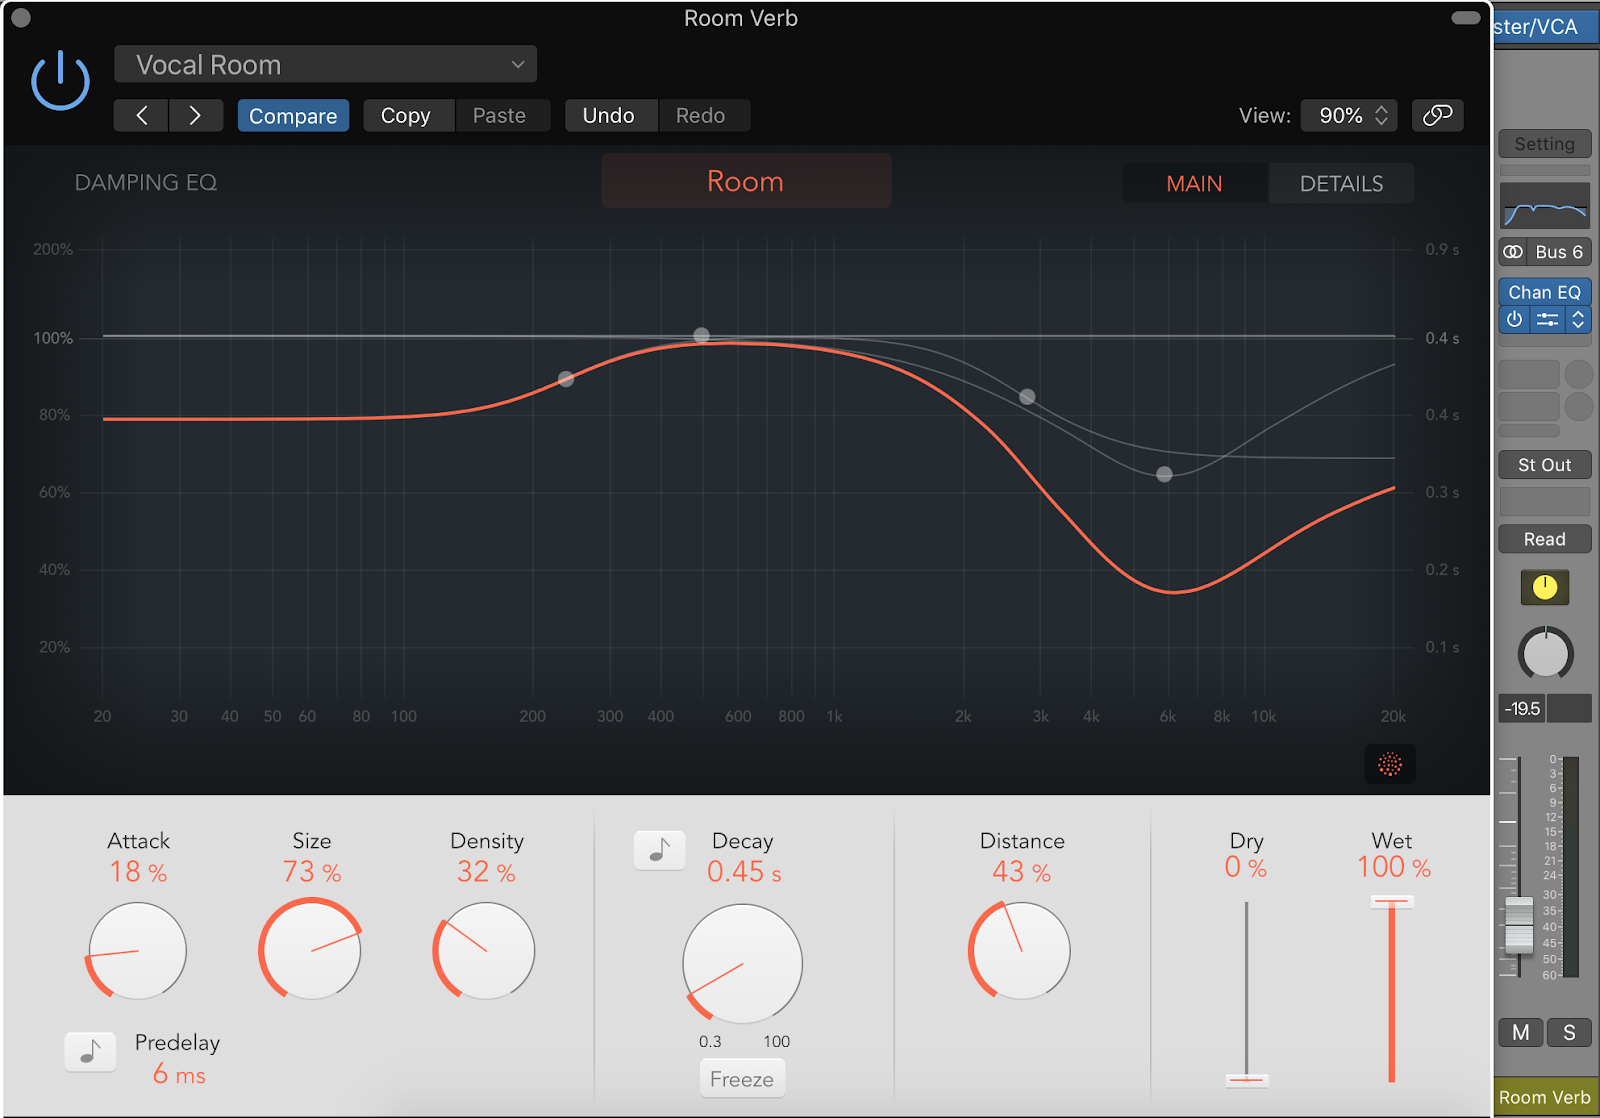
Then I’ll make another reverb for the vocals. I usually make this one shorter than the room reverb so the vocals still sound closer to the listener.
If there’s a specific tone I want, like a really dark reverb on the guitar, I’ll make another one for that. It’s okay to use more than two reverbs, but try to keep the number pretty low. You can go really simple and just use one mono room reverb.
I don’t recommend doing this for every mix. But it’s helpful if you want to create depth in your mix without doing much to change the overall space. If there’s a different way you like to set up your reverb and it works for you, that’s great! But I think you should at least try the one reverb method out. It’s worth seeing if you can get the same quality of results with less work.
Mistake #7: Being Afraid to Experiment
A lot of people ask me when they should use different types of reverb.
- How should I use a spring reverb?
- When should I use a plate?
- What instruments sound good in a hall? And so on.
These are great questions, but there are no clear-cut answers! I honestly think you’ll learn more by just trying stuff out. I know that seems like a non-answer, but this is the creative part about mixing. I can’t definitively tell you what will and won’t work. That’s up to your own preferences.
Not sure if a hall would sound good on the snare? Try it out!
Send different instruments to different reverbs and see what works and what doesn’t. Trust your ears and your own personal tastes to guide you. Take some time to open up your reverbs and see what different kinds of spaces are available. Send different instruments in your mix to different spaces and find what you like best. You might even want to experiment with long decay times.
Sometimes I’ll set up a reverb with a super long decay and automate it up at specific moments. It’s a great way to add movement to your mix and keep things fresh!
Continue learning with hundreds of lessons on mixing, DIY home recording, electronic music production, beat making, and much more, with Soundfly’s in-depth courses, like Modern Pop Vocal Production, Advanced Synths & Patch Design, and Modern Mix Techniques. Subscribe for unlimited access here.