+ Harness your inner groove and your outer authenticity with drummer, producer, and artist The Pocket Queen. Check out her course on Soundfly.
Contrary to what you may have heard, live drum recording is not dead. Okay, you probably only heard that if you’re focused on pop and hip-hop exclusively. In every other genre, real drums often make the difference between “meh” and “awesome!”
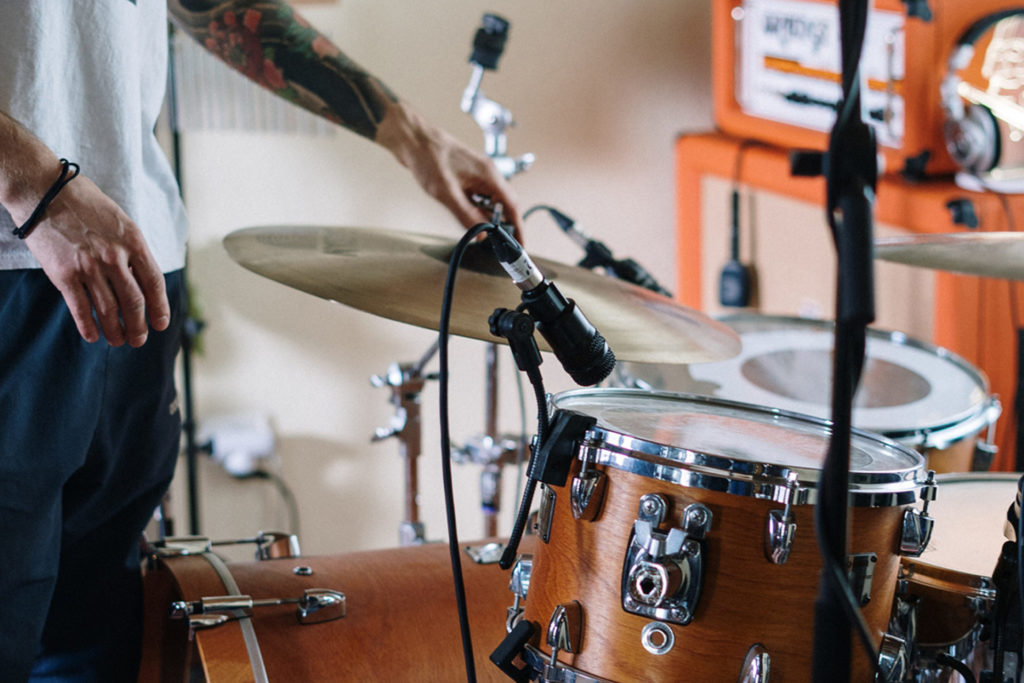
But no matter what genre you come from, learning how to use mics in a live instrumental setup, and where to place them with regards to the sound source, is an important component of music and audio production. So here are our essential tips for drum mic placement, and some tried-and-true methods for recording.
1. You Don’t Have to Reinvent the Wheel
First and foremost, you don’t necessarily have to guess a lot about drum miking, especially if you’re a drummer and not a producer per se. There are some things that are used a lot because they work a lot, so let’s start with some of the basics.
Kick Drum
Probably the most common placement for a kick drum is a few inches inside the hole, pointed in the direction of the beater. Usual microphone suspects include dynamic kick drum-focused mics such as the AKG D112E, Shure Beta 52A, or the Audio-Technica ATM250.
+ Read more on Flypaper: “The 13 Most Common Mics You’ll Find in a Studio, and Why Engineers Rely on Them.”
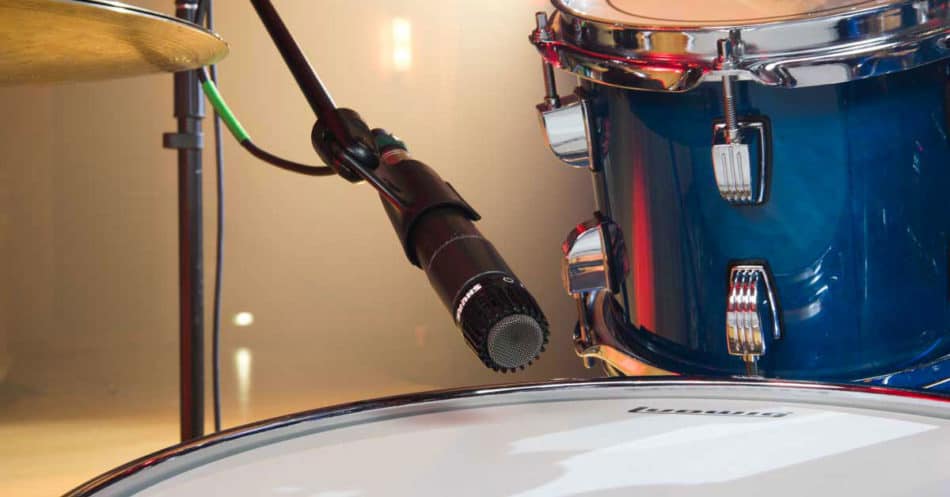
Snare Drum
Nine times out of ten, a snare is miked on top with a directional dynamic like the classic Shure SM57, with the capsule less than an inch away from the head and pointed down at an angle, usually around 45 degrees or so. The Sennheiser MD421-II cardioid dynamic is also super common here. Much of the time, snares are also miked underneath to capture the actual snare sound. Usually, it’s with the same mic at the same angle but about six to twelve inches away.
Toms
Travel around with any local sound company miking up bar bands night in and night out and it may take you ten years to see toms miked any other way than exactly like the snare. In short: see above.
Hi-Hat
Hi-hats are quite often not miked because they’re picked up in the overheads, but if they are, it’s common to go with that same type of dynamic mic placed anywhere from three to twelve inches above the hat, pointed either straight down or at some arbitrary angle, preferably away from the snare and/or kick. Sometimes this is great and sometimes it’s terrible.
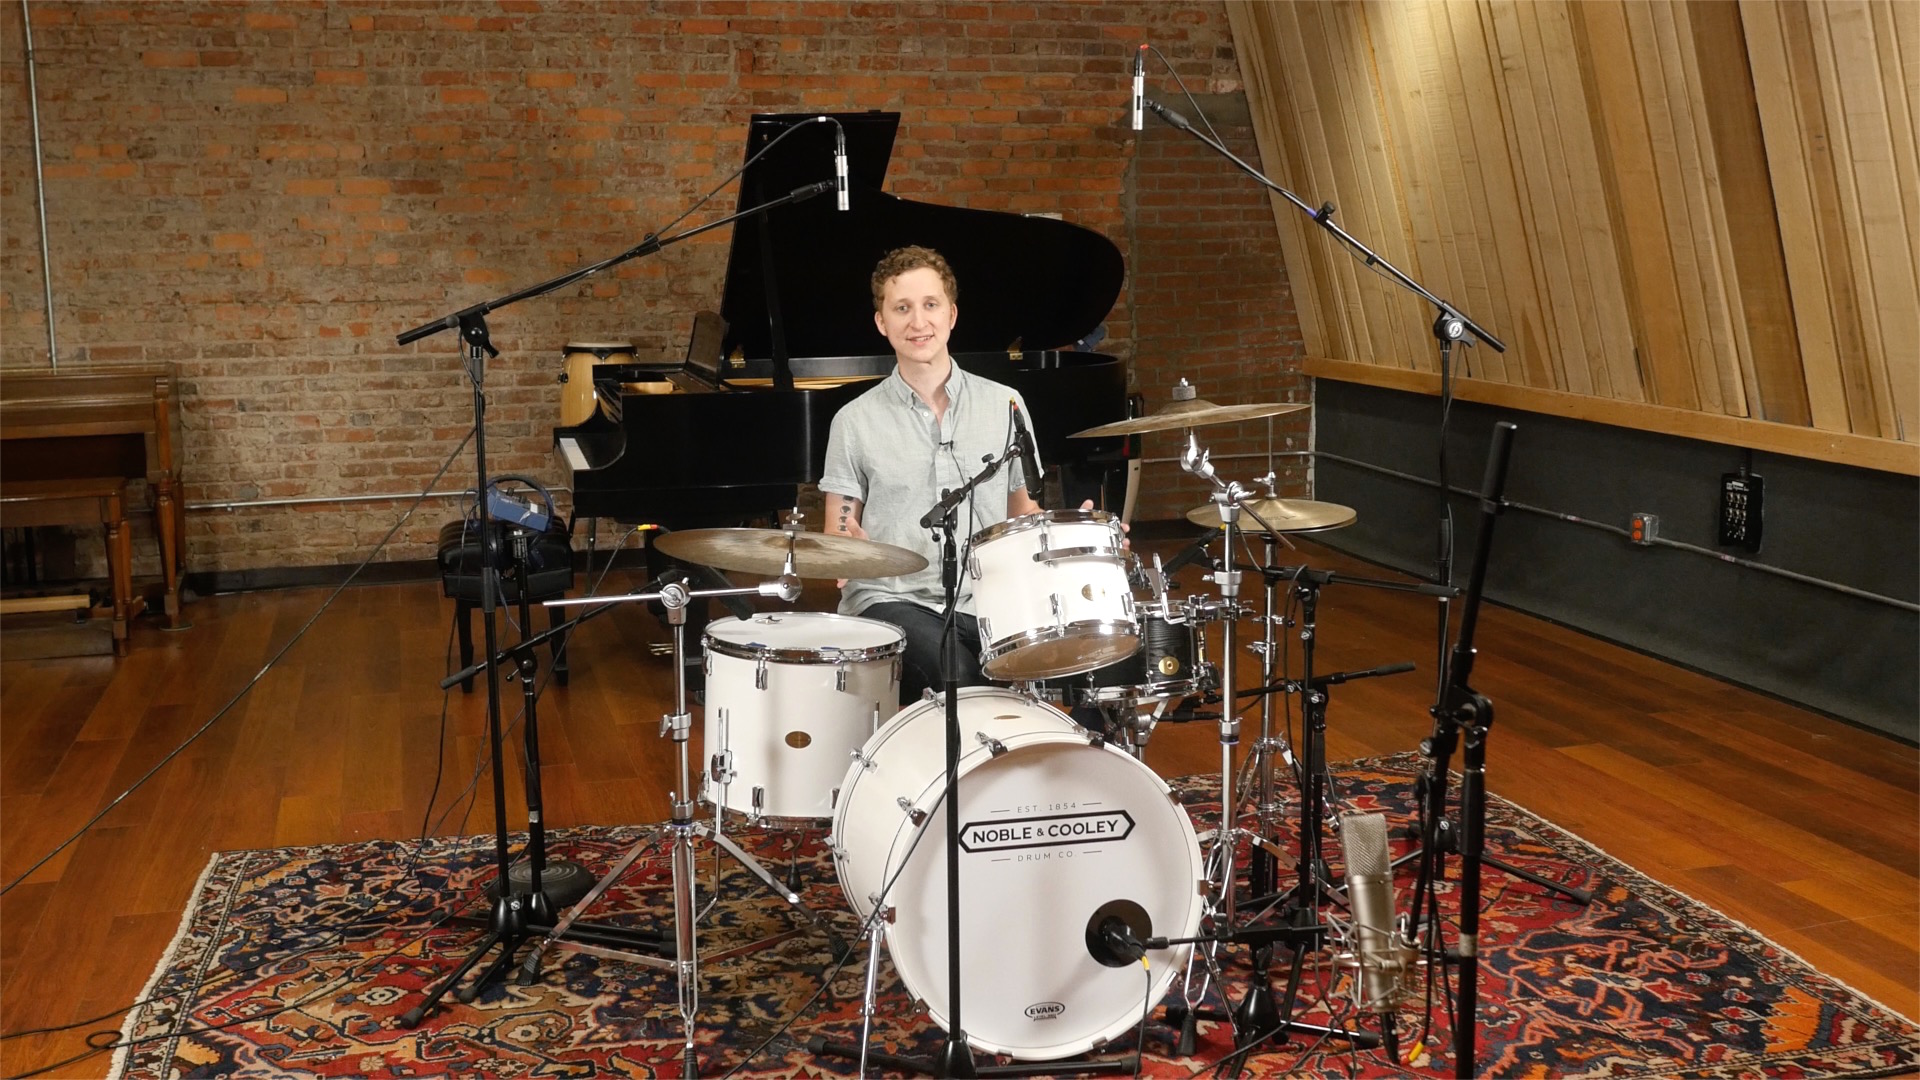
Overheads
There are always going to be standard go-to’s with miking individual drums, but overheads are a little more variable. It’s common to see a nice wide spread of cardioid condensers pointed down from a foot to four above the kit or an x-y pair similarly high up. Many engineers keep these mics equidistant from the snare to avoid phase issues, but a surprising number don’t.

2. …But You Can Mess Around With the Wheel
Ok, we’ve casually gone over the basics. Now let’s talk reality, starting with the kick.
Kick Drum Pro Tips

Your standard 3-6 inches inside-the-hole placement with a D112 or similar works a lot. But not always. In some rooms with some kick drums, this placement can be floppy, muddy, flabby, or soft in a way you don’t want.
The key is to listen. Did the standard placement work? Great, move on. If not, try one of these:
- Move it way in to close capture the beater. Good if you’re not getting any thwack.
- Try a second kick mic placed somewhere in front to capture the beater punch in case of non-thwackiness. Just be careful of the pedal squeak and rattle.
- Move it out. You may find a fatter sound with the mic placed outside of the hole (which you’ll have to do if there’s no hole!), or even six, twelve, or eighteen inches away. The key to finding this placement is listening, simple as that.
- Try a condenser. You’d be surprised how well an AKG 414 can do place inside the hole where you’d normally find your D12 or Audix D6.
Snare Pro Tips
Often, not a lot of thought is put into the snare placement because it’s so close that it seems to not matter. But it does. If the drum sounds too boomy, try backing it off a little. If you want more low end, you can sneak it toward the center. Your angle can make a big difference too, even if you keep the capsule in the same place. Try angling it almost horizontally, and you’ll notice a beefier sound.
Next, pay attention to the positioning of your underneath mic relative to the top mic and to other drums. If you’re getting too much kick in your under mic, you might point it away from the kick (what a notion!). The top and bottom mics may also give you phase issues. The easiest way to check is to record some hits and check their waveforms. If necessary, you can reverse the polarity in the mix.
Finally, experiment with mics as well as placements.
Condensers for the bottom mic can be great, and many engineers like to use a shotgun mic on the top. That usually gives you a more open, complex sound. Sometimes, a large diaphragm condenser placed about a foot or two away from the snare, maybe 3 to 6 inches higher than the snare itself can capture a great, open sound, or if you want a real woompy, dark sound, it’s not unheard of to go with something like the Electro-Voice RE20.
Toms Pro Tips

In case you hadn’t caught this, a snare is a tom with some crap on the bottom to make it sound awesome. So, everything we just said about the snare applies to toms too, especially the floor. This includes miking the underside. With a tom, there aren’t snares to capture, but you can get some flavor and even some added top end with a condenser underneath.
Also, although toms are often miked super close just like snares, that can lead to some mud at times, so it may be wise to back the capsule off and place it about 2 to 3 inches above the tom. But beware of reading articles and placing mics without listening. Experiment and listen.
Overheads
Remember the thing about keeping your spaced stereo pair equidistant from the snare? Do that. A lot of recordists don’t bother, but this makes a big difference, not only with phasing, but with centering the snare in the mix.
Secondly, play with the height. Typically if you lower them quite a bit — say to two feet above the kit, you’ll emphasize cymbals more, and if you raise them higher, you’ll start to get a more balanced overall kit sound.
Next, try an X-Y pair. This configuration places mic capsules very close, at a 90-degree angle. The X-Y pair will yield better phase coherence and usually a more mono-compatible sound. This is usually done with a pair of small-diaphragm condensers (aka “pencil” style).
Or try an ORTF (aka “side-other-side”) configuration. In this configuration, mics are placed butt to butt at a 110-degree angle, so that the capsules are 17 cm apart. Again, usually done with pencil condensers. ORTF also delivers good phase coherence and mono compatibility. With both X-Y and ORTF, you can experiment with the height of the pair, and you can try moving either of the arrangements back into the room a bit (or a lot).
+ Read more on Flypaper: “How to Record Your Grandma’s 115-Year Old Upright Piano…”
3. More Mics or Fewer: Rooms, Hearts, and So On
Before we go, here are some other things you might want to try.
- Room mics: You can try single mics or stereo pairs and honestly, depending on the room, you might try almost anywhere to capture an ambiance that really brings life to the mix. Try two large diaphragm condensers in opposite corners of the back wall (far away from the kit), pointed away from the kit (into the corner!). Try one room mic at head height six feet away. Try a two-foot-spaced pair right behind the drummer’s head. The room acoustics will determine what really sounds good here, so really experiment.
- Heart mic: Sometimes it works to place a condenser about three to six feet in front of the kit, about the height of the center of the kit (just above the kick usually). Sometimes you can even capture a great sound with one mic this way.
- Fewer mics: Some of the best drum recordings were (and still are) recorded with only two to four mics. Maybe the coolest way to do this is with the Glyn Johns method. This method requires only two large diaphragm condensers. One is placed five to six feet high, directly over the center of the snare and pointed down. The other is placed three to four feet high, to the side of the floor tom and pointing toward the center of the snare. They should be equidistant from the center of the snare. In the mix, pan them to opposite sides, but not necessarily hard left/right. Experiment to get the spread right.
Just Get in There and Try It
Here’s the truth: drums are complicated sonically.
Not to mention, the number one thing affecting your sound will be the room you’re in. So we can never tell you exactly what will happen, only guide you to some starting points and give you some things to try so you’re not flapping in the wind. The final pro tip is to listen, and this starts before miking.
Listen to the drums in the room, and if there’s room to play with where they are, experiment with that first. A good way to do this is to bring a floor tom in and play it in different spots before setting up the whole kit. Once you find the sweet spot, set up the kit, see how it sounds, and once you love the sound in the room, then start miking and tweaking.
Keep on Grooving…
Continue your learning with hundreds of lessons on songwriting, mixing, recording and production, composing, beat making, and more on Soundfly, with artist-led courses by Kimbra, Com Truise, Jlin, Kiefer, RJD2, and our new The Pocket Queen: Moving at Your Own Tempo.