
+ Learning to record and mix music? Explore Soundfly’s acclaimed online courses on mixing, production, and songcraft — click to subscribe.
Mixing music can be an amazing experience where you delve into the fine details of sound and enjoy the excitement of getting everything perfectly “in the pocket” for just the right balance and blend of sounds.
But, it can also be a daunting task. The sheer number of tracks, takes, effects, busses, and all the notes you may have taken regarding each individual recording or audio clip that you included in your arrangement can become overwhelming even to highly experienced audio engineers.
Reducing the clutter in your mixes through proper organizational techniques can greatly reduce the stress involved. It can also help speed up your mixing work process so that you can spend more time thinking about the music and less time scanning through tracks trying to find where different sounds are located in your arrangement.
In this post, I will provide a few simple tips to follow that will help set you up for a more efficient, and hence more enjoyable, mixing experience.
+ Read more on Flypaper: “What Is a Mix Bus, and How Can You Set One Up?“
1. Label Your Tracks
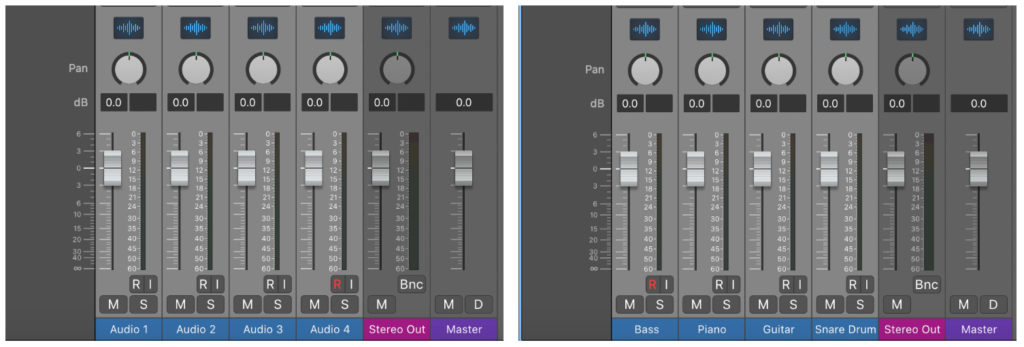
Obviously the quickest and easiest way to help organize your mixes is to label each of your tracks. Most DAWs (Digital Audio Workstations) name every new track you include in your mix with a default name such as “Audio 1” or “Track 1,” or “MIDI 1.” A mix with dozens of tracks each labeled like that is of little help to you when trying to quickly locate a particular sound or recording.
You need labels that offer useful information to help you do your mixing work.
Take a moment when you record or import each new track into your mix to give it a brief title that properly describes that track. Keep it short so it fits in the visible part of the track information screen. Make sure the most important information is listed first and less important information second.
For example, you could have multiple guitar tracks recorded. You’ll want the labels for each track to indicate they are for “guitar,” but you’ll also want additional information identifying each, such as “Guitar – rhythm,” “Guitar – lead,” “Guitar – fills,” and so on.
If you will be the one doing the mixing work, use identifiers that make sense to you. If you are planning on handing the mix over to someone else, you may want to have a conversation with them first regarding what types of descriptive wording they prefer so that your labels will make sense to them.
Labeling tracks in this way will not only help you with quickly jumping to the individual track of interest, it also gives you a quick global view of all the parts included in a song when you scan over the individual tracks involved.
And, taking the time to label tracks in a clear, easy-to-understand fashion will greatly help you if you ever return to this mix later in the future, long after you may have forgotten many of the specifics about the song.

2. Group Your Tracks
Now that you have all your individual tracks nicely labeled for easy identification, it’s time to group them together into categories.
Why do this? While you’ve certainly made it easier for yourself to find specific channel strips in your mix by giving them clear labels, it’s even quicker and easier to find those tracks if they’re located next to other similar tracks.
For example, wouldn’t you expect to find a kick drum track next to the snare drum track? And wouldn’t it make sense for a MIDI organ track to be located next to a MIDI piano track? It’s well worth your time to take a few moments to determine what tracks belong in a group together and then shift those channel strips in your mix layout so that they are located next to each other.
Many DAWs will allow you to color-code channel strips, or even place them into group “folders.”
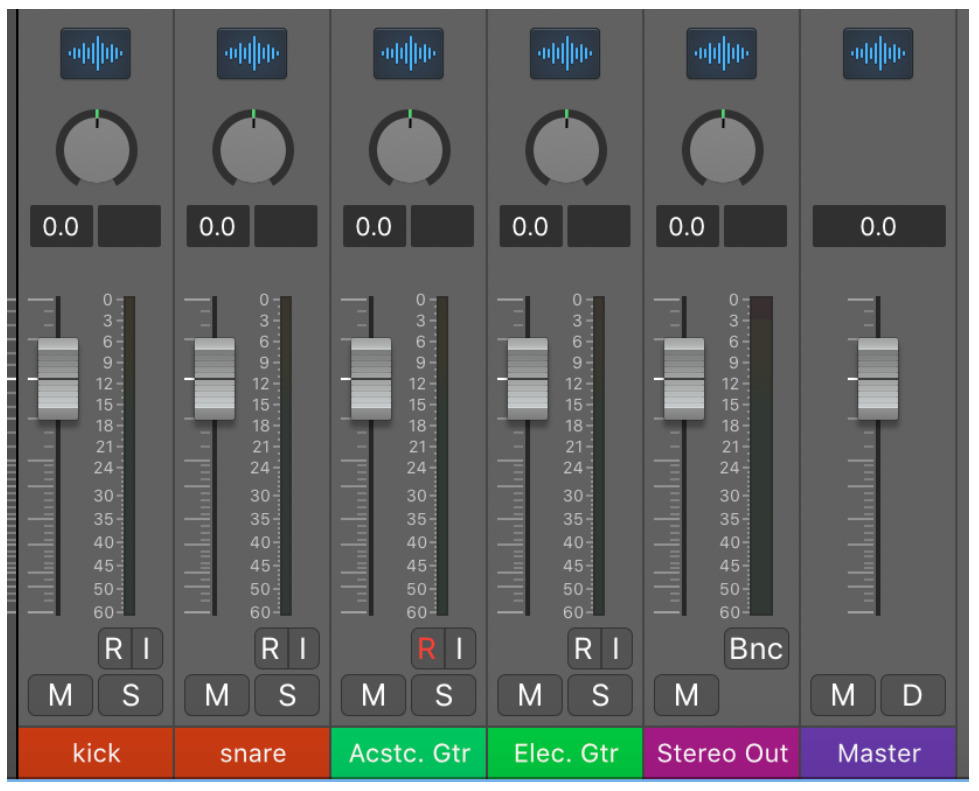
If you have these options, you may find it’s worth a few extra minutes further clarifying your grouping choices by giving each group its own color or folder. This will help you even more quickly identify those categories of sounds and locate specific tracks within each.
+ Read more on Flypaper: “Mixing for the Forest (Not the Trees).”
3. Send Each Group’s Output to a Submix Bus
Organizing your mix is not all about setting up easily recognizable visual cues. Mixing is, after all, ultimately about how things sound. There’s a relatively simple way to implement sonic organization as a follow-up to the visual organization steps of track labeling and grouping.
By creating a separate auxiliary audio submix bus output for each group you have created you are adding an auditory grouping scheme that matches your visual organization of tracks.
Soloing an individual bus allows you to listen to only the tracks within that particular group, which might be helpful if you’re trying to quickly identify where a particular sound is coming from. Adding this audio grouping mechanism to your visual grouping mechanism can also increase your efficiency by allowing you to hear the balance of like sounds relative to each other, and then you can test them out against each of the other groups one or more at a time as needed to get your blending just right.
In addition, by taking the time to set up your mix with submix buses from the start you will have the option of exporting stems tracks from your mix, in addition to exporting the full song mix. This can mean easily creating instrumental versions of songs that have vocals, creating special reduced versions that might be useful as background music for certain media presentations, or even to allow other producers to make remix versions of your composition.
For more information about audio stems, check out my Flypaper post, “The Art of Creating Audio Stems.”
You might think all these steps sound a bit tedious. But, think about how long it would actually take you to do all three steps: 5 minutes, maybe 10 minutes?
Now think about the time you would save if you were working with a mix that was set up with clear, well-defined labels, grouped by similar sounds — possibly even color-coded by group, and with audio stem buses that you can easily mute or solo to hear those groups of similar sounds.
More than the time saved, think about the enjoyment of working with a mix set up so nicely this way so that you can spend less time fussing around looking for different tracks and more time delving into making a great sounding song.
Ready for even more?
Check out Soundfly’s variety of courses on songwriting, mixing, beat making, recording, composing, and more, led by artists like Kimbra, Com Truise, Jlin, Kiefer, The Pocket Queen, and RJD2: From Samples to Songs.


