+ Soundfly’s Intro to Scoring for Film & TV is a full-throttle plunge into the compositional practices and techniques used throughout the industry, and your guide for breaking into it. Preview for free today!
By Patrik Roncolato
Synthesizers can do just about anything these days. That can be slightly overwhelming, but don’t let that scare you, their sonic versatility can be so much fun to play with if you know what you’re doing!
I spend so much of my time trying to figure out the exact shapes and contours of the synth sounds in my favorite songs — why keep it to myself?! So today, I’m going to try and figure out how to get that beautiful, warm sound from David Lynch’s Twin Peaks, which has become so iconic. Here’s the show’s instantly-recognizable “Laura Palmer’s Theme.”
This score was written and recorded by composer and pianist, Angelo Badalamenti. If you haven’t yet seen the video where Badalamenti explains how he and Lynch sat down and wrote the theme song, you absolutely need to watch it; it’s incredibly touching.
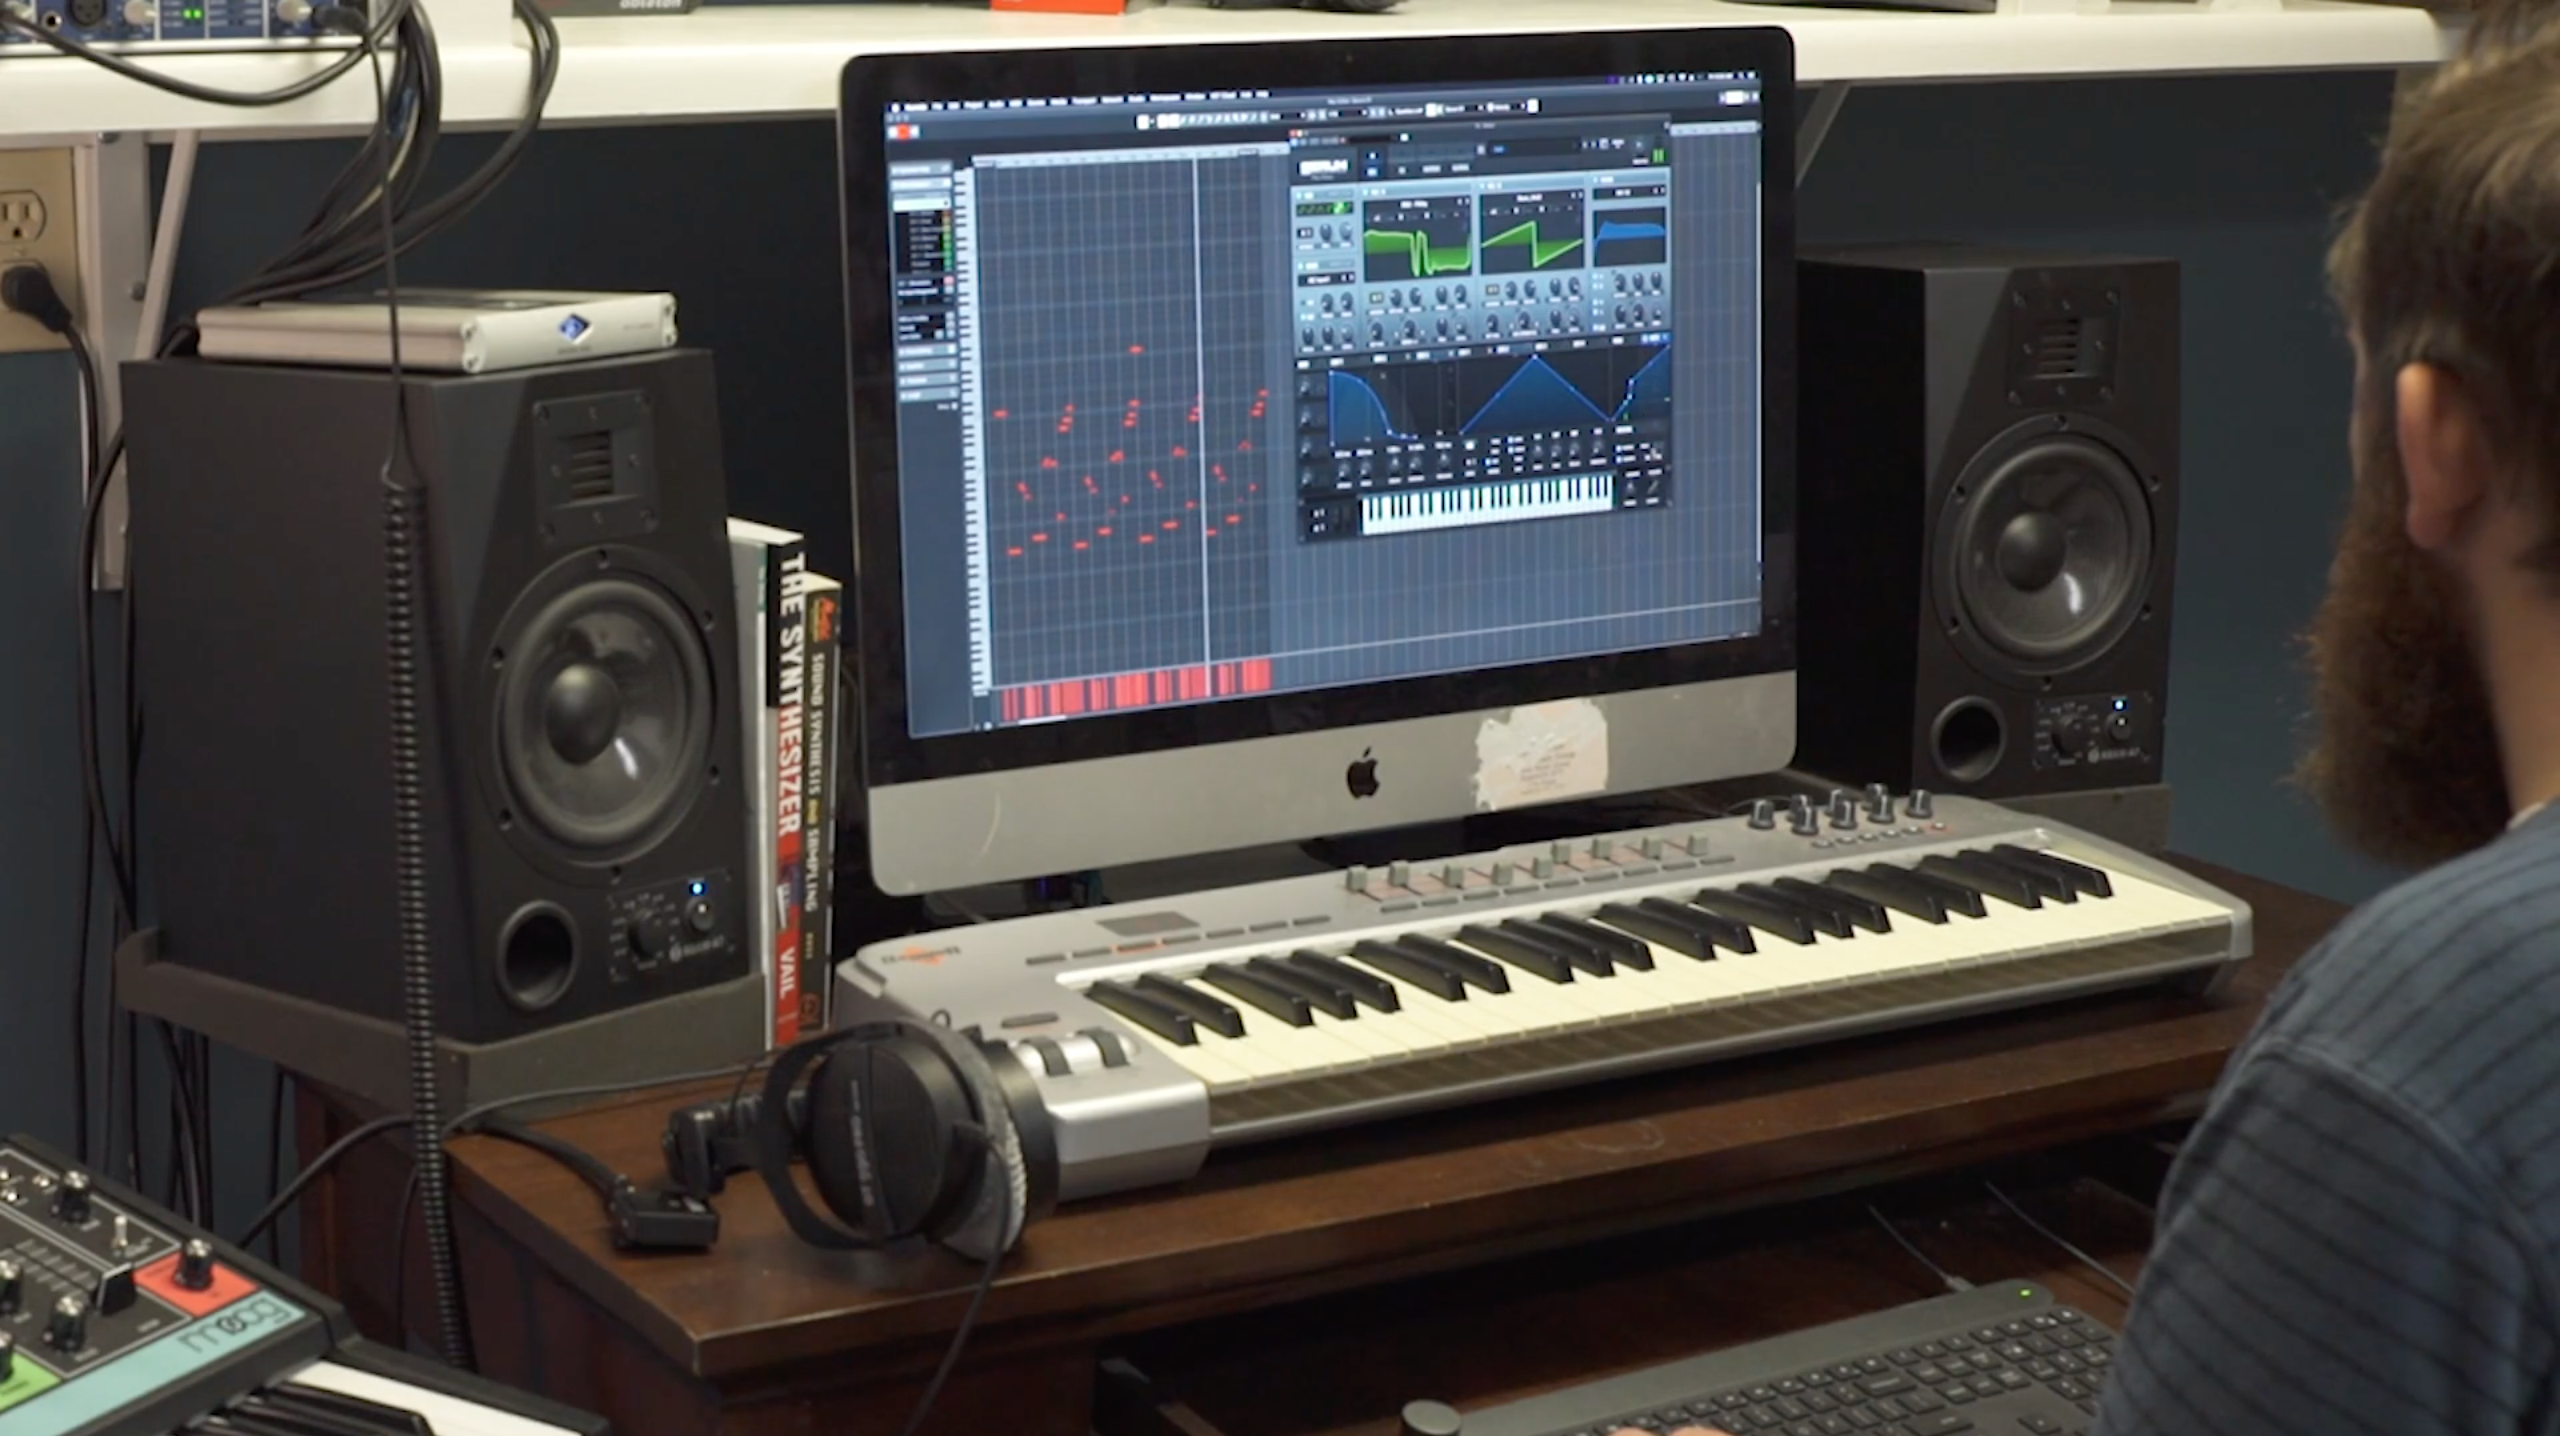
Since today all you need is a MIDI keyboard with a soft synth or a DAW in order to make almost any type of key sounds, pads, and effects, I’ve created a MIDI file of the first phrasal loop in his piece, which we’ll use below to create the synth sound. If you want to try this at home, you can download the MIDI file here.
My personal favorite soft synth for operations like this one is the free, downloadable Helm. So we’ll be using Helm to alter all the necessary parameters to arrive at the “Laura Palmer’s Theme” synth sound. Let’s start with the waveforms.
But first, don’t forget to check out Soundfly’s online course, Advanced Synths and Patch Design for Producers, and learn how to move beyond presets to create a wide array of scintillating synth sounds for your productions.
1) Waveforms: Sawtooth with Chorus
Sine, triangle, and pulse waves are all too gentle for this kind of sound. We’re going to start sculpting using a sawtooth wave. If already your ears are saying, “Yuck! What’s this?” — remember that we just started and that this is a subtractive synthesis project! We’ll later use the filters to cut out the harmonics we don’t need.
Step up one of the main oscillators by an octave. Using the reverse saw we’ll cut some mid-range frequencies in the sound (pads have few mids, usually). We’ll want some of that low end in there, too, so activate and slowly bring up the sub-frequencies (yep, a saw), adjusting the volumes slightly.
Adding a small bit of noise could be interesting to add a lightly vintage harshness. And we can’t forget the most important thing: more voices. To get that vintage keyboard chorus effect, three oscillator voices should be enough. Here’s what that looked like when I did it:
2) Filter: A Strong Low-Pass
Now we can start adjusting!
Playing with the feedback parameters can make the synth more or less bassy. Bring it up slightly to add a bit of body. You can arrange the attack and the release controls to give the pad a dreamy character, as well. But the most important thing at this stage is to get the filter right — so start with a massive low-pass filter with a 24 dB/octave slope, and inch it back up until it starts to sound closer to Badalamenti’s theme…. We’re almost there!
Tweaking the key track parameter can help guide those subtle tones back in as well. Here’s how this looks:
3) Effects: Detuning and Reverb
Detuning one of the oscillators will always start to make a synth sound more vintage, like it’s been dubbed to an old four-track cassette tape, or like you’re becoming Mac DeMarco. You can do this with a slow sine wave LFO, and it helps to listen closely as you start to adjust each of the oscillators away from one another, since it can get really muddy really quickly.
Finally, add a bit of reverb to get the desired stereo feel of the synth, and to enrich the higher frequencies that may have been removed during the process.
4) You’re Done!
Now, where’s Annie?

For the record, I also tried this experiment with TAL NoiseMaker, another free-use soft synth I like to play with. I found that NoiseMaker didn’t have allow me the same subtleties as Helm, to really get as close as I wanted to the original sound in “Laura Palmer’s Theme,” but their oscillators somehow end up having a really nice vintage vibe, too.
So I guess just keep experimenting and trying to find the sounds and processes that feel most comfortable for you — they’re out there!
Have you checked out Soundfly’s courses yet?
Continue your learning with hundreds of lessons by boundary-pushing, independent artists like Kimbra, Ryan Lott & Ian Chang (of Son Lux), Jlin, Elijah Fox, Kiefer, Com Truise, The Pocket Queen, and RJD2. And don’t forget to try out our intro course on Scoring for Film & TV.
—
Patrik Roncolato is a musician, teacher and producer. Sometimes works as a freelance guitarist, sometimes sings mostly for himself. He plays the guitar and other instruments in the electronic duo To Be Men Not Destroyers. You can call him Trizio.