+ Learn to record and mix your music in Logic Pro with Soundfly’s online course, Intro to Making Music in Logic Pro X. Preview for free today!
Mixing audio is a time-consuming process, and there is always a learning curve for any DAW. But, as you get better at anything you also learn how to do that thing more efficiently.
The same is true for mixing, and one of the easiest ways to improve your efficiency and proficiency in working with audio is to incorporate common keyboard shortcuts in your work. These save time by limiting the number of steps required to achieve a goal, and gives you the tactile satisfaction of using both hands in the creative process, rather than just your dominant mouse-clicking or trackpad-tapping hand.
While there are literally hundreds of keyboard shortcuts available for the countless different DAWs, there are 12 main keyboard shortcuts that every person who does mixing work will always find useful. Here we’ll go over those 12 shortcuts in Logic Pro X, which is one of our favorite mixing platforms (*we made a course about it).
1. Stop/Start Playback
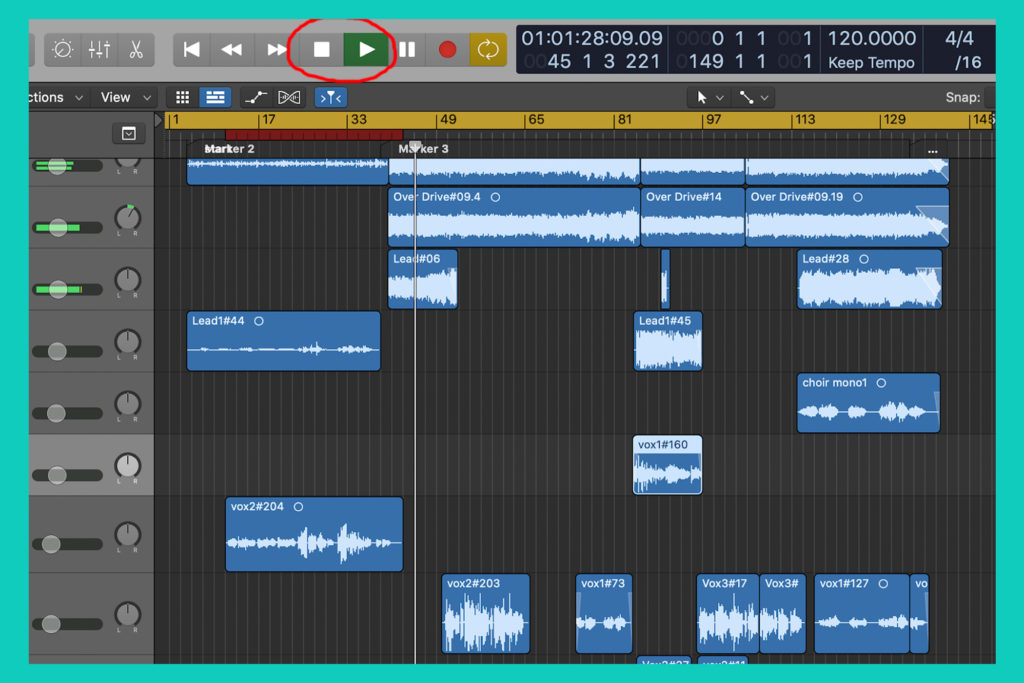
[space bar to play/stop]
Even many novices are aware that the space bar can be used to stop and start playback in your mix. But, it can’t be overstated how important it is to recognize this as a keyboard shortcut that helps you more efficiently work on your mix. Think of it as your entry into the world of keyboard shortcuts every time you tap the spacebar to start or stop the playback.
This saved you having to move the pointer to the transport bar and click on the correct button. Keeping this in mind will set you up for utilizing other keyboard keys to accomplish common tasks quicker.
2. Scissors Tool
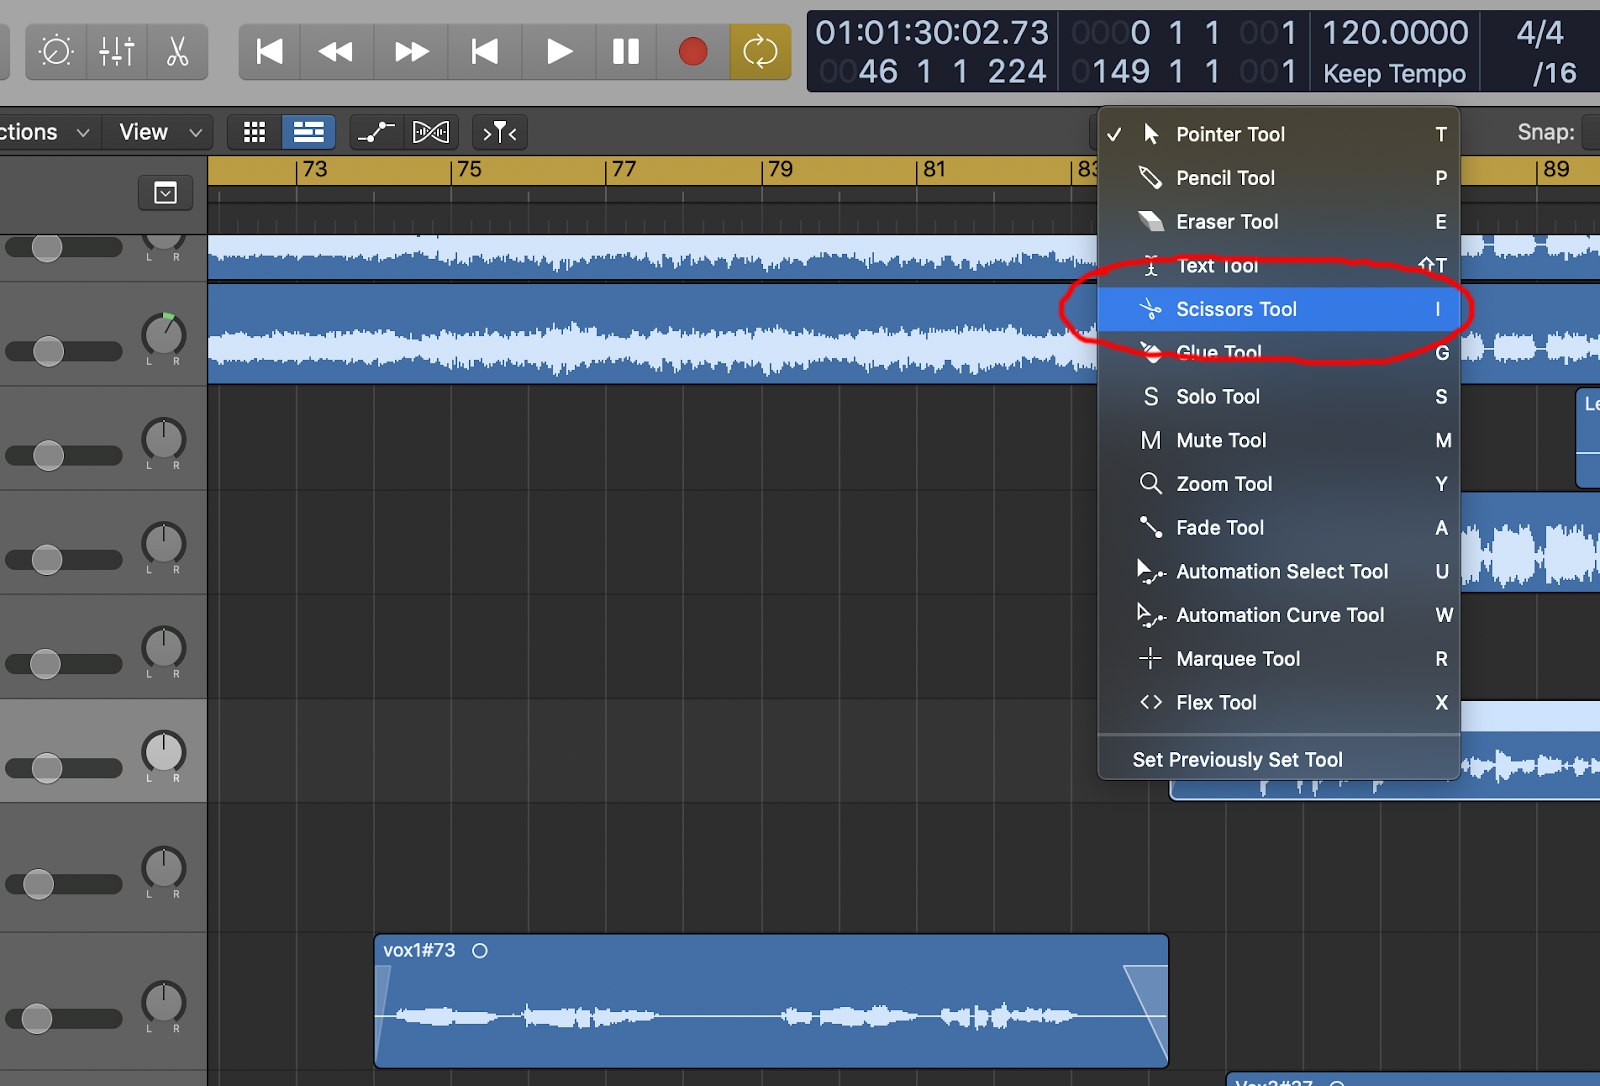
[T (tools) + I for scissors (or select scissors from the list that appears)]
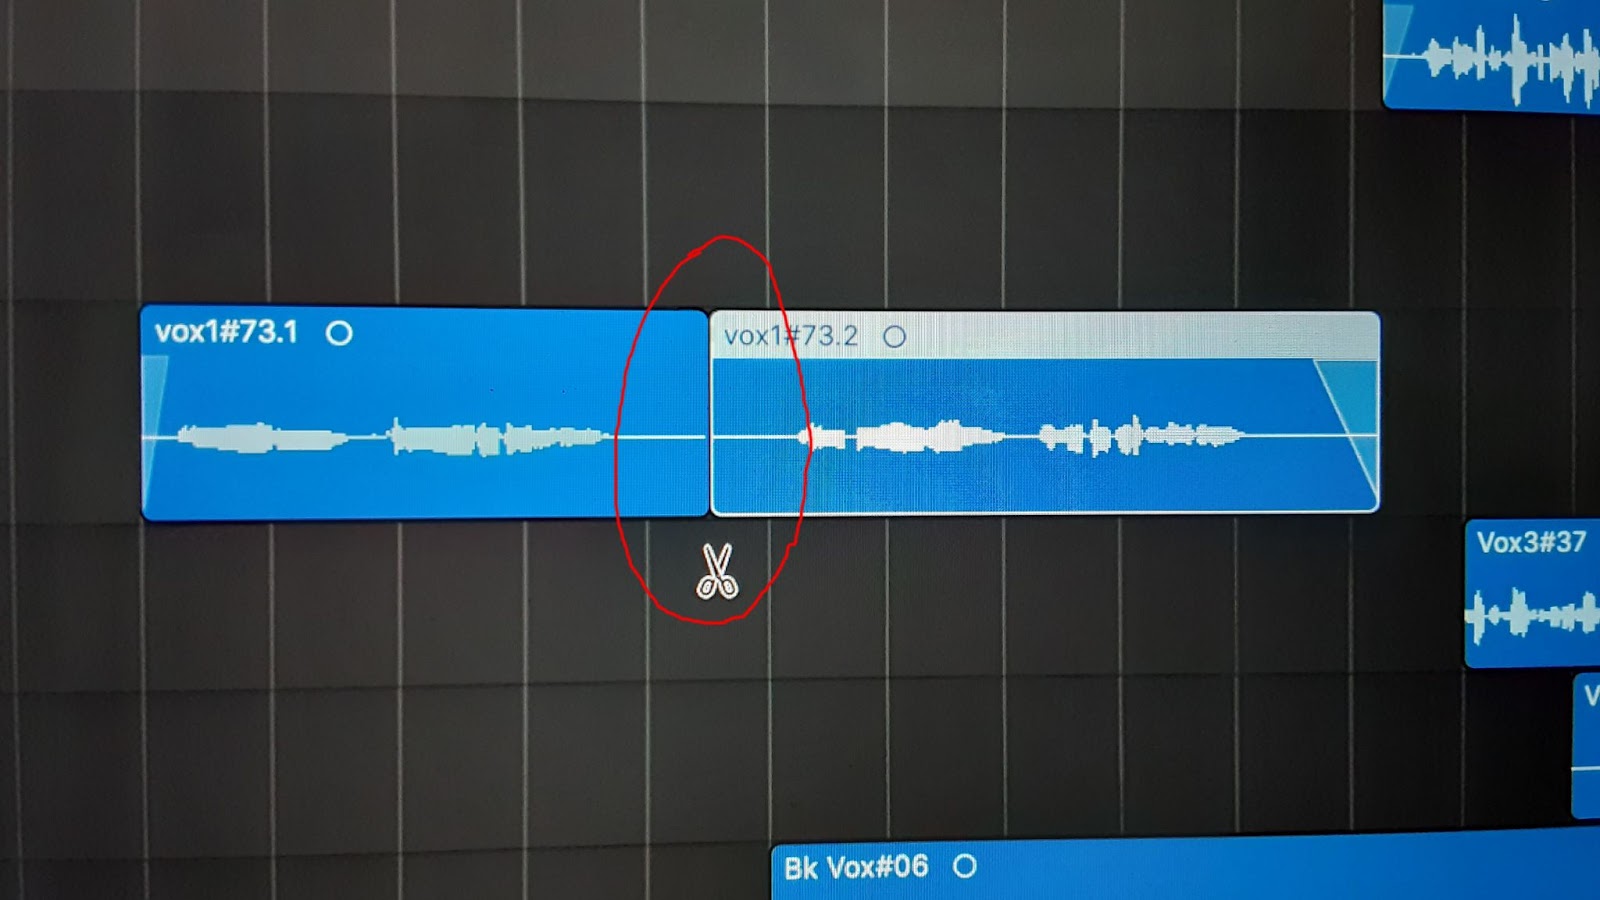
It’s quite often necessary to separate a recorded clip in your mix for easier editing, rearranging, copying, time aligning, or fading in or out. Selecting the scissors tool from the dropdown menu, then making the cut, and then returning to the standard pointer (cursor) certainly doesn’t take long… But when you need to do this action frequently, that little bit of time begins to add up.
A stack of six vocal tracks all needing to be time aligned with each other could require dozens of cuts. By using the keyboard with one hand and mouse or trackpad with the other you can easily cut this time in half.
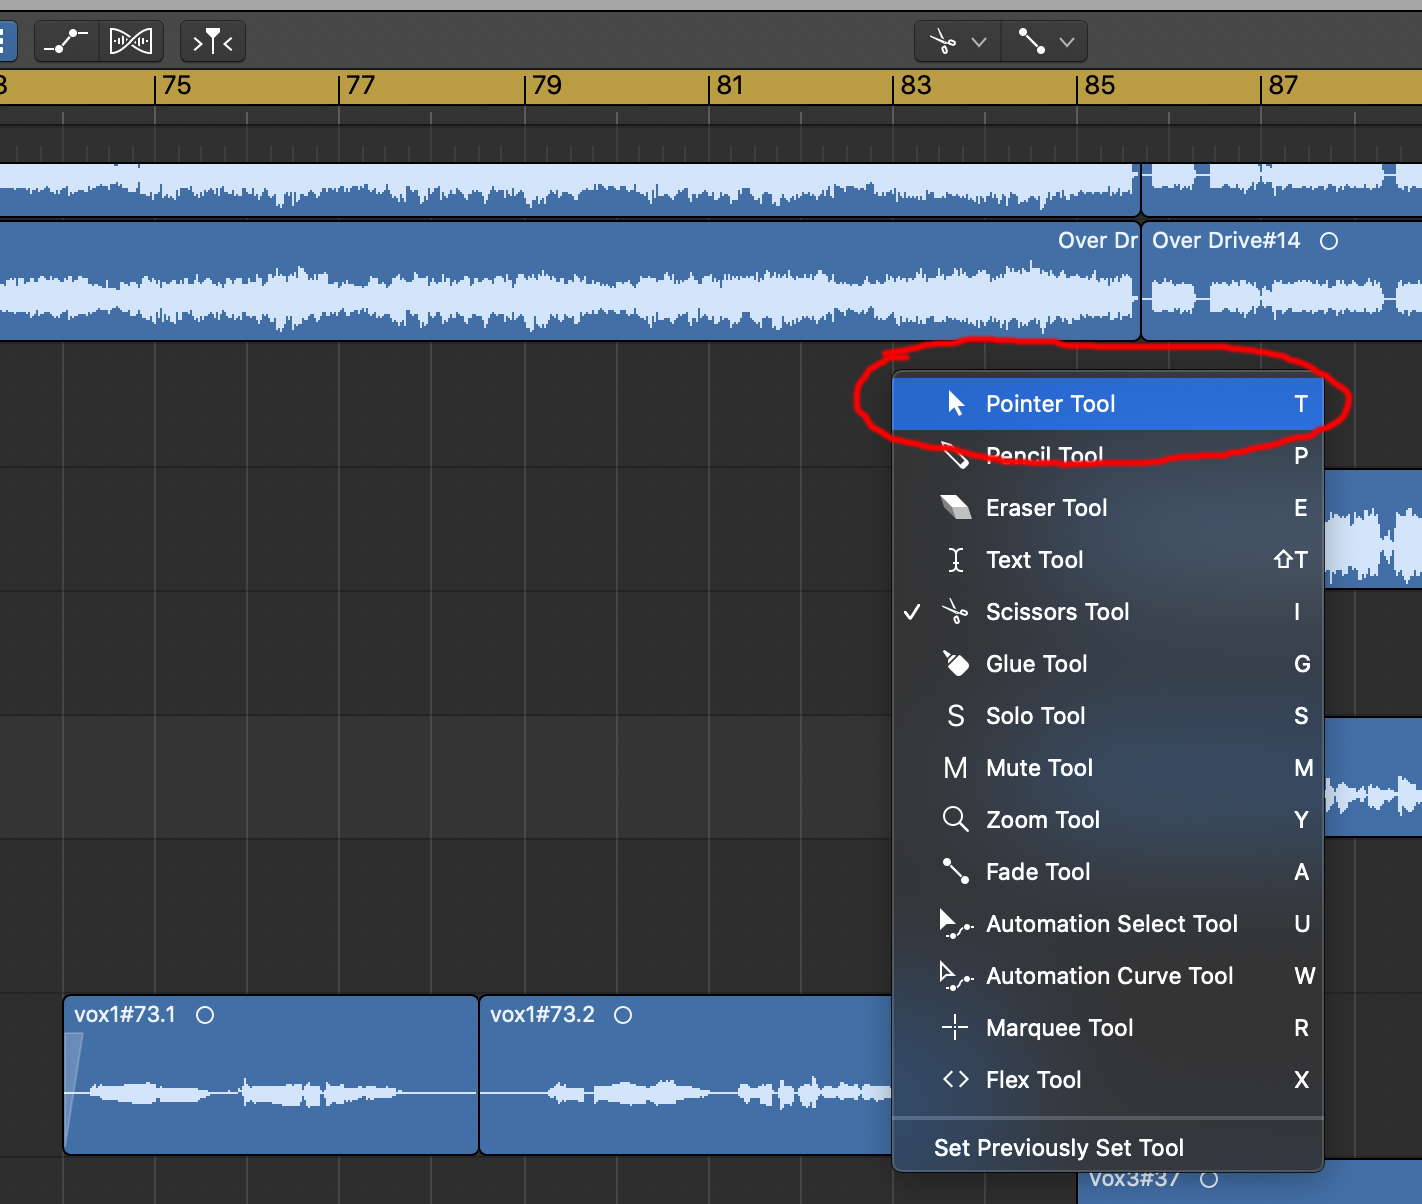
[Then T (tools) + T again to return to pointer/cursor]
Plus, this has the added benefit of allowing you to keep your pointer aimed at the location where you want to make a cut, rather than having to move it to select a tool from a menu.
+ Read more on Flypaper: “What Makes a Great Songwriting Workflow?”
3. Nudge a Clip Forward/Backward
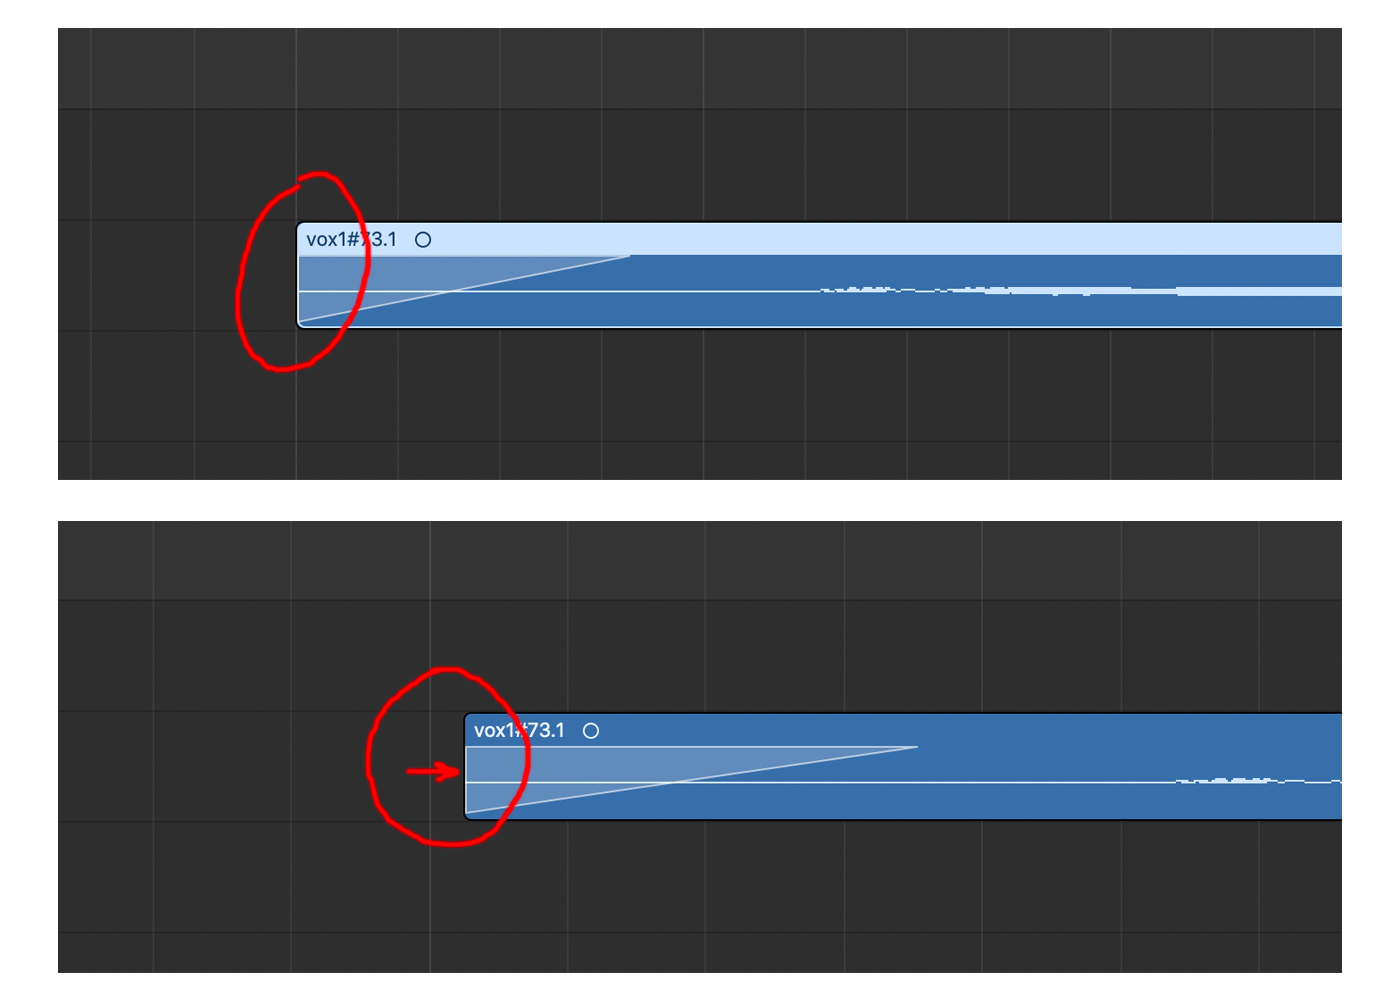
[Option+Left or Right Arrow]
[Ctrl+Option+1 to set the nudge amount to 1ms]
[Ctrl+Option+0 to set the nudge amount to 10ms]
You’ll likely spend a good portion of your mixing time aligning recorded clips to each other. Even if you’re working exclusively with pre-recorded loops or quantized MIDI tracks you may need or want to quickly shift a clip back or forth by a beat or some portion of a beat to get the blend of tracks sounding just right.
Rather than trying to manually drag the clip to the desired location, or setting the playhead to a point and then using a menu item to shift the clip to that point, you may find that it’s quicker and easier to nudge the track into position. A few quick clicks of the keyboard can get your track into the perfect alignment, without wasting time trying to keep your hand steady enough to place it right where you want or going through multiple clicks in a menu.
4. Mute

[M to mute/unmute the entire selected track]
You’re always going to need to mute one or more tracks in a mix in order to hear the rest of the sounds without them present, or to help locate an offending aspect of a mix that needs to be addressed. Clicking the mute button on a track may not seem like anything to be concerned about; but if you have to do it repeatedly over and over again, that added time of zeroing in on a particular button can become burdensome.
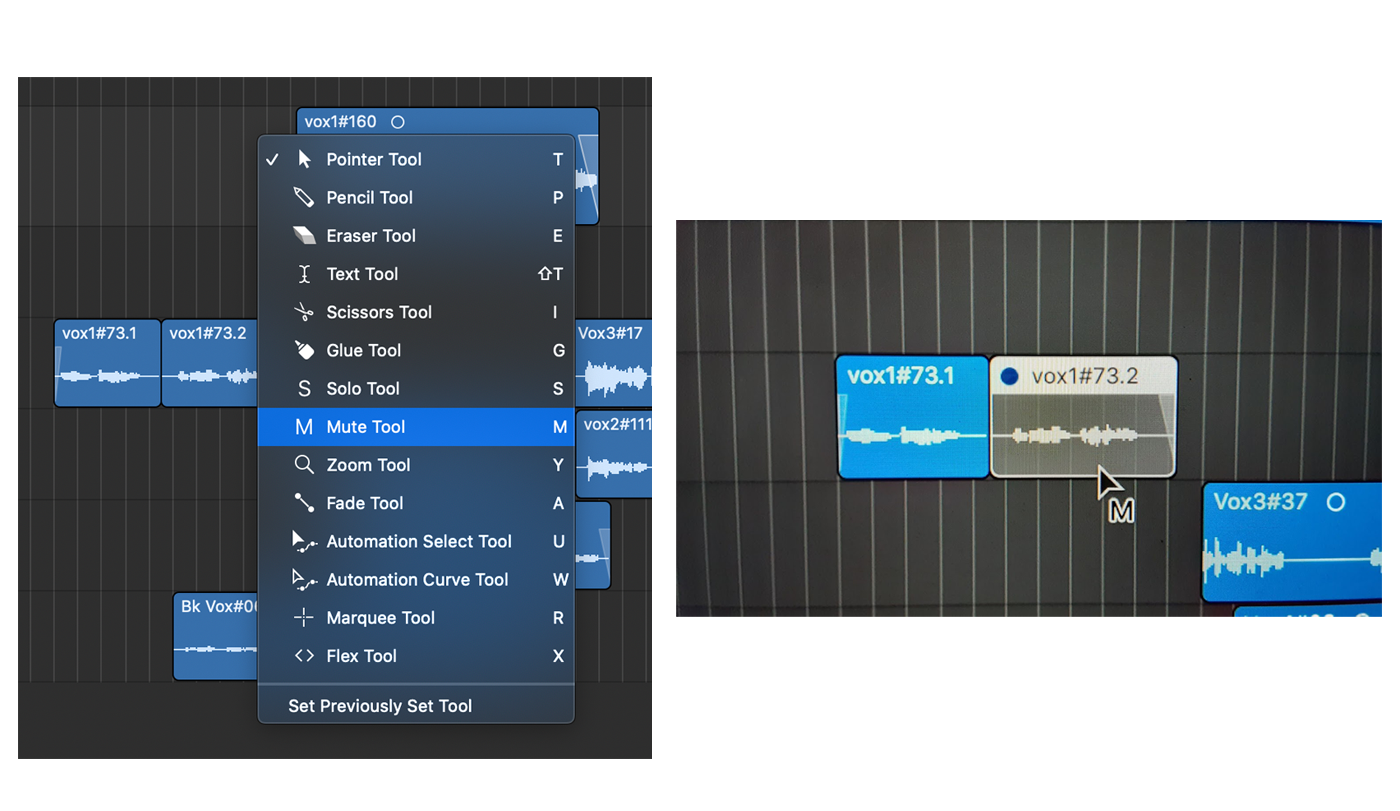
[T (tools) + M to mute a clip then T (tools) + T again to return to the pointer/cursor]
Start using this very quick and easy keyboard shortcut to mute the current track and you’ll soon notice how much it eases up your workload.
5. Solo

[S to solo/unsolo the entire selected track]
Every person doing mixing work knows you’ll be using the solo button to hear a single track by itself, and how important that is. And much in the same fashion as a keyboard shortcut can save time for muting tracks, it can also save time for soloing tracks.
6. Copy a Plugin to Another Track
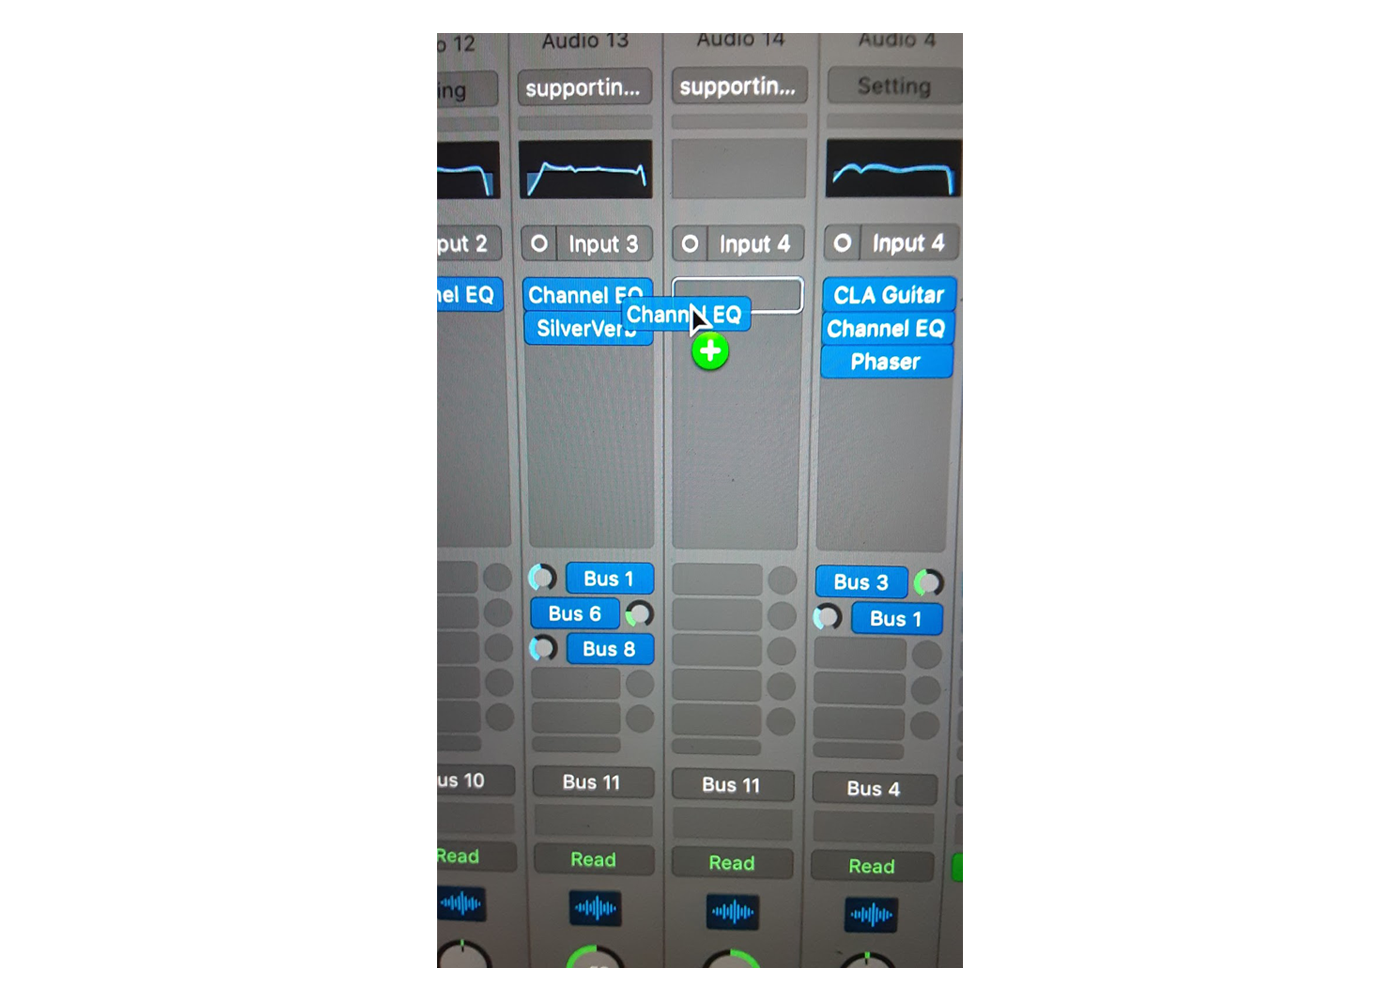
[Option+drag]
Perhaps you just got the perfect EQ or compression settings applied to a plugin on one track. And now you realize you’ll need the same exact plugin and settings for it on another track in the mix. Rebuilding it from scratch is incredibly time consuming. Most people quickly learn that you can copy plugin settings and then load a copy of that plugin in the new track and apply those settings to it — but even this takes quite a bit of time.
The solution? Apply a keyboard shortcut that you press while you drag and drop the plugin from the source track to the new track, making a copy of the plugin with all the same settings already applied. Maximum efficiency!
+ Read more on Flypaper: “5 Ways to Tell If Your Track Is Finished.”
7. Create a Duplicate Track With All the Same Settings
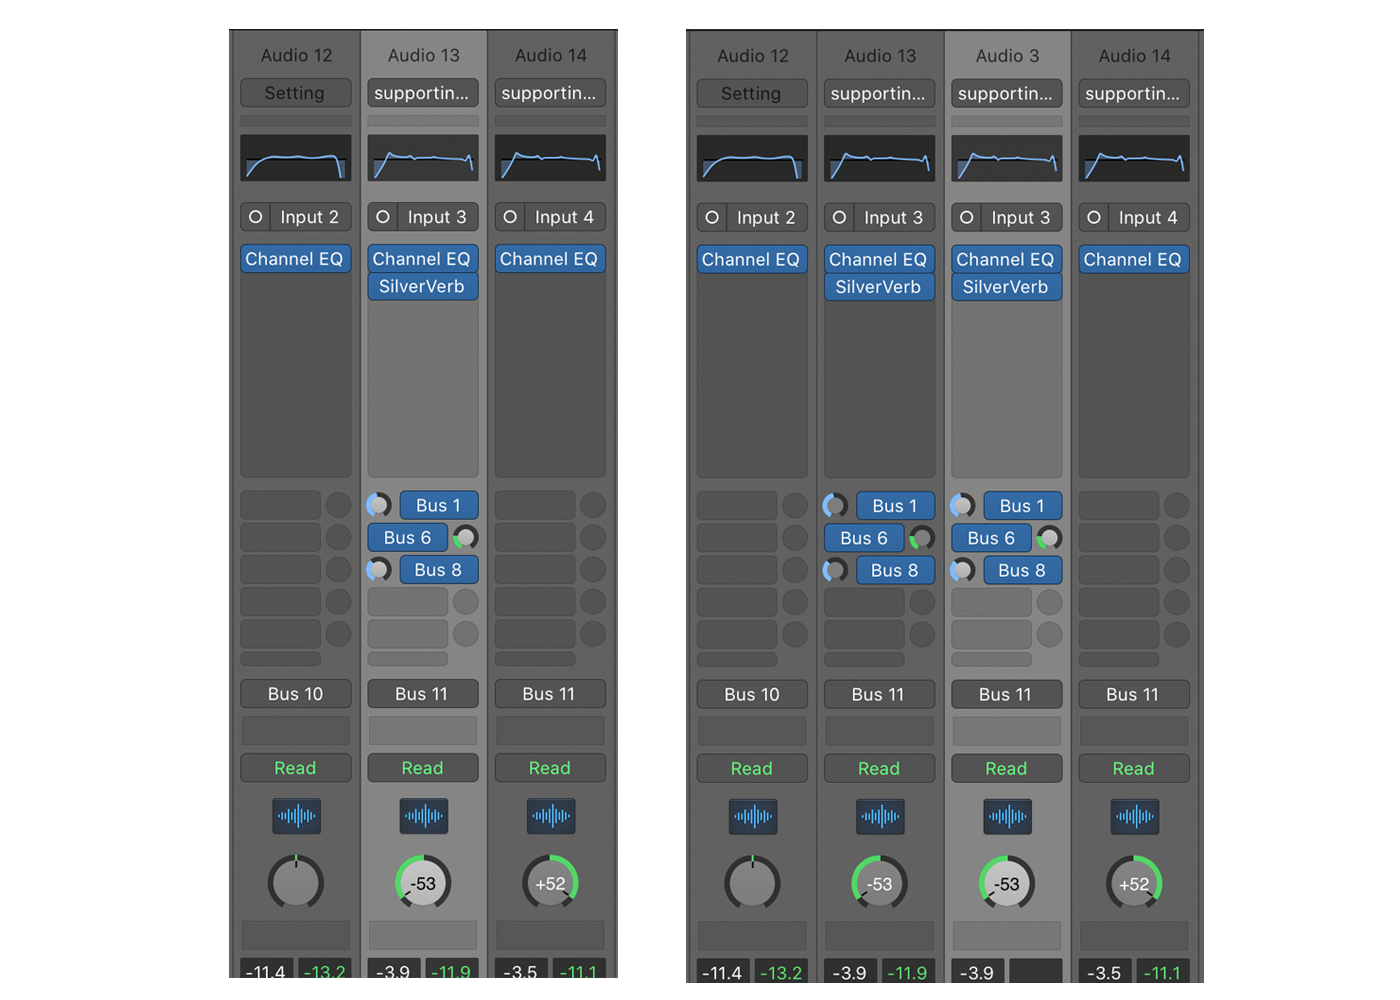
[Command+D]
Setting up multiple tracks in a mix all with the exact same levels, panning, plugins, sends, etc. can help you create a consistent sound, and doing so through a quick keyboard shortcut can save huge amounts of time. Simply set up your first track with everything exactly as you want, and then use this shortcut to make instant exact copies of it to fill with whatever sound clips you want.
8. Toggle Mix and Edit Windows
[X to toggle mixing board pane open/closed in main window]
When mixing on a digital platform you’ll be jumping back and forth between using the mixing board (faders, panning, effects inserts and sends, and input/output routing) and the editing window (recorded clips and arrangement of tracks). You may find, in some cases, you need to jump back and forth quite a bit, and that you need a full screen view of each window when it’s active to do your best work. Through the magic of a simple keyboard shortcut you can toggle back and forth between these windows with ease, and without losing your cursor/pointer placement in the process.
9-12. Copy/Paste/Cut/Undo
[Command + C (copy), V (paste), X (cut) , Z (undo)]
These keyboard shortcuts are so ubiquitous that it may seem unnecessary to even mention them. Anyone who’s used a word processing program, email, or almost any other type of app or software program is certainly aware of these keyboard commands. But, did you know they are just as effective in your DAW for mixing as they are in any other electronic document?
Select a clip, copy it, choose the new location and paste it. Or cut it from the track entirely. Oops! Made a mistake? Undo it.
Each of these keyboard shortcuts you’ve likely used at some point to help you while writing a letter or paper on a computer can also be used while mixing. Don’t let them go to waste! The time savings and work efficiency gained are well worth learning to apply them regularly.
Keyboard shortcuts take a little getting used to — and of course there are many more advanced shortcuts available in every DAW, but learning to use these 12 seamlessly as part of your mixing work will greatly improve your mixing efficiency.
With a little time spent learning to apply them regularly in your mixing work you’ll notice the amount of time spent getting your song mixed perfectly becomes noticeably quicker. That means more time to work on the next project, and soon you’ll find that you can take on more than you ever thought possible.
Ready to Learn More About Logic Pro?
If you’re new to Logic and learning to use all the software’s features, check out Soundfly’s online course Intro to Making Music in Logic Pro X. Learn to work with software instruments, record and process audio and MIDI, tackle the basics of mixing, and get your feet wet with one of the most affordable and versatile DAWs out there.


