+ Learn to craft more compelling beats and warped, broken rhythms with Son Lux’s Ian Chang. His innovative course is out now on Soundfly.
As a homebody artist-producer, VST instruments are literally career-changing for me. I can’t record the BBC orchestra, but I can still have them in my song. I can’t play drums, but my next track can still have a sick beat that sounds like a real drummer.
We all have access to some fantastic sounds via VST instruments, but they’ll only work well in your song if you know how to use them well. So this post shares some tips on how to do just that…
Use the Highest Quality Plugins You Can Afford
Everyone has a different budget, so all you can do is work with what you have. Fortunately, plenty of good instrument plugins are free or very affordable.
Below are some of my favorite instrument plugins.
Addictive Drums 2 (XLN Audio)
I record in my small home recording studio. I don’t even have space for a drum set. So Addictive Drums 2 has allowed me to elevate my productions despite my small space, limited budget, and the fact that I’m not a drummer. It may take a little more work to make MIDI drums sound real, but it’s totally worth it if you don’t have access to a human studio drummer.
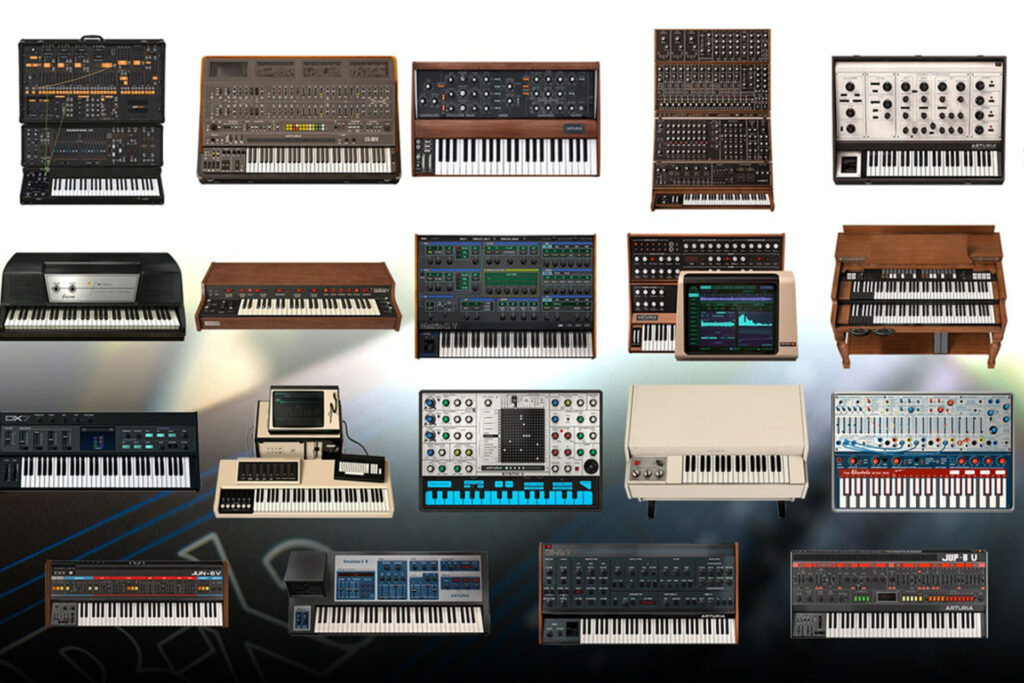
Analog Lab V (Arturia)
With the Analog Lab V plugin, you get acoustic and electric pianos, synths, organs, basses, and a bunch of other sounds. As you’ll see in the video above, you have access to so many layers of effects which lets you craft the sound to your specific taste. (Note: Analog Lab 4 is similar in options and quality).
BBC Symphony Orchestra (Spitfire Audio)
Do you want a professional orchestra in your song? I mean, who wouldn’t? With the BBC Symphony Orchestra plugin, you can have that. You’ll get hundreds of options for sections, how the instruments are played, and even microphone positions.
Upright Felt Piano (Westwood)
I love me a warm piano sound, which is exactly what you get with the Westwood Upright Felt Piano plugin. This is my go-to piano in almost all of my productions these days. And it’s free, which is still surprising to me.
Dexed (Digital Suburban)
If you like playing with synth sounds, you should check out Dexed. It’s a free plugin that offers 32 presets and a bunch of settings to adjust. Some of the presets are cheesy and/or harsh to my ears, but it’s still a pretty good plugin for $0.
+ Read more on Flypaper: “The 10 Most Fun Synth VSTs on the Internet in 2023.”
Play With the Settings
Presets are the best place to start with a VST instrument. But that’s not where you should stop. Picking a preset and then adjusting the settings can bring about unique sounds you may not have happened upon otherwise.
Every VST instrument has a different combination of settings, but here are a few of the most common and the ones that can have the most obvious effect.
Quantize
If you play your VST instruments with a MIDI controller, you’ll like the quantize setting. Basically, you can snap all of the MIDI notes to the grid after you’ve played the part. It will move the notes to the closest grid line, so if your playing was way off, the quantize setting may make it sound even more off.
But it can be a time saver as it can be faster than manually adjusting each note that’s off time.

Humanize
If you draw in your MIDI notes and/or hits, the humanize setting is your friend. It’s a quick way to make your VST instrument sound more…well, human.
For example, let’s say you draw in a MIDI drum beat. It’s going to sound fake because every hit has the exact same velocity by default, and your hits will be snapped to the grid. No human drummer hits the snare with the exact same velocity and perfectly on time every time.
So in this case, apply the humanize setting and your DAW will vary the velocity and timing of the hits to make it sound human.
Delay and Reverb
As a reminder, reverb determines the size of the room while delay determines how many repetitions are applied (like an echo in a big cave).
These two settings are built into a lot of plugins. But if they’re not, you can apply your own so they fit better in the mix, preferably after you’ve bounced the MIDI files to WAV files (more on that below).
Layer VSTs
Layering elements has seriously made my productions way fuller, warmer, and just overall more pleasing to my ears. I layer everything, from vocals to acoustic guitars to (you guessed it) VST instruments.
Try this: play a piano part, duplicate the track, change the VST instrument on the duplicate track to a synth, then pan the two tracks left and right. You’ll notice you get a much more interesting and bigger sound.
+ Read more on Flypaper: “5 Digital Emulators Perfect for Getting a Retro Synth Sound.”
Bounce Your MIDI Files to WAV Files
Please don’t leave your MIDI files as MIDI files in your DAW, especially if you’ve finished the production and have started mixing the song.
Why?
Well first, MIDI information can sometimes read incorrectly, which can mess up the patch playback.
Second, bouncing MIDI to audio will save CPU power.
Third, it’s easier to apply effects to WAV files, like reverb and delay, and you can easily sample or reverse the files.
And lastly, it helps you commit to your production idea instead of continuing to question yourself and change the part you played.
However, I suggest you keep the MIDI track, just mute it so it’s not being played and using up computer power. That way, you still have the option to change the sound, duplicate it and use a different sound, or to see what exact chords and notes you played.
Don’t stop here!
Continue learning with hundreds of lessons on songwriting, mixing, recording and production, composing, beat making, and more on Soundfly, with artist-led courses by Kimbra, Com Truise, Jlin, Kiefer, and the new Ryan Lott: Designing Sample-Based Instruments.