+ Learn to craft more compelling beats and warped, broken rhythms with Son Lux’s Ian Chang. His innovative course is out now on Soundfly.
In most of the last century, recording a drum kit has been a privilege reserved for those who could afford studio time or had built up a collection of mics and other recording gear.
Today, it’s possible to capture drums on a much tighter budget. But can you really produce high-quality drum recordings without spending much money?
Throughout my years as a drummer, I’ve experimented with a wide range of methods and techniques for recording drums. Indeed, paying a large fee to access high-end studios and equipment can produce undeniably brilliant recordings, but so can making the most of the budget gear you have available in your home studio.
So in this guide, I’ll share some important information on how to achieve great drum recordings with affordable gear and recommend some of the methods I’ve successfully used in the past. Let’s get started!
How to Record Drums on a Budget
One of the great things about recording drums is that there is a wide range of methods at your disposal. There is no definitive right or wrong way to capture drums, but there are certain practices that will get you the best results for your style of music.
In high-end recording studios, you’ll find an array of the finest condenser, dynamic, and ribbon microphones covering every segment of a drum set, ensuring that every detail is captured with clarity and precision. The drum mic kits used in these settings are likely to cost thousands of dollars.
Thankfully, it’s possible to achieve excellent results while keeping your costs to a minimum.
1. Use Affordable Microphones
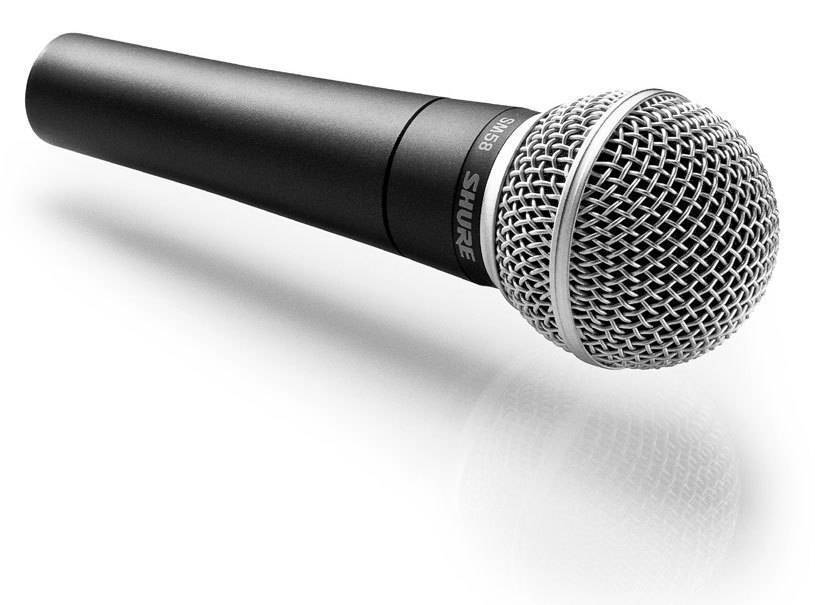
It’s possible to pick up reliable mics like the Shure SM57 for around $100. These workhorses are great for recording the snare drum and also make excellent tom microphones.
Likewise, a more affordable kick drum mic will set you back around $80-150, with my favorite affordable kick mic being the Sennheiser e602 II. Then you just need to invest in a pair of matched condensers to use as overheads. My top budget recommendation is the Behringer C-2 overheads which cost $59 for the pair.
If you’re willing to spend just a few hundred dollars, you can assemble a pretty solid selection of microphones that will capture the entirety of your drum set.
2. Record With an Affordable Audio Interface
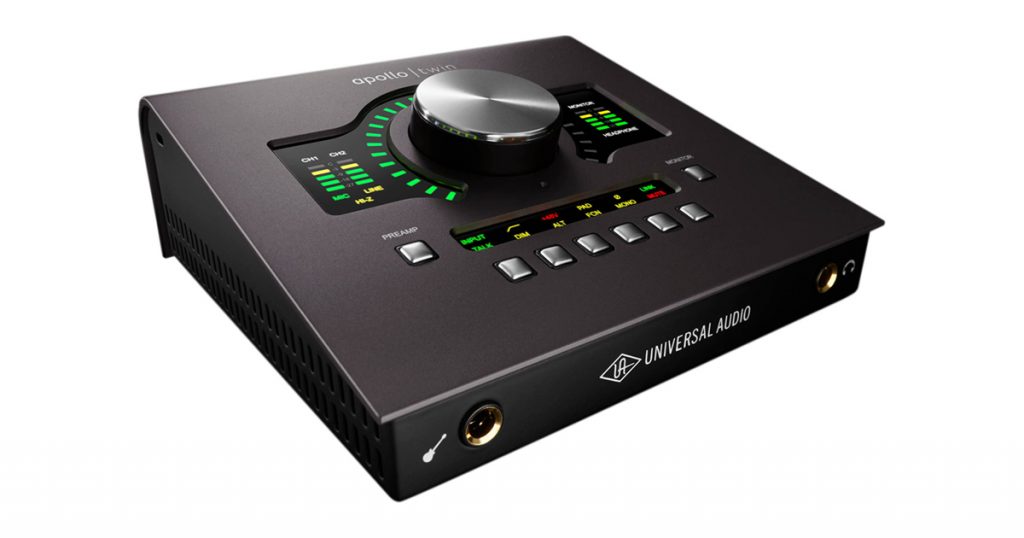
Audio interfaces can be expensive, and for drum recording, you’ll need an interface that has as many inputs to accommodate the number of microphones you plan on using for the session.
My favorite budget interface for drum recording is the Behringer U-Phoria UMC1820, which comes in at a modest price of under $300 new. Here’s a recent drum cover I did where you can hear this interface’s quality and capabilities:
Mic Configurations for Budget Drum Recordings
If you only have a small selection of microphones, you can still achieve surprisingly good-sounding results with only one, two, or three microphones.
Here are some of my favorite configurations for recording drums with a limited number of mics — but there are many more. (Check out some other methods in my guide here.)
1. Recording With Just One Mic
This may come as a surprise, but it’s actually possible to record a full drum set using just one microphone. I was skeptical about this at first, but after experimenting with the Yamaha EAD10, I was blown away by its capabilities.
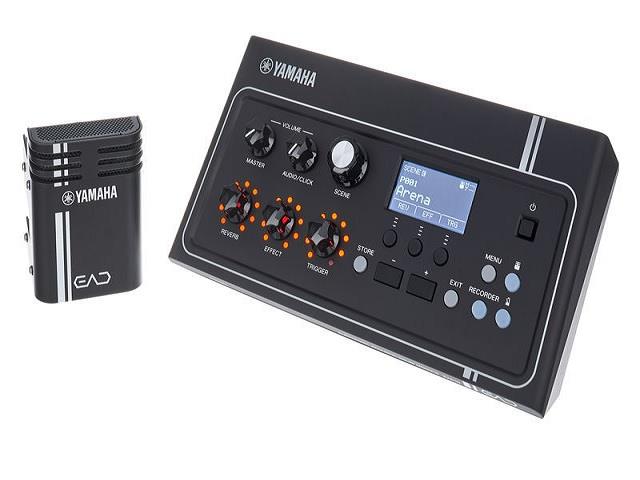
This device essentially mics up your whole drum set and gives you control over the way the recording sounds in real-time by compressing the drums or adding effects like reverb and delay.
The device captures everything from the low end of your kick to the complex higher frequencies of your crash cymbals with amazing detail; and it’s generally much more affordable than investing in a full set of drum mics.
Recording with one mic isn’t ideal for complete multitrack recordings, but this is an excellent way you can streamline a recording setup for YouTube videos, demos, and practice. Check out the capabilities of the Yamaha EAD10 below.
2. Recording With Two Mics
Recording drums with two mics is a great way to achieve good sounds with a minimal equipment setup too. It’s a convenient and inexpensive way to capture the full sounds of a drum kit.
Recording drums with two mics will require using a kick drum mic, which will be paired with one overhead microphone. The aim is to capture a balanced, full-sounding drum set from this microphone pairing. The single overhead mic should be positioned two or three feet above the drum set. An ideal place to put it is just over your shoulder, and it should pick up all the drums and cymbals evenly.
Ilan Rubin, the drummer of Nine Inch Nails, demonstrates how to use a dual microphone pairing for recording in the video below.
3. Using Three Mics (The “Glyn Johns Technique”)
Another great way to record drums on a budget is by using the legendary technique developed by iconic producer and recording engineer Glyn Johns in the 1960s, famous for his work with The Rolling Stones and The Beatles.
This method requires just three mics — one placed directly in front of the kit at head height, pointed towards the snare drum; one hanging from the ceiling pointing down at the center of the kit, and a third placed farther away from the drums, pointing towards them.
This is one of the best methods for capturing drums on a budget. All you need are three microphones and good positioning, and you’re good to go.
+ Read more on Flypaper: “What Is the “NYC Drum Trick?”
Booking a Studio vs. D.I.Y Recording
Ultimately, when it comes to recording drums on a budget, you have the option of either recording them yourself or booking time at a studio. It comes down to your budget, intentions, and whether you have the confidence to record them. Recording your drums by yourself is typically much cheaper, though.
However, it can be a lot more time-consuming and requires a certain level of knowledge and pre-planning. On the other hand, booking time at a studio is likely to be pricier, but you get access to professional-grade equipment and experienced engineers that are sure to make your drums sound great.
Most studios charge somewhere between $30-70 an hour, so you will have to decide if the extra cost is worth it.
In the long term, if you choose to record the drums yourself, you’ll probably save money because the experience and expertise you gain will allow you to keep improving, and you can continue to amass recording equipment as time goes by.
+ Learn production, composition, songwriting, theory, arranging, mixing, and more; whenever you want and wherever you are. Subscribe for full access!

What Else Do You Need to Record Drums on a Budget?
Here’s a breakdown of the other things you will need and some tips on how to get the best setup for the least amount of money.
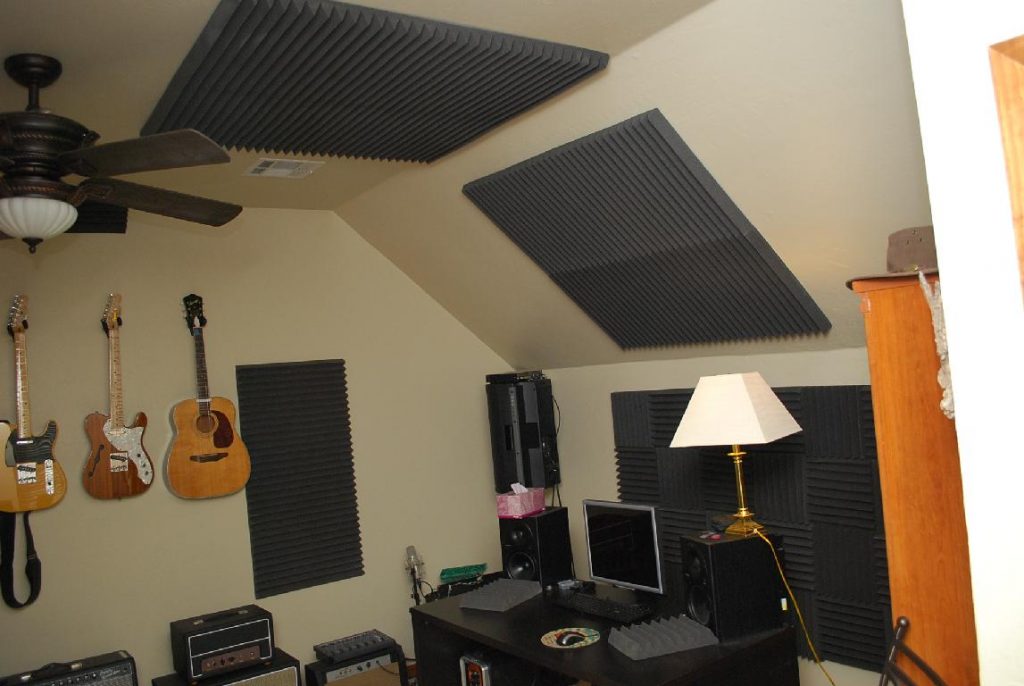
1. Good Room Sound and Acoustics
One of the most important things you’ll need to think about when recording drums on a budget is the acoustics of your space. You’ll need to consider the layout and size of your room and try to dampen any unwanted reflections as much as possible.
Soundproofing the room may be necessary to ensure sound quality and avoid disturbing others when recording. Using acoustic treatment can help sound, but it’s often not cheap, so may not be suitable for those on a tight budget, but you may be able to pick up affordable acoustic panels or create your own using absorbent materials for a reasonable price.
Bass traps are also useful for preventing the build-up of problematic low-end frequencies, so it’s a good idea to install them in your recording space.
2. Audio Interface or Mixer
When I record drums, I like to capture each microphone channel separately so that they can be mixed individually, rather than in one compounded recording. Therefore, I use an audio interface that has enough inputs to facilitate the number of mics I’m using.
These days it’s possible to get interfaces with eight or more pre-amps. Alternatively, you could use an old-school mixer instead — these are often cheaper than audio interfaces but don’t offer the same level of control. Yet there are plenty of four-input audio interfaces available for under $100, so you don’t need to break the bank to get a reliable device.
3. Recording Device
Most people choose to record drums onto a computer or laptop using a DAW (Digital Audio Workstation). I’ve also seen people get impressive results recording drums onto their smartphones or tablets, using a device like the iRig, which is a very affordable option.
However, this won’t give you the same level of detail or control over the drum recordings, so it depends on your preferences. The main thing is to have a recording device that you can easily use, is affordable, and doesn’t slow down the process so that there’s minimal time wasted when it comes to capturing the perfect take.
4. Audio Cables
Lastly, XLR cables and any other audio cables that you need shouldn’t cost too much, particularly if you’re using a limited number of mics to save on cost. The quality of cable does vary though and is often linked to their price, but you can get reliable cables for pretty cheap.
+ Read more on Flypaper: “A Compendium of History’s Most Famous Hip-Hop Rhythms.”
Some Last Tips
Here are some final tips to make your life easier in the studio:
Correct drum tuning is essential. You don’t necessarily need to buy brand new drumheads if you’re on a budget (although this is advised) — but spend time tuning both the batter and resonant heads, aiming to get equal tensions across the lugs by using your ears to listen out for the difference in pitch.
Adjust the acoustics of the room if necessary. For example, you can add carpets, curtains, and blankets to a room that is too bright and reflective to absorb the sound.
Keep everything organized and tidy. This applies to both the microphone setup as well as the DAW session. Ensure that no mic stands are touching each other and that your cables are labeled and plugged into the interface in the same order as the respective channels in the DAW.
Minimize phase issues with overheads. Phase occurs when the signal from two separate microphones pick up the same sound source and they are out-of-sync with one another.
Use drum dampening to absorb overtones. There are various ways you can dampen drums, and they can be a lifesaver in the studio. professional drummers will typically use dampening in the studio to achieve more focused and punchy sounds from the drums that sound better on recordings.
Good luck!
Keep on Grooving…
Continue your learning with hundreds of lessons on songwriting, mixing, recording and production, composing, beat making, and more on Soundfly, with artist-led courses by Kimbra, Com Truise, Jlin, Kiefer, RJD2, and our new The Pocket Queen: Moving at Your Own Tempo.