+ Producers, Synth Heads and Sci-Fi Nerds, our new course with synthwave pioneer, Com Truise: Mid-Fi Synthwave Slow-Motion Funk, is out now!
Bus channels? Do you mean these long cars on wheels? Well, umm.. no.
You’ve probably heard the terms “bus” or “send-return channel” several times when learning about audio production, and wondered what exactly those terms meant. I know I did! In the very beginning of my music career, I had no clue why to use these channels, or how to set them up in my recording sessions. I was in a punk band and thought this would just be some fancy music producer fiddling that no actual listener will ever care about…
I was so wrong.
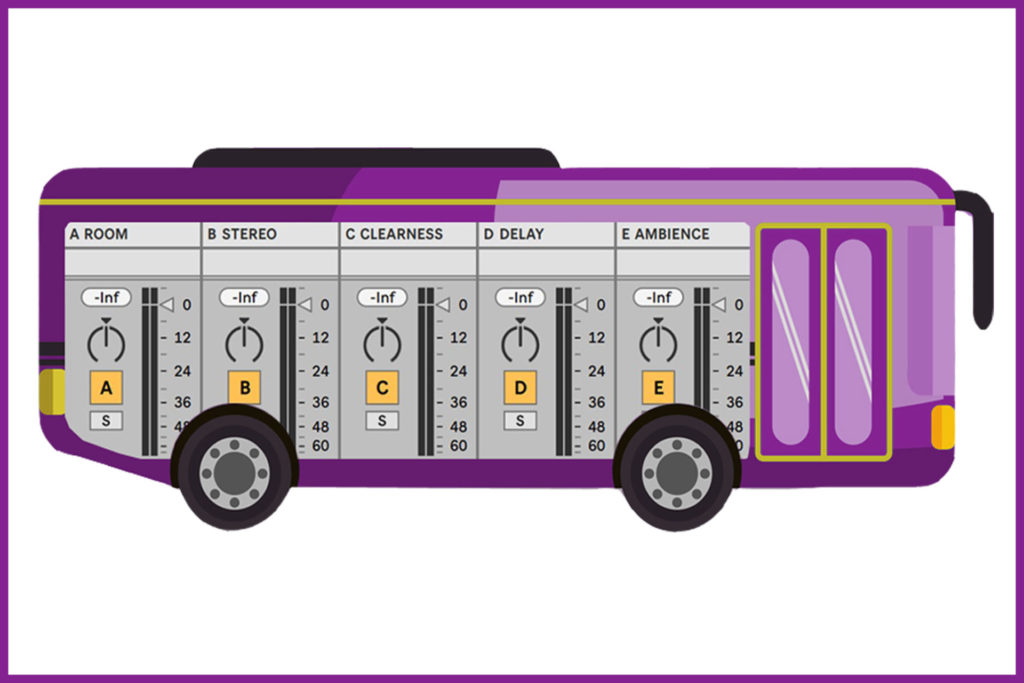
After gaining more experience by producing my own music outside of the punk rock genre, I now use bus channels all the time. To be more specific — I use exactly five different bus channels in every single production that I want to introduce to you in this article.
But let’s clear up one question first.
What are buses in music production used for?
Well, if you want to record a vocal and a piano track, you will need two audio channels to do so; one for the vocals and one for the piano. A bus is also a channel, but it’s not one you record a certain instrument on. Instead, it’s meant to send certain audio signals into, like the piano track you recorded.
You might want to distort the piano, or add other effects, but also keep a clean channel so you can balance the two signals. In that case, you would send your piano signal to a bus channel that’s connected to a distortion effect and send this distorted piano signal back to the master output. Now you can hear your pristine, clean piano track as well as the distorted piano from the bus channel and balance them to your liking.
In general, buses have three great advantages in music production:
- You can send several tracks in your session to a single effects bus simultaneously, so each of those tracks will be equipped with that specific effect, which saves processing power and speed.
- They can keep your plugins organized, and your session neat and tidy — because plugins can take up a lot of visual space, and weight in the session.
- They help preserve the clarity of the original track. The original signal is not changed at all. It’s simply sent to both the master output and the desired effect bus, which means during mixing you can constantly adjust your sound when the other signals change the overall mix. In other words, you get more precise control over the balance between the unprocessed signal and the effect itself.
+ Read more on Flypaper: “5 Small Plugin Companies You Should Try This Year.”
Which effects to use on bus channels?
You may have guessed it: that’s totally up to you! You can put all the effects, filters, and compressors on a bus that you desire.
That said, there are certain effects that might be more useful in everyday audio production than others, and increase your fidelity and quality immediately. Below, I’ll introduce you to my five most frequently used effects that I put on my bus channels.
But before I begin: One basic rule for all bus effects!
In my examples below, you have to turn the dry/wet knob in your effects up to 100%. Because you only want to hear the pure effect on a bus channel — not the dry signal of the track you’re send to it.

Alright, ready? Let’s go!

1. Room Bus
A “room bus” can help you create the impression that your song is being performed in a certain environment.
Let’s say you recorded a completely dry vocal track that has no spatial information at all. In that case you might want to add a room bus to work as artificial surroundings to color the sound and imbue it with emotion, like a cathedral, a garage, or a big stage.
And there’s one audio technology which is perfect for creating such artificial environments: Impulse Responses (or simply “IRs”). IRs are exact copies of previously measured environments from the real world that can be used with a convolution reverb plugin.
They work like this: you can measure the feedback behavior of your own bathroom using a speaker that plays back a large audio frequency spectrum, and record that sound with a microphone. Then, IR-measurement-software transforms that recording into a special WAV audio file which can be read by your convolution reverb plugin afterwards, and added to any other signal you send to it. And voilà! With only one click, you can now use the room behavior of your own bathroom in any DAW for any track.
But, okay, okay, if that sounds a little too complicated, you’re in luck. Most reverb stock plugins, and a ton of niche, specialized ones, will also have mock room environments that you can simply add to your effects chain to similar ends.

When using room reverbs, be careful with the low end of the effect, as they can muddy up your signal.
To clean up low rumble noises that could disturb the bass frequencies of my kick drum and melodic bass notes, I use a low-cut (10-12db) around 100 Hz. The reverb should still sound warm but not too fat. To get rid of very high reverb noises that could interfere with the frequency spectrum of the vocals and drum cymbals, I often take out the highs starting at 12 kHz with a -6db high-cut.

In Ableton Live, every single track has its own send switches for every single bus. That means you can send every instrument to every room bus with a different input level.

To get the most realistic feeling from your chosen room environment, solo the room bus channel and turn up the input level of every single instrument or vocal track one by one. Ask yourself:
- Does it sound like a band is playing in a room while you are listening to them from another room?
- How prominent would the drums be in that room?
- How clearly would you hear the vocals that room?
Making creative decisions from that perspective often gives you a realistic sounding final mix.
2. Stereo Bus
Sometimes productions can feel a bit one-dimensional, almost like looking at a beautiful landscape with one eye squinted through a rolled-up newspaper or something. You only seem to hear the sound coming from right in front of you.
So, a great way to combat that is to widen your sonic panorama?
Firstly, play around with the panning of every single track. Where do you want to hear your instruments coming from? Do they have a fixed position on your imaginary stage? Or do they move all over the place? Decisions like that will make your track more interesting and dynamic to the listener and create a more immersive experience.
Once you’ve found a spot for all your instruments and mix elements, now let’s widen out the stereo spectrum to create a bigger landscape. Fortunately, there are plenty of stereo widening plugins for this.
Personally I like to use the WideMouth Stereo Widener, allegedly one of the simplest and most non-destructive/non-phasing wideners. WideMouth creates very small phase differences separating the left and the right channel of your desired stereo track with a very short delay of under 5 milliseconds (hence, I wouldn’t use it on a mono track).

A simple example is the guitar doubling method. When you overdub and replay two individually recorded tracks of the same guitar riff, the listener will hear a chorus effect on the resulting guitar part. But pan one of the guitar tracks completely to the left and the other one fully to the right and you will get the impression of a nice and wide stereo image.
For an even wider stereo impression, you can make a group out of these two tracks and send the guitar mix to our stereo bus that contains your desired widening plugin.
When you think it sounds great, make sure you control your entire song mix by clicking the “Interleave” button on your master bus to listen to everything in mono. If it still sounds good, you’ve done a great job! But if it suddenly sounds odd, bypass the widener plugin to see if that’s what is causing the problem.
Other plugins you might want to try are Meldaproduction’s MStereoSpread and MStereoExpander.
3. Clarity Bus
If it feels like your lead vocals are drowning in your mix — even after you’ve cleaned up the low-end and sent them to your stereo bus — I recommend you to try out a clarity bus. Vocals (and other elements, like cymbals) are mostly audible in the higher frequency spectrum. So you might want to boost this frequency range by applying an equalizer to this bus and filtering out all the lows and mids with a high cut, so that only the frequency range from 8 kHz to 20 kHz remains.
If you then carefully send your vocal track to this bus via the send control, you will gradually notice a slight emphasis of the vocals. You can do the same with the overhead track of a drum recording, for example, to make it clearer and more tangible.

This effect is very subtle but it can help to bring out more brilliance and proximity of vocals, cymbals, acoustic guitars and synthesizers. I use it all the time.
+ Read more on Flypaper: “EQing Vocals: What’s Happening in Each Frequency Range in the Human Voice.”
4. Delay Bus
These last two effect buses serve two basic purposes: they fill gaps in your arrangement with touches of ambience, and as a final layer, they tie an entire mix together into a finished work of art.
For this bus, try sending a dry acoustic guitar to a bus channel that has a very simple delay synced to the tempo of your song project. Play around with a “ping pong” stereo effect of your delay to see if it fits your style. Don’t use delay feedback that’s too long, only enough so that the delay sound is audible in a pause of a pattern but fades away with the beginning of another pattern.
You want to avoid overly saturated or busy mixes, so only send your acoustic guitar (or any other dry instrumental) to the delay bus until it’s filling the gaps between the notes but not too prominently in the overall sound.
The rhythmic nature of delay effect will also add a bit of extra movement to your song. Many professional producers use this technique in modern pop music.

5. Ambience Bus
I personally love long, subliminal ambience effects. For this last effect bus channel, we need a very long reverb sound that reminds you of Heaven as soon as you solo it. Remember to turn up the mix to 100 percent, increase the reverb size until it sounds like an explosion in the sky and set up the decay time between 8 to 12 seconds. You will get a holy sonic carpet that some ambient guitarists would adore instantly.
The goal is to twist the EQ of the reverb sound so that it’s not too thick in the lows and not disturbing in the mids. If there is a specific frequency that seems too loud, don’t be scared to use a separate EQ to take it out by decreasing the volume of that frequency area.
Now send in all the tracks that are responsible for the melody in your song until you get an endless angel breath when the ambience bus is soloed (leave out drums and percussion). Make sure the ambience effect stays subtle and only hits your ears when everything goes quiet. It will make your song breathe and add a bit of dust to your mix.

Well done, my friends. Enjoy your new and fresh mix!
Now here’s the best part, after your song is mastered, you will notice the tremendous effect of these bus channels, as subtle refinements tend to become even more noticeable after mastering. If they stand out too much, you can simply turn down the send control a little here and there on certain instruments so that the effects remain only subtly perceptible.
Don’t stop here!
Continue learning with hundreds of lessons on songwriting, mixing, recording and production, composing, beat making, and more on Soundfly, with artist-led courses by Kimbra, Com Truise, Jlin, Kiefer, and the new Ryan Lott: Designing Sample-Based Instruments.